Chapter 3
Maintaining the Netra X4200 M2 Server
69
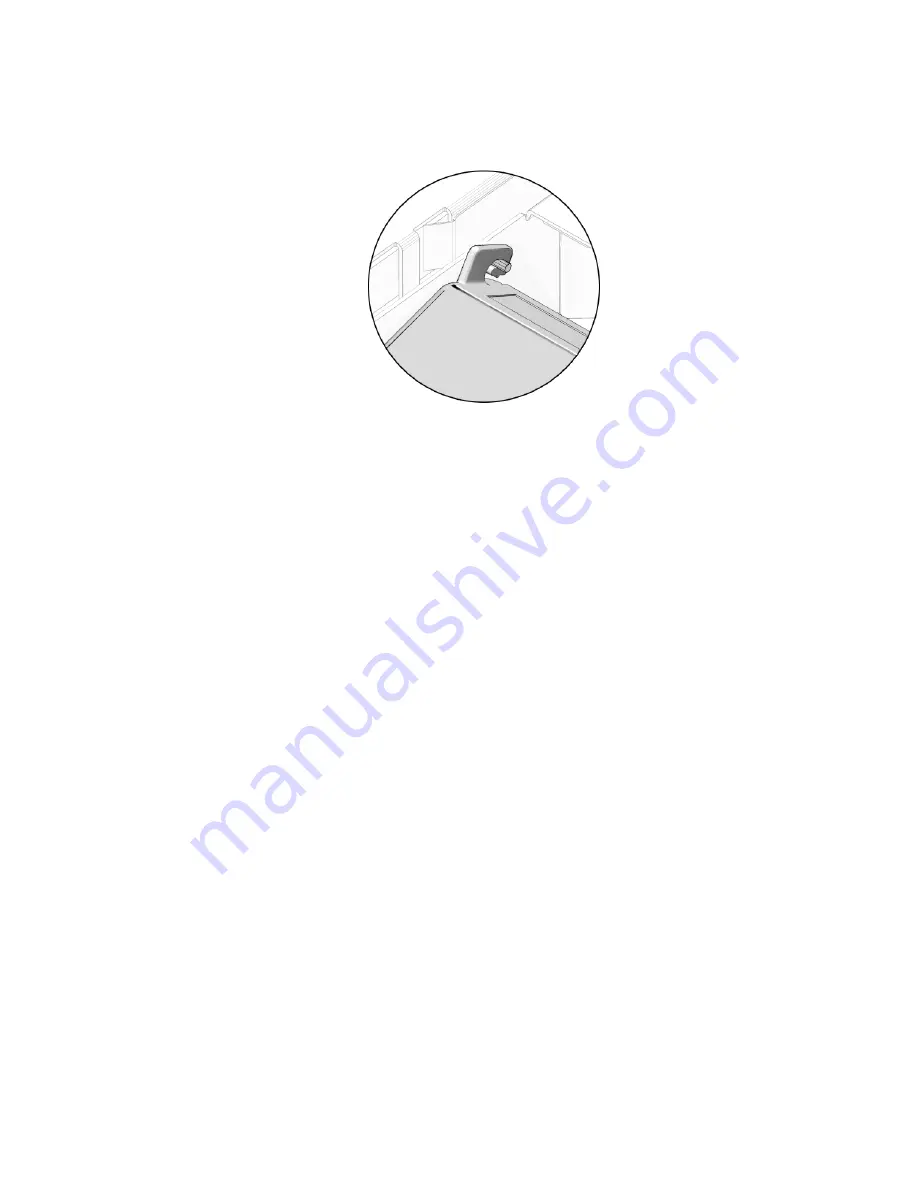
3. Unhook the duct from the pins of the chassis (
FIGURE 3-47
).
FIGURE 3-47
Unhooking the DIMM/CPU Duct From the Pins of the Chassis
4. Lift the duct out of the chassis, and set it aside on an antistatic mat.
5. Consider your next step:
■
If you removed the DIMM/CPU duct as part of another procedure, return to
that procedure.
■
Otherwise, continue to
“Installing the DIMM/CPU Duct” on page 69
.
Installing the DIMM/CPU Duct
1. Remove the replacement DIMM/CPU duct from its packaging.
2. Position the duct vertically over the pins of the chassis and hook the duct to
the pins of the chassis (
FIGURE 3-47
).
3. Lower the duct down to the horizontal position (
FIGURE 3-48
).
Summary of Contents for Netra X4200 M2
Page 10: ...x Netra X4200 M2 Server Service Manual May 2007...
Page 14: ...xiv Netra X4200 M2 Server Service Manual May 2007...
Page 24: ...10 Netra X4200 M2 Server Service Manual May 2007...
Page 46: ...32 Netra X4200 M2 Server Service Manual May 2007 Sun ESD mat part number 250 1088...
Page 133: ...Chapter 3 Maintaining the Netra X4200 M2 Server 119...
Page 134: ...120 Netra X4200 M2 Server Service Manual May 2007...
Page 146: ...130 Netra X4200 M2 Server Service Manual May 2007...
Page 154: ...138 Netra X4200 M2 Server Service Manual May 2007...
Page 172: ...156 Netra X4200 M2 Server Service Manual May 2007...


