Chapter 8 - Managing Network Attached Storage
Managing Storage Pools
3.
If desired, enter a percentage for the
High Water Mark
. When the used space on the pool
reaches this percentage, an alert is generated. Enter 0 if you do not want to set an alert
level.
4.
If desired, enable or disable
Power Saving Mode
for the storage pool. Enabling this
feature configures the standby timer to 60 minutes. When there is no I/O to the storage
pool for 60 minutes, the drives in the pool spin down and use minimal power.
Note:
SpectraLogic reccomends leaving power saving mode
disabled
.
5.
If desired, use the
Write Performance Drives
drop-down menu to select the number of
write performance drives to allocate to the storage pool.
6.
Click
Save
.
Expand a Storage Pool
You can resize an existing storage pool to include more physical drives present in the
system. This is useful if you just purchased and installed additional drives. Use the
following steps to expand a storage pool.
1.
From the menu bar, select
Configuration > NAS > Pools
, or click the Pools pane on the
Dashboard. The NAS Pools screen displays (see
).
2.
From the list of existing storage pools, select the storage pool you want to expand, and
then select
Action > Expand
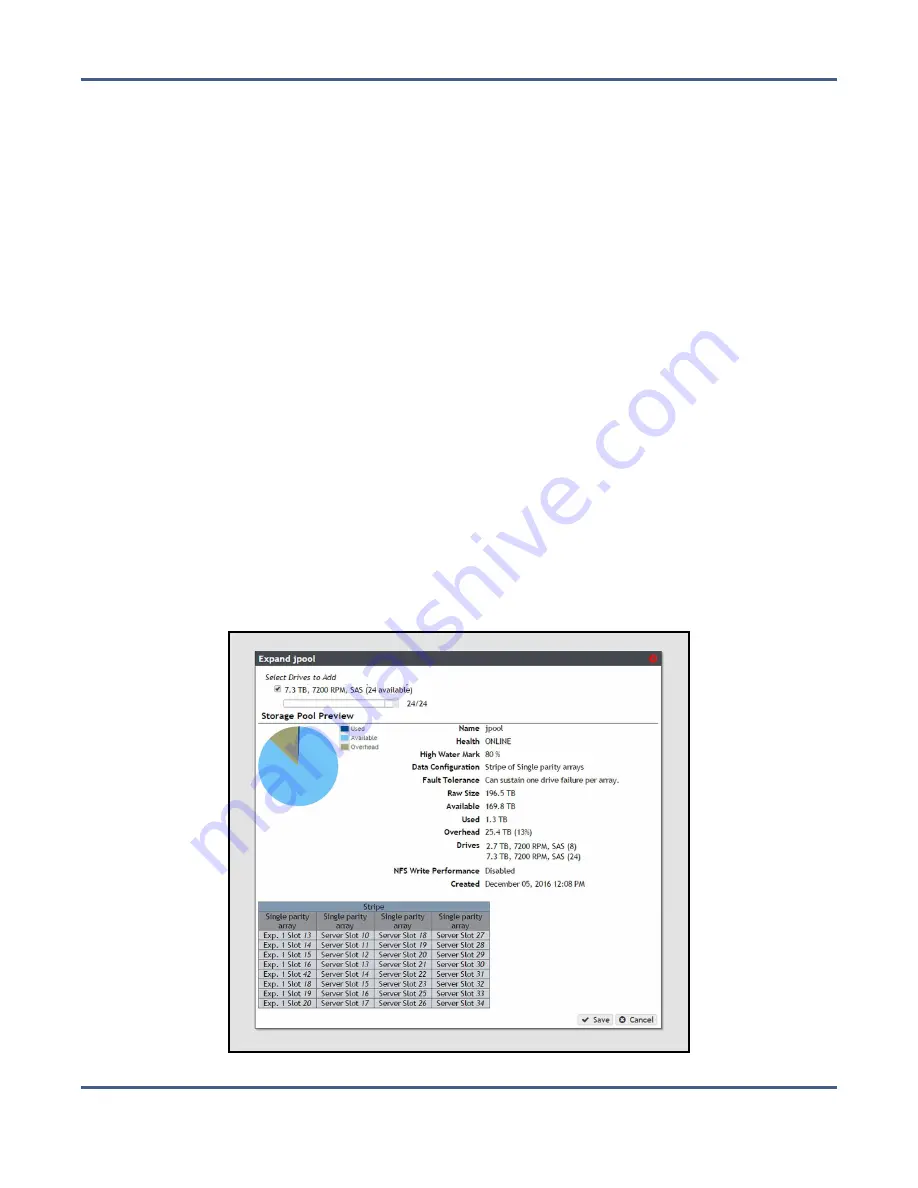
. The Expand Pool screen displays options for adding
additional drives to the storage pool.
Figure 151
The Expand Pool screen.
November 2020
User Guide-BlackPearl Converged Storage System
- 245 -


