


5-44
SCANNER/INTERNET FAX
Contents
CHANGING THE SUBJECT, FILE NAME, AND BODY
TEXT
The subject, file name, and body text can be changed when performing an Internet fax transmission. Preset items can
be selected or text can be directly entered.
• If the subject and file name are not changed, the settings in the Web page are used.
• Selections for the subject, file name, and body text are configured by clicking [Application Settings] and then [Network
Scanner Settings] in the Web page menu.
• For the procedure for entering text, see "
ENTERING TEXT
" (page 1-54) in "1. BEFORE USING THE MACHINE".
1
Touch the [Send Settings] key in the base screen.
☞
BASE SCREEN
(page 5-9)
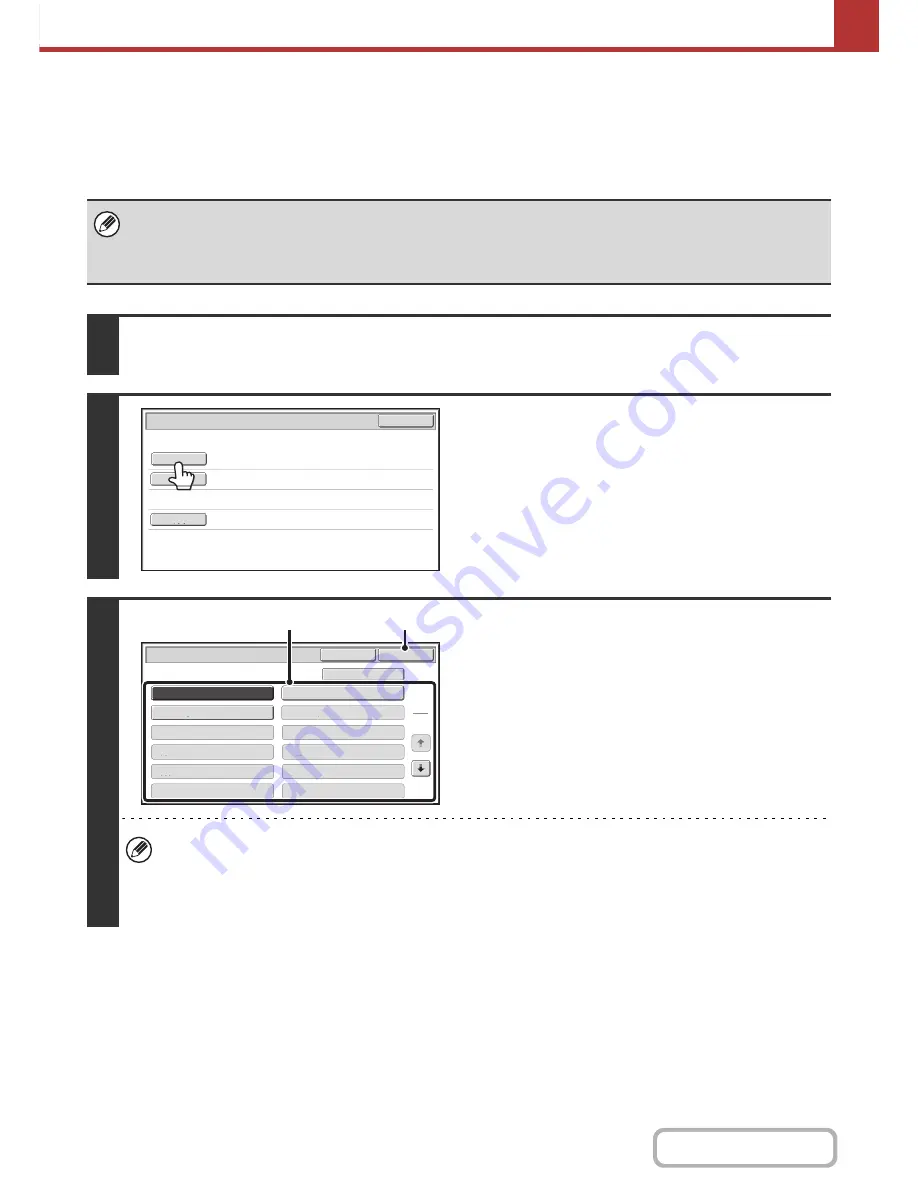
2
To change the subject, touch the
[Subject] key.
3
Enter the subject.
(1) Touch a pre-set text key.
(2) Touch the [OK] key.
• If you wish to directly enter the text, touch the [Direct Entry] key to open the text entry screen. Enter the text and
touch the [OK] key.
• The text in a pre-set text key can be edited by touching the pre-set text key and then the [Direct Entry] key. The text
entry screen will appear with the selected pre-set text entered. (When a destination is stored using the Web page,
up to 80 characters can be entered. However, only 54 characters can be entered in the touch panel.)
Sen
d
Settings
O
K
Sub
j
ect
File
Name
B
o
d
y
Text
No.01 Sub: Schedule coordination
No.02 Sub: Monthly Schedule
No.04
No.06
No.05
No.08
No.07
No.10
No.09
No.12
No.11
No.03 Sub: Minutes of planning m
Subject
OK
Cancel
Direct Entry
1
5
(2)
(1)
Summary of Contents for MX-C301W
Page 6: ...Make a copy on this type of paper Envelopes and other special media Transparency film ...
Page 8: ...Assemble output into a pamphlet Create a pamphlet Create a blank margin for punching ...
Page 11: ...Conserve Print on both sides of the paper Print multiple pages on one side of the paper ...
Page 35: ...Organize my files Delete a file Delete all files Periodically delete files Change the folder ...
Page 159: ...2 63 COPIER Contents To cancel Stamp Touch the Cancel key in the screen of step 3 ...
Page 230: ...3 19 PRINTER Contents 4 Click the Print button Printing begins ...


