


5-41
SCANNER/INTERNET FAX
Contents
SENDING A FAX IN INTERNET FAX MODE
The basic procedure for sending a fax in Internet fax mode is explained below. This procedure can also be used to
perform direct transmission by Direct SMTP.
• When a default address is configured in "Default Address Setting" in the system settings (administrator), the mode cannot
be changed, the destination cannot be changed, and destinations cannot be added. To switch to Internet fax mode, touch
the [Cancel] key in the touch panel and follow the steps below.
When "Default Address Setting" is set to "Apply E-mail address of the user for login.", pressing the [Add Address] key on
the touch panel switches to Internet fax mode.
• If the [Apply also for Fax/I-Fax Screen] checkbox is set to
, the [Add Address] key does not appear when destinations
are added in fax or Internet fax mode screen, and then the mode is switched to scanner/image send mode. Destinations
can be added using the [Address Book] key, [Address Entry] key, or the
key.
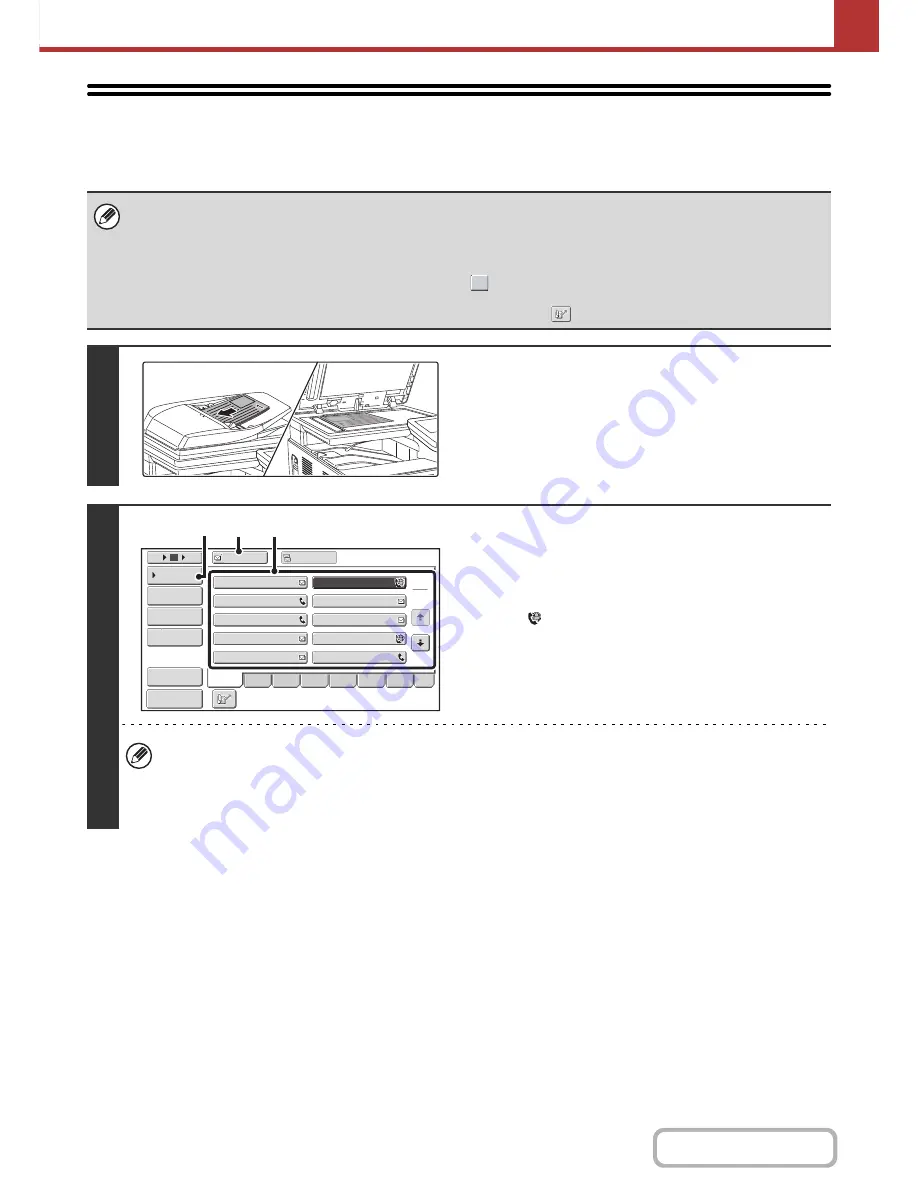
1
Place the original.
Place the original face up in the document feeder tray, or face
down on the document glass.
2
Specify the destination.
(1) Touch the [Address Book] key in the base
screen.
(2) Touch the key of the desired destination.
The
icon appears in one-touch keys in which Internet
fax addresses are stored.
(3) Touch the [To] key.
The destination is specified.
(4) Touch the [Condition Settings] key.
• After a one-touch key is touched, if the screen is changed without touching the [To] key, the destination is
automatically specified.
• In addition to specification by a one-touch key, a destination can also be specified by a search number. You can
also manually enter a destination or look up a destination in a global address book. For more information, see
"
ENTERING DESTINATIONS
" (page 5-18).
III III
GGG GGG
EEE EEE
CCC CCC
AAA AAA
JJJ JJJ
HHH HHH
FFF FFF
DDD DDD
BBB BBB
To
Cc
1
2
5
15
10
Global
Address Search
Address Entry
Address Review
Condition
Settings
ABCD
Freq.
EFGH
IJKL
MNOP
QRSTU
VWXYZ
etc.
Sort Address
Preview
(3)
(2)
(4)
Summary of Contents for MX-C301W
Page 6: ...Make a copy on this type of paper Envelopes and other special media Transparency film ...
Page 8: ...Assemble output into a pamphlet Create a pamphlet Create a blank margin for punching ...
Page 11: ...Conserve Print on both sides of the paper Print multiple pages on one side of the paper ...
Page 35: ...Organize my files Delete a file Delete all files Periodically delete files Change the folder ...
Page 159: ...2 63 COPIER Contents To cancel Stamp Touch the Cancel key in the screen of step 3 ...
Page 230: ...3 19 PRINTER Contents 4 Click the Print button Printing begins ...


