


MX-2300/2700 N/G SIMULATION 7 – 129
Place the printed 48-patch pattern on the glass table, and
press [FACTORY] or [SERVICE] button to select the process
mode.
4)
Press [EXECUTE] button. [EXECUTE] button is highlighted
and the set 48-patch pattern is scanned.
Check to insure that there is A3 paper in the paper feed tray. If
paper is insufficient, supply it.
5)
After completion of patch scan, the 16-patch self-printing is
automatically started.
6)
After completion of self-printing, the display is shifted to the
registration process standby screen.
When [REPEAT] button is pressed, the correction value is not
saved and the display returns to the initial screen.
When [OK] button is pressed, the correction value is saved to
EEPROM and RAM and the half-tone process control refer-
ence value registration process is started.
7)
The display is shifted to the reference value registration pro-
cess 1 completion screen. The reference value registration
process 2 (Black) is automatically started.
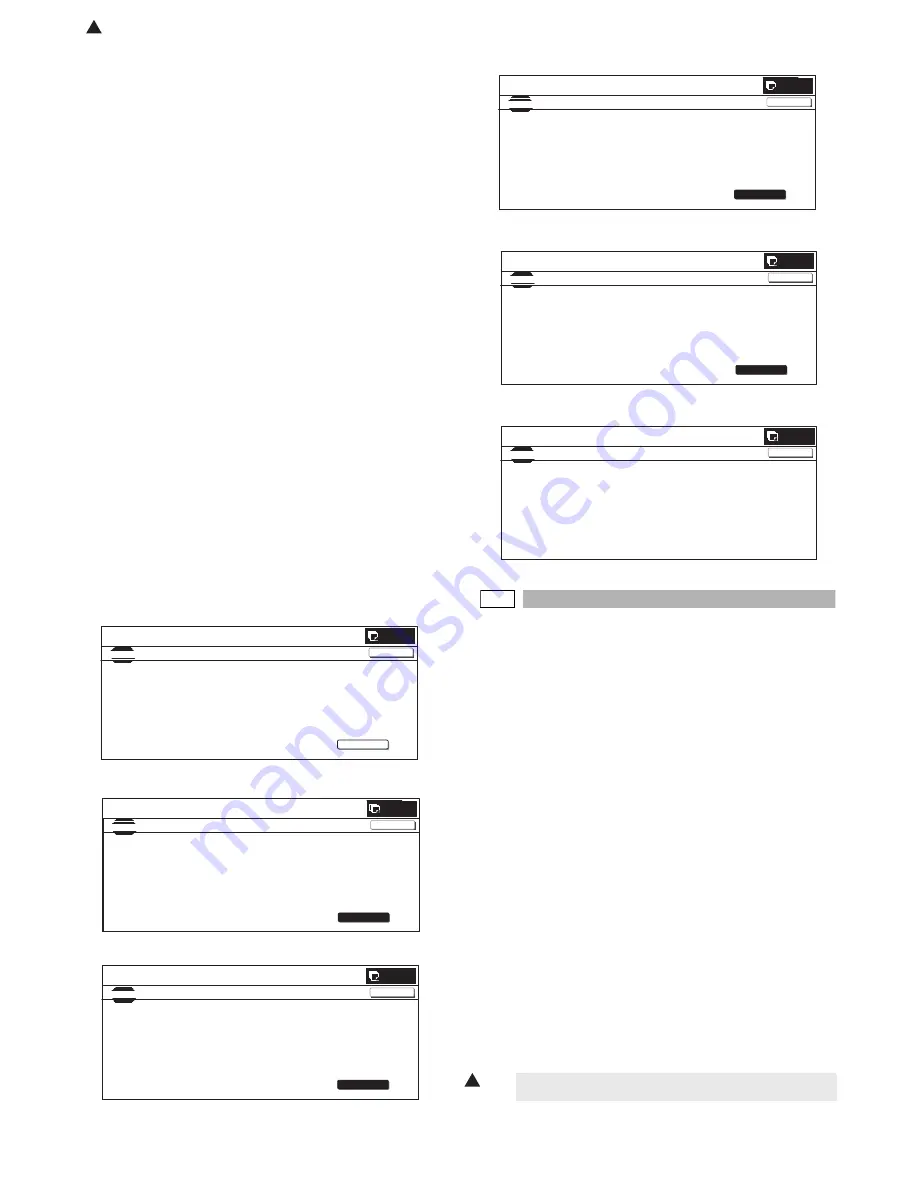
8)
When the reference value registration process 2 (Black) is
completed, the following message is displayed. (Each mes-
sage is automatically shifted.)
BLACK: 2ND STEP BLACK END
CYAN: 2ND STEP CYAN END
MAGENTA: 2ND STEP MAGENTA END
YELLOW: 2ND STEP YELLOW END
* When the process control is executed second time, "2nd" is
displayed.
9)
All the registration processes are completed.
* When [CA], [SYSTEM STTINGS], or [EXECUTE] button is
pressed during self-printing, the operation is interrupted.
[Cancel of execution during operation]
• To cancel or resume, press [EXECUTE] button.
[Initial Screen]
(During the 48-patch printing)
(The output patch scan screen)
(During the 16-patch self-printing)
(The half-tone process control reference value registration screen)
(All processes complete screen)
67-25
Purpose
: Adjustment
Function (Purpose)
: Used to set the manual correction of the
printer engine color balance.
Section
: Printer
Item
: Adjustment
Operation/Procedure
1)
Use [K][C][M][Y] button to select a color. (The selected button
is highlighted.)
Select the set item with [
↑
] and [
↓
] buttons.
The highlighted section of the set value is switched and dis-
played on the set setting area.
* If there is any item over [
↑
], an active display is made and
item is shifted.
If there is no item over [
↑
], the display grays out and the
operation is invalid.
If there is any item under [
↓
], an active display is made and
item is shifted.
If there is no item over [
↓
], the display grays out and the
operation is invalid.
2)
Enter the set value with 10-key.
When [OK] button is pressed, the set value is saved to
EEPROM and RAM.
* Press [C] key to clear the entered values.
* Use [
U
] [
V
] buttons to change the set values collectively.
When the set value is not the upper limit (lower limit) value,
each item value is increased (decreased) by one. If the set
value is the upper limit (lower limit) value, it is not changed.
SIMULATION
NO.67-24
TEST
PRINTER ENGINE HALFTONE AUTO ADJUSTMENT MODE
EXECUTE
0
CLOSE
PRESS [EXECUTE] TO PROCON EXECUTION AND PRINT THE TEST PATCH.
(PLEASE USE SPECIFIED TYPE OF A3 OR 11”
17” SIZE PAPER
FOR THIS ADJUSTMENT)
SIMULATION NO.67-24
TEST
PRINTER ENGINE HALFTONE AUTO ADJUSTMENT MODE
0
CLOSE
TEST PATCH PRINTING IN PROGRESS...
EXECUTE
SIMULATION NO.67-24
TEST
PRINTER
ENGINE
HALFTONE
AUTO
ADJUSTMENT
MODE
0
CLOSE
PLEASE
WAIT.
NOW READING THE PRINTED TEST PATCH
EXECUTE
SIMULATION NO.67-24
TEST
PRINTER ENGINE HALFTONE AUTO ADJUSTMENT MODE
0
CLOSE
ADJUSTED PATCH PRINTING IN PROGRESS.
EXECUTE
SIMULATION NO.67-24
TEST
PRINTER
ENGINE
HALFTONE
AUTO
ADJUSTMENT
MODE
0
CLOSE
PLEASE
WAIT.
NOW
REGISTERING
THE
NEW
TARGET
OF
HALFTONE
PROCON.
EXECUTE
SIMULATION NO.67-24
TEST
PRINTER
ENGINE
HALFTONE
AUTO
ADJUSTMENT
MODE
0
CLOSE
COMPLETED
THIS
PROCEDURE.
PLEASE
QUIT
THIS
MODE.
1
To change the color balance, change each color set value as
below.
: Dec. 15 2005
1