


14
SELECTING THE EXPOSURE
After loading the original, you can adjust the contrast as needed for the darkness and type of the original. After loading
the original in scanner mode, adjust the settings as explained below. The initial exposure setting is AUTO.
■
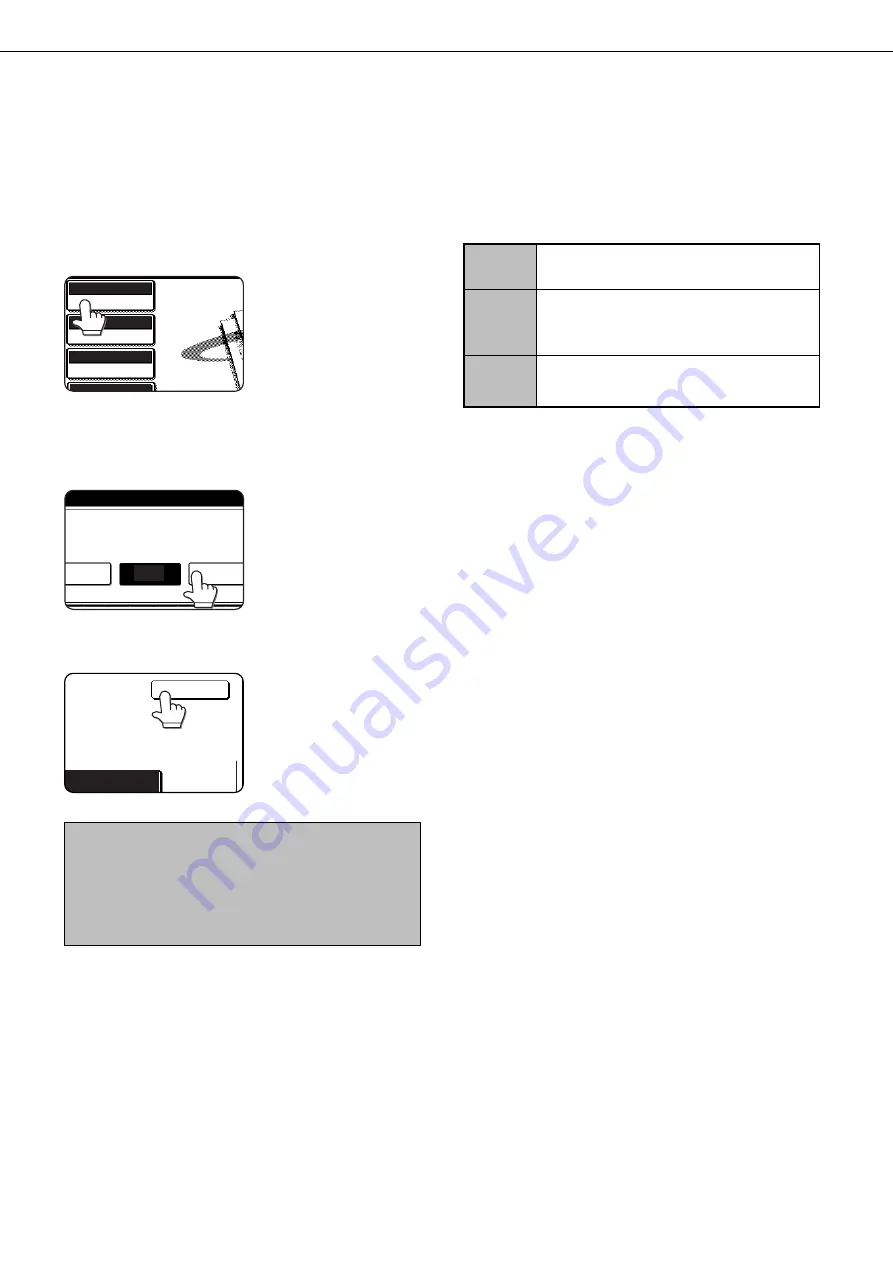
Change the exposure.
1
Touch the EXPOSURE key.
AUTO
8 X11
AUTO
EXPOSURE
STANDARD
RESOLUTION
PROGRAMMED
FILE FORMAT
1
/
2
If the Fax Expansion Kit
(AR-FX5) has been
installed, the SPECIAL
MODES key will appear in
place of the EXPOSURE
key. In this case, press the
SPECIAL MODES key and
then press the EXPOSURE
key.
2
Touch the desired exposure key.
AUTO
DARK
ORIGINAL
LIGHT
ORIGINAL
The selected key is
highlighted.
3
Touch the OK key.
OK
LIGHT
You will return to the initial
screen.
NOTE
When using the document glass to scan pages an original,
the exposure setting can be changed each time you change
pages. When using the automatic document feeder, the
exposure setting cannot be changed once scanning has
begun.
Dark
Select this setting if your original consists
Original
mostly of dark characters.
Auto
This setting automatically adjusts the ex-
posure for light and dark parts of the origi-
nal.
Light
Select this setting if your original consists
Original
mostly of faint characters.
■
Exposure settings
SCANNING SETTINGS (ORIGINAL SIZE, RESOLUTION, EXPOSURE, AND FILE FORMAT)
Summary of Contents for DM-3551
Page 2: ...cover1 p65 2 04 01 19 17 2 ...
Page 37: ...cover4 p65 2 04 01 19 18 1 ...
Page 40: ......
Page 69: ......
Page 90: ......
Page 98: ......
Page 120: ......
Page 126: ......
Page 159: ...9 3 9 NOTE ...
Page 160: ...9 4 NOTE ...
Page 161: ......
Page 178: ...1 6 Part names and functions of peripheral devices PART NAMES AND FUNCTIONS ...
Page 198: ...1 26 ...
Page 218: ...2 20 ...
Page 226: ......
Page 238: ......
Page 273: ......
Page 285: ......