


2-11
2
8
Verify that the desired number of copies is
set.
The number of copies can
be changed by using the
or
key on the
operation panel.
9
Press the [OK] key.
●
Printing will start. If printing of another job is being
executed, however, your job will be registered as
a print job. Printing of the job will start after
preceding jobs are completed.
10
Operation is now complete.
To continue operation, repeat steps 1 to 9.
When the machine is being operated from the touch panel on a scanner module:
1
Press the [PRINT] key to display the printer
basic screen.
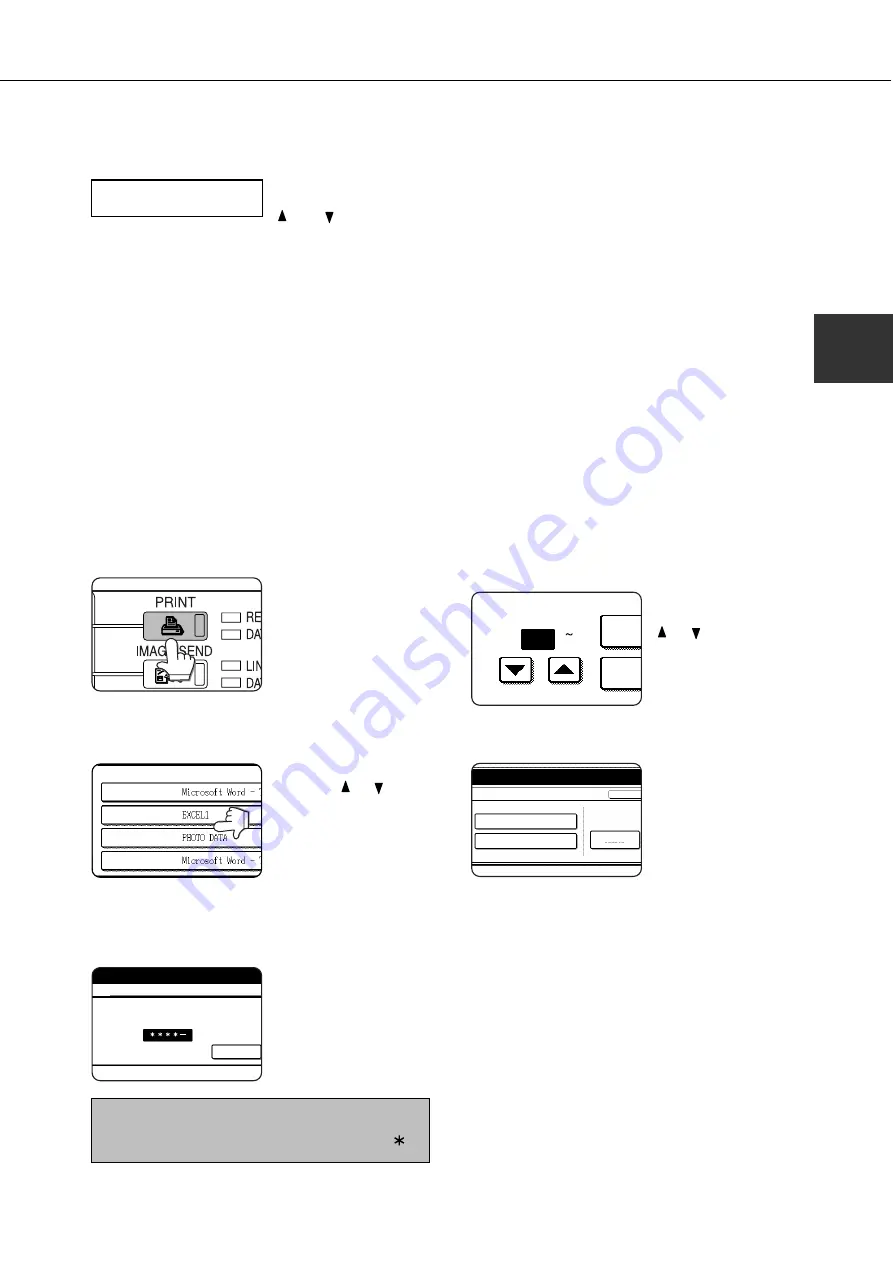
2
Select the desired data.
PRINT HOLD JOB LIST
SHARP001
SHARP002
SHARP003
SHARP004
To switch the screen,
touch the or key.
3
Use the [Numeric] keys to enter the 5-digit
password.
(needed only if a password has been set)
ENTER PIN VIA THE 10-KEY.
CANCEL
Be sure to enter the
password that has been
entered on the computer.
If no password has been
set, operation of this step
is not needed.
NOTE:
Each time a number is entered, “–” will change to “ ”.
4
Ensure that the desired number of prints
is set.
PRIN
NUMBER OF PRINTS
(1 999)
PR
1
The number of prints can
be changed by using the
or key.
5
Execute printing.
To delete the print data
after completing the print
job, touch the [PRINT
AND DELETE THE DATA]
key. To keep the print
data after printing, touch
the [PRINT AND SAVE
THE DATA] key. To cancel
printing and clear the print
data, touch the [DELETE]
key.
●
If you select execution
of the print job, printing
will start. If printing of
another job is being
executed, your job will
be registered as a print
job. Printing of the job
will start after preceding
jobs are completed.
6
Operation is now complete.
JOB CONTROL
COPIES
10SET
PRINT AND DELETE THE DATA
DELETE
CANCEL
PRINT AND SAVE THE DATA
Summary of Contents for DM-3551
Page 2: ...cover1 p65 2 04 01 19 17 2 ...
Page 37: ...cover4 p65 2 04 01 19 18 1 ...
Page 40: ......
Page 69: ......
Page 90: ......
Page 98: ......
Page 120: ......
Page 126: ......
Page 159: ...9 3 9 NOTE ...
Page 160: ...9 4 NOTE ...
Page 161: ......
Page 178: ...1 6 Part names and functions of peripheral devices PART NAMES AND FUNCTIONS ...
Page 198: ...1 26 ...
Page 218: ...2 20 ...
Page 226: ......
Page 238: ......
Page 273: ......
Page 285: ......