


73
THE PRINT HEAD
Clean the print head
If the test page or copies are faint or uneven, first make sure that you are copying on the correct
side of the paper, and the ink levels are sufficient. If these items are OK, follow the steps below
to clean the print heads.
For print head cleaning, four quality levels are available. Check the copy result, and then
select the most suitable value.
1
Press the "MENU" button, and repeatedly press the
or
"ARROW" button until "Maintenance" is displayed on the first
line of the display panel.
2
From the chart below, select the condition which best describes
the copies being produced. Then repeatedly press the
or
"ARROW" buttons until the selected number appears on the
second line of the display panel.
3
Press the "ENTER" button.
The message shown below will appear in the display panel, and cleaning of the
print head will start. After finishing the cleaning operation, the unit will return to the
ready state.
4
If cleaning was done by the "Clean PrintHead 1" selection , no
test page will be printed. For the other selections, a test page
will automatically be printed after cleaning.
For details refer to "PRINTING A TEST PAGE". (See page 76)
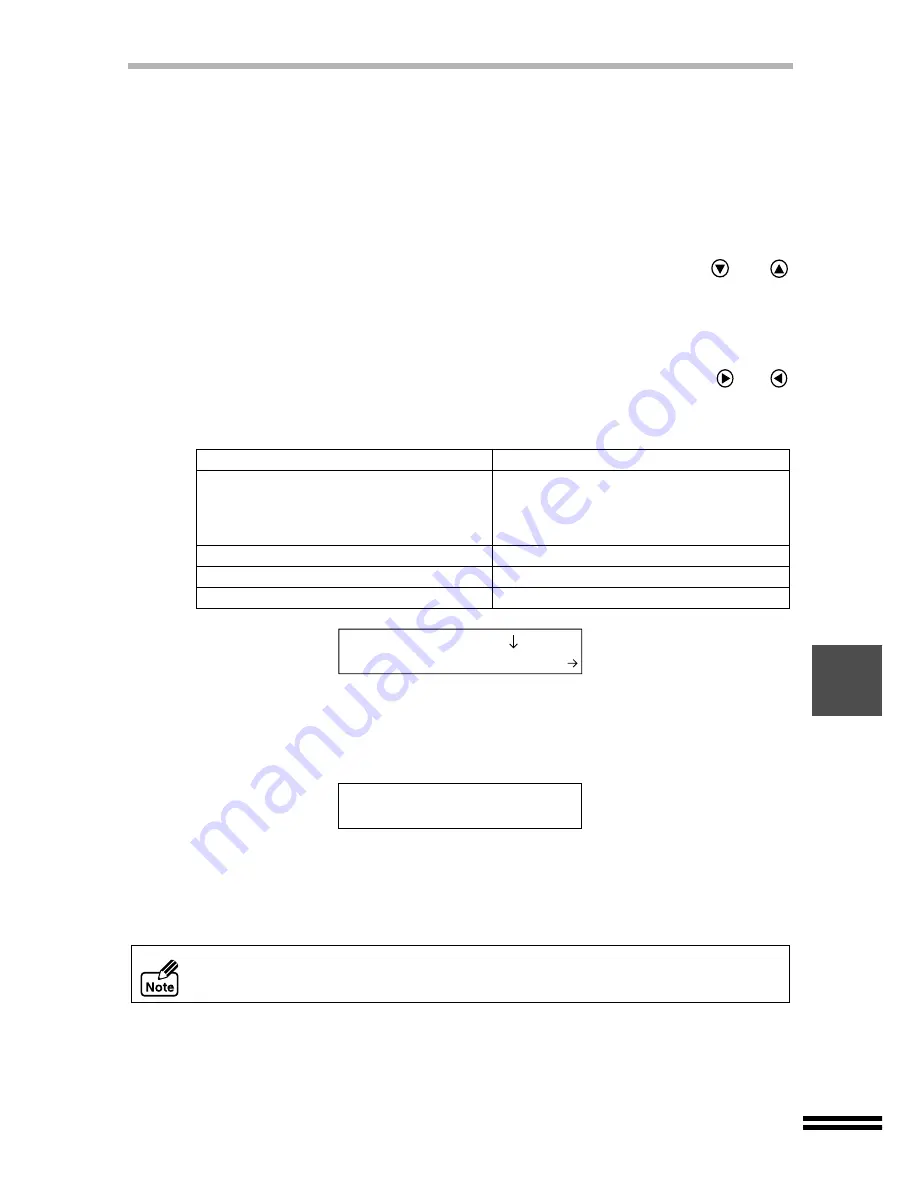
Condition of print result
Setting values for print head cleaning
Faint or blurred image when printing
after a long period of no use, or even
after cleaning the print head with the
values of "Clean PrintHead 2-4".
1.Clean PrintHead 1
Slightly faint or blurred image
2.Clean PrintHead 2
Faint or blurred image
3.Clean PrintHead 3
Conspicuously faint or blurred image
4.Clean PrintHead 4
Do not clean the print head more than five times. Excessive cleaning of the print
head wastes ink. If you cannot get a good result after cleaning the print head five
times, change the print head. (See the next page)
3.Maintenance
2.Clean PrintHead2
Cleaning the Print
Head...