


61
ADDING ANNOTATION TO COPIES
Selecting the print position
Select a print position for the annotation.
1
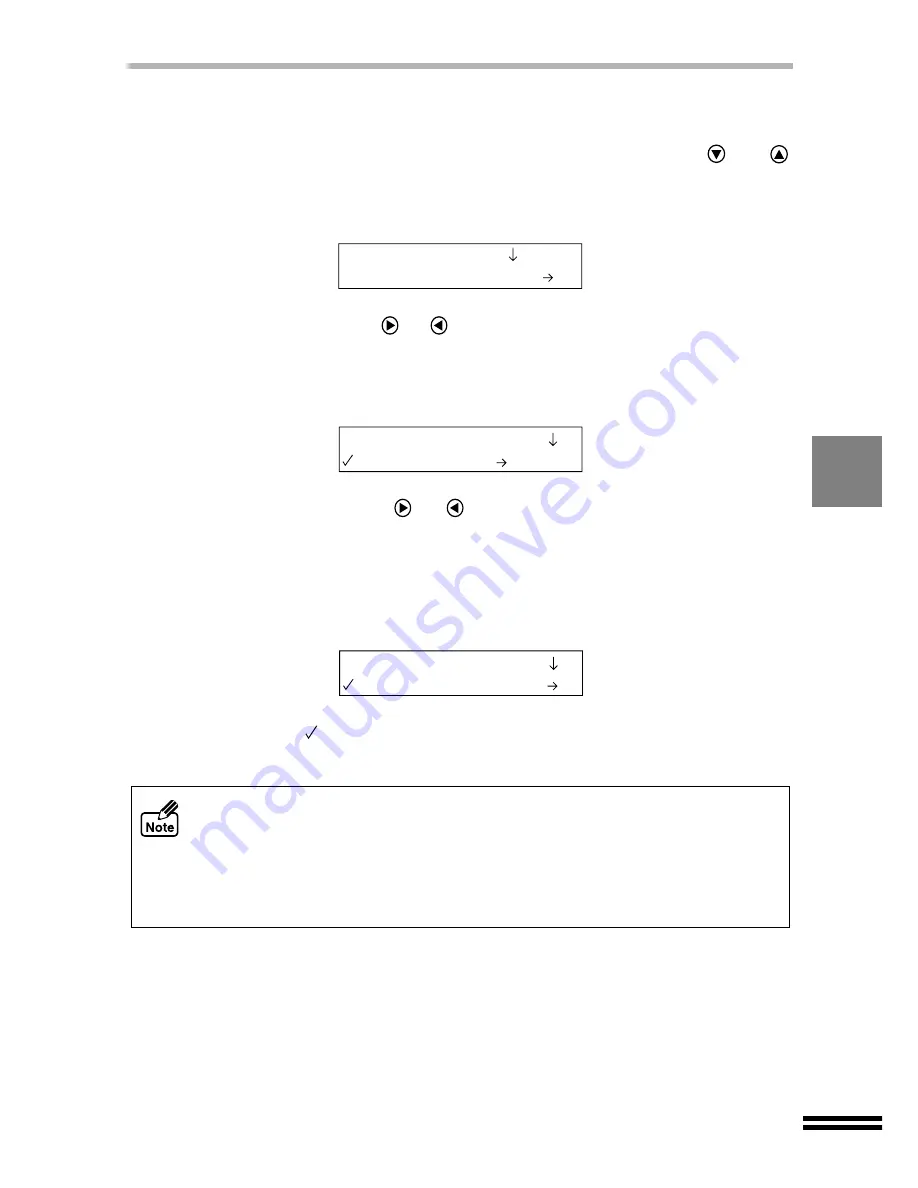
Press the "MENU" button, and repeatedly press the
or
"ARROW" buttons until "Annotation" is shown on the first line of
the display panel.
2
Repeatedly press the
or
"ARROW" buttons until "Print Position"
is shown on the second line of the display panel.
3
Press the "ENTER" button.
4
Repeatedly press the
or
"ARROW" buttons until the desired
position name appears on the second line of the display panel.
Select from "1. Top/Right" (Default setting), "2. Top/Centre", "3. Top/Left",
"4. Bottom/Right", "5. Bottom/Centre" and "6. Bottom/Left".
5
Press the "ENTER" button.
A checkmark (
) will appear, indicating the selected position. After displaying the
selected value for one second, the display will return to the ready message.
!
The desired annotation will appear on your copy output when "Annotation" is
enabled. To make copies without the annotation it is necessary to select "1.
None" for the "Print Pattern" setting.
!
If you select "4. Bottom/Right", "5. Bottom/Centre" or "6. Bottom/Left" for the
"Print Position" when making reduced copy, the annotation is placed off the
normal position. In this case, the copy result from the SPF is a little different from
the result from the original table.
11.Annotation
1.Print Pattern
2.Print Position
1.Top/Right
2.Print Position
5.Bottom/Centre