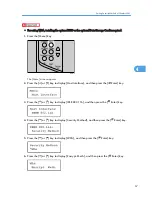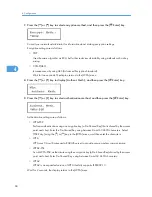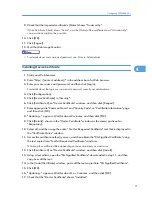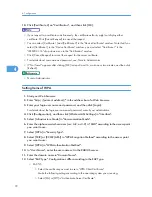
• Select [On] or [Off] in "Trust Intermediate Certificate Authority".
• Enter the host name of the RADIUS server on "Server ID".
• LEAP
• Click [Change] in "Password", and then enter the password set in the RADIUS server.
• EAP-TTLS
• Click [Change] in "Password", and then enter the password set in the RADIUS server.
• Click [Change] in "Phase 2 User Name", and then enter the user name set in the RADIUS
server.
• Select [CHAP], [MSCHAP], [MSCHAPv2], [PAP], or [MD5] in "Phase 2 Method".
• Certain methods might not be available, depending on the RADIUS server you want to use.
Make the following settings according to the operating system you are using:
• Select [On] or [Off] in "Authenticate Server Certificate".
• Select [On] or [Off] in "Trust Intermediate Certificate Authority".
• Enter the host name of the RADIUS server in "Server ID".
• PEAP
• Click [Change] in "Password", and then enter the password set in the RADIUS server.
• Click [Change] on "Phase 2 User Name", and then enter the user name set in the RADIUS
server.
• Select [MSCHAPv2] or [TLS] in "Phase 2 Method".
• When you select [TLS], Select the client certificate you want to use in "WPA Client
Certificate".
Make the following settings according to the operating system you are using:
• Select [On] or [Off] in "Authenticate Server Certificate".
• Select [On] or [Off] in "Trust Intermediate Certificate Authority".
• Enter the host name of the RADIUS server on "Server ID".
13.
Click [OK].
14.
Click [Logout].
15.
Quit the Web Image Monitor.
• If there is a problem with settings, you might not be able to communicate with the printer. To identify
the problem, open the Web Image Monitor system log or print a network summary.
• If you cannot identify the problem, reset the printer interface to normal, and then repeat the procedure
from the beginning.
Configuring WPA (802.1X)
73
4
Summary of Contents for LP131n
Page 6: ...Options 192 INDEX 197 4 ...
Page 18: ...1 Guide to the Printer 16 1 ...
Page 48: ...2 Installing Options 46 2 ...
Page 53: ... p 37 Attaching Gigabit Ethernet Board Type A USB Connection 51 3 ...
Page 76: ...4 Configuration 74 4 ...
Page 130: ...6 Replacing Consumables and Maintenance Kit 128 6 ...
Page 140: ...7 Cleaning the Printer 138 7 ...
Page 198: ...11 Appendix 196 11 ...
Page 201: ...MEMO 199 ...
Page 202: ...MEMO 200 GB GB EN USA G176 ...
Page 203: ...Copyright 2006 ...


