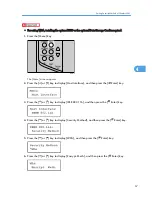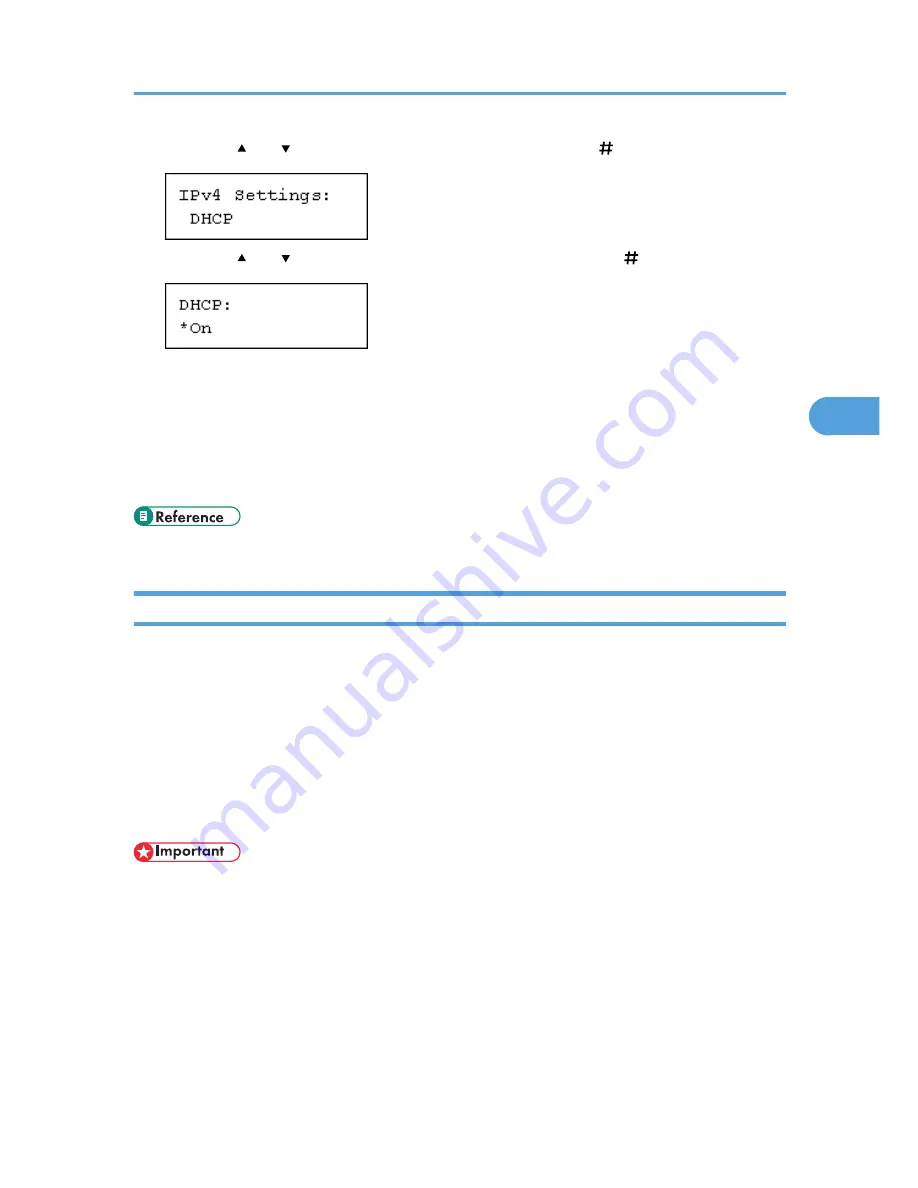
5.
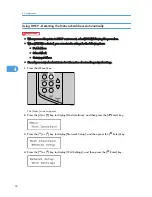
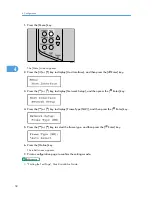
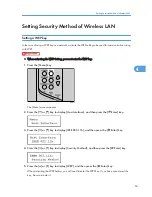
Press the [ ] or [ ] key to display [DHCP], and then press the [ Enter] key.
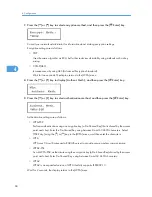
6.
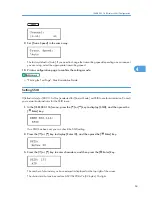
Press the [ ] or [ ] key to select [On] or [Off], and then press the [ Enter] key.
The address will be detected by the printer.
The default setting is [On].
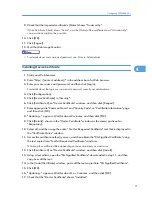
7.
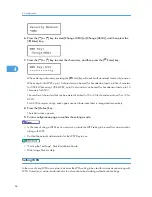
Press the [Online] key.
The initial screen appears.
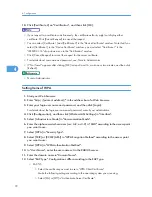
8.
Print a configuration page to confirm the settings made.
• "Printing the Test Page", Quick Installation Guide.
Making Network Settings for Using NetWare
If you use NetWare, select the frame type for NetWare.
Select one of the items below if necessary.
• Auto Select (Default)
• Ethernet II
• Ethernet 802.2
• Ethernet 802.3
• Ethernet SNAP
• Usually, use the default setting ([Auto Select]). When you first select [Auto Select], the frame type
detected by the printer is adopted. If your network can use more than two frame types, the printer
may fail to select the correct frame type if [Auto Select] is selected. In this case, select the appropriate
frame type.
Ethernet Configuration
57
4
Summary of Contents for LP131n
Page 6: ...Options 192 INDEX 197 4 ...
Page 18: ...1 Guide to the Printer 16 1 ...
Page 48: ...2 Installing Options 46 2 ...
Page 53: ... p 37 Attaching Gigabit Ethernet Board Type A USB Connection 51 3 ...
Page 76: ...4 Configuration 74 4 ...
Page 130: ...6 Replacing Consumables and Maintenance Kit 128 6 ...
Page 140: ...7 Cleaning the Printer 138 7 ...
Page 198: ...11 Appendix 196 11 ...
Page 201: ...MEMO 199 ...
Page 202: ...MEMO 200 GB GB EN USA G176 ...
Page 203: ...Copyright 2006 ...

