AUB303S
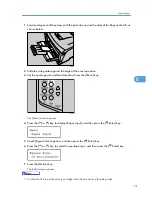
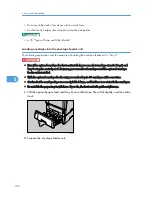
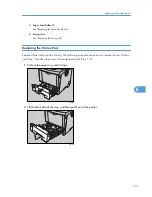
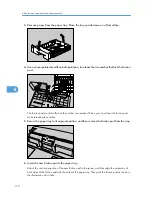
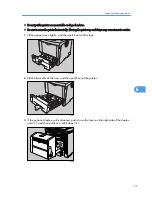
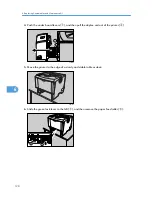
After pushing in the friction pad, press on it several times to check it is properly installed. If it jumps
back into position due to the force of the spring, it is properly installed.
7.
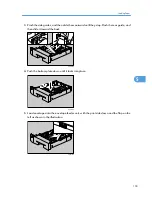
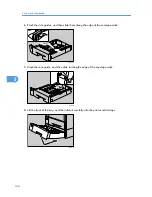
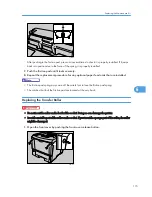
Push the friction pad until it locks securely.
8.
Repeat the replacement procedure for any optional paper feed units that are installed.
• The friction pad spring may come off. Be careful not to lose the friction pad spring.
• The catches that lock the friction pad are located at the very back.
Replacing the Transfer Roller
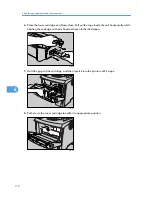
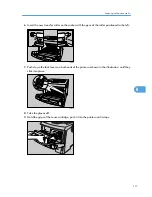
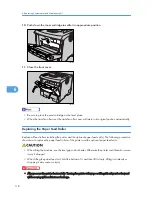
• Do not insert the roller on the back of the socket. Doing so can damage the printer.
• Insert the metallic part of the roller on the socket. If you insert the sponge part of the roller, the roller
might be damaged.
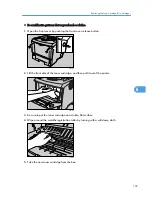
1.
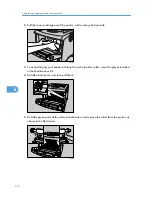
Open the front cover by pushing the front cover release button.
AUB101S
Replacing the Maintenance Kit
115
6
Summary of Contents for LP131n
Page 6: ...Options 192 INDEX 197 4 ...
Page 18: ...1 Guide to the Printer 16 1 ...
Page 48: ...2 Installing Options 46 2 ...
Page 53: ... p 37 Attaching Gigabit Ethernet Board Type A USB Connection 51 3 ...
Page 76: ...4 Configuration 74 4 ...
Page 130: ...6 Replacing Consumables and Maintenance Kit 128 6 ...
Page 140: ...7 Cleaning the Printer 138 7 ...
Page 198: ...11 Appendix 196 11 ...
Page 201: ...MEMO 199 ...
Page 202: ...MEMO 200 GB GB EN USA G176 ...
Page 203: ...Copyright 2006 ...

