


57
Printer Settings (in the slicer settings also "Printer Settings")
Filament material_nozzle diameter_extruder
Example:
GENERIC175_04_SINGLE
=
1.75 mm PLA (all filament manufacturer)_nozzle diameter 0.4 mm_single extruder (for single-coloured print)
If you want to print an object in 1-colour, select the setting with "
SINGLE
" here. For 2-coloured printing, select the setting with "
DUAL
"
(see second to next page). Owners of the printer with a single extruder can only select the setting with "
SINGLE
" here.
Their selection in this setting depends again on the filament material used and the nozzle diameter. You can also specify here
whether the printout is to be produced with one or two extrudes.
Filament Settings (in the slicer settings also "Filament Settings")
Filament manufacturer
_
Filament-material_Printing plate-Temperature_Extruder-temperature
Example:
RENKFORCE_PLA175_55_200
=
Filament manufacturer Renkforce_1.75 mm PLA_55 °C printing plate temperature_200 °C extruder temperature
If you want to print a 2-coloured object, select the same settings for extruder 1 and 2 each. Accordingly, you need to insert the same
filament in either extruder as well, of course.
If you want to print out only a 1-coloured object, it does not matter what is set for the 2nd extruder. The only exception is if you use
the 2nd extruder for the printout. In that case, the proper setting must be chosen for the 2nd extruder.
Of course, it is possible again to select two different filaments, e.g. for the printed object PLA and as supporting material PVA.
Owners of the printer with single extruder only can choose one extruder, of course.
Their selection in this setting depends on the manufacturer of the filament, the filament material used and the matching temperatures
for the printing plate and extruder.
The temperatures apply from the 2nd layer onwards. For the 1st layer, the temperatures set are usually a little higher.
(3) Further settings can be made optionally here. However, this should only be done by experienced users. The online help function of the
software shows what the individual functions do.
(4) Click "
Slice with RF2000v2
", to slice the 3D file.
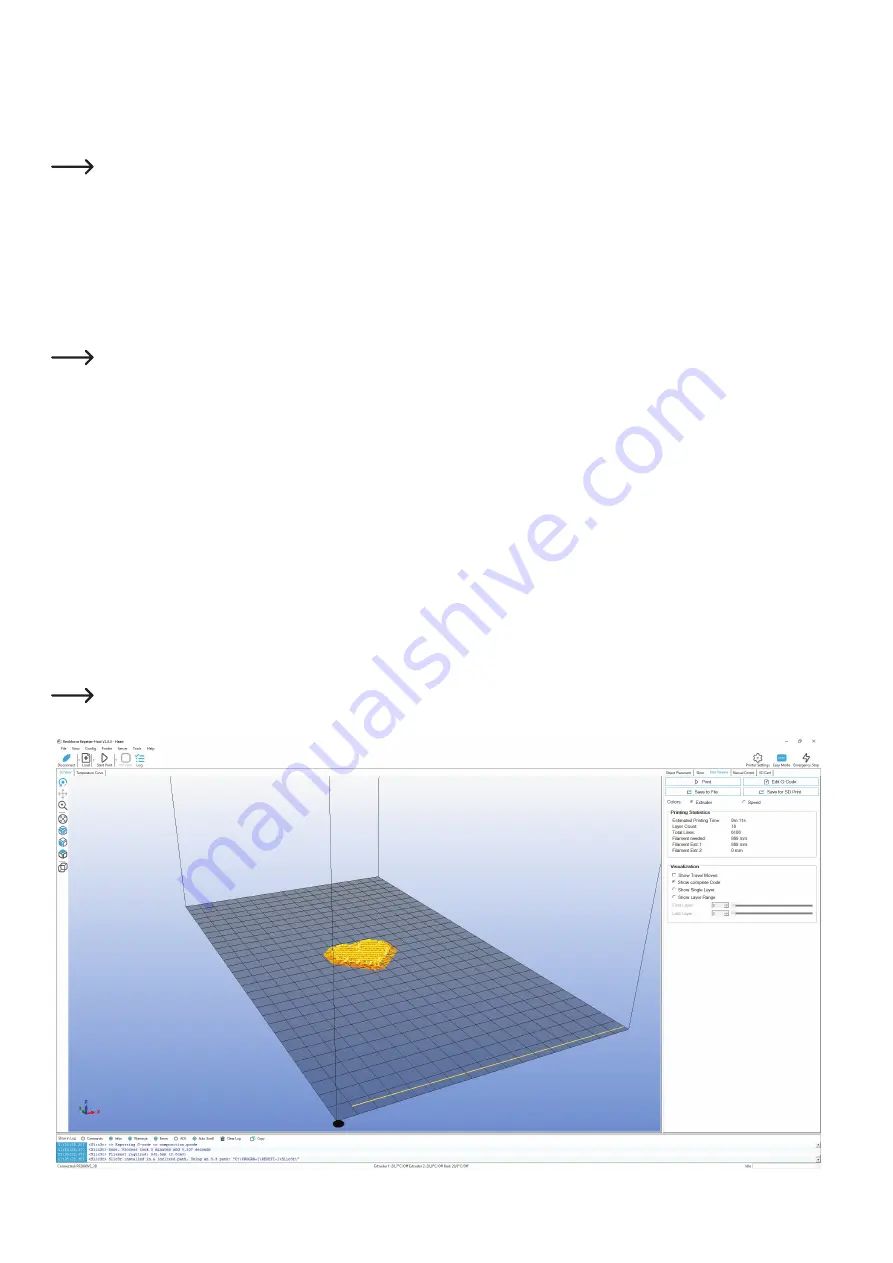
The finished printing file appears in the graphics window after calculation. To the right of this, you will see a small overview for printing. This layer
view serves to check for errors before printing. At the very left of the screen, there is a tool bar that serves view control.
For more detailed descriptions of the functions, see the online help function of the software.


