
3 – Managing Fabrics
Managing the Fabric Database
59226-00 B
3-5
A
3.3.1
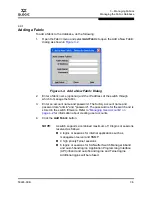
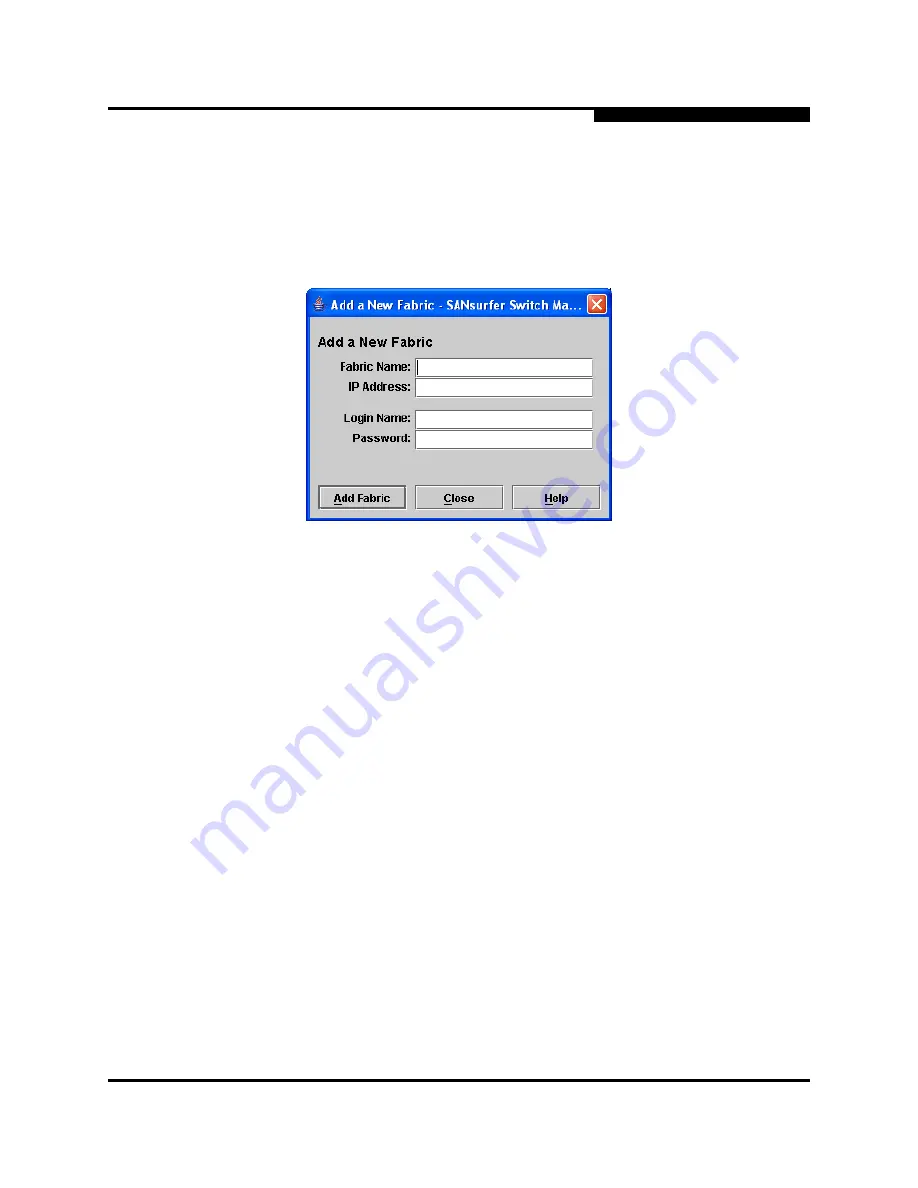
Adding a Fabric
To add a fabric to the database, do the following:
1.
Open the Fabric menu and select
Add Fabric
to open the Add a New Fabric
dialog as shown in
Figure 3-2
.
Figure 3-2. Add a New Fabric Dialog
2.
Enter a fabric name (optional) and the IP address of the switch through
which to manage the fabric.
3.
Enter an account name and password. The factory account name and
password are "admin" and "password". The password is for the switch and is
stored in the switch firmware. Refer to
“Managing User Accounts” on
page 4-2
for information about creating user accounts.
4.
Click the
Add Fabric
button.
NOTE:
A switch supports a combined maximum of 19 logins or sessions
reserved as follows:
4 logins or sessions for internal applications such as
management server and SNMP
9 high priority Telnet sessions
6 logins or sessions for SANsurfer Switch Manager inband
and out-of-band logins, Application Programming Interface
(API) inband and out-of-band logins, and Telnet logins.
Additional logins will be refused.
Summary of Contents for SANbox 1400 Series
Page 12: ...Page xii 59226 00 B SANbox 1400 Series Switch Management User s Guide S Notes...
Page 126: ...4 Managing Switches Displaying Hardware Status 4 38 59226 00 B S Notes...
Page 154: ...5 Managing Ports Graphing Port Performance 5 28 59226 00 B S...
Page 265: ...A Command Line Interface Zoning Command 59226 00 B A 111 A...
Page 266: ...A Command Line Interface Zoning Command A 112 59226 00 B S Notes...


