


3
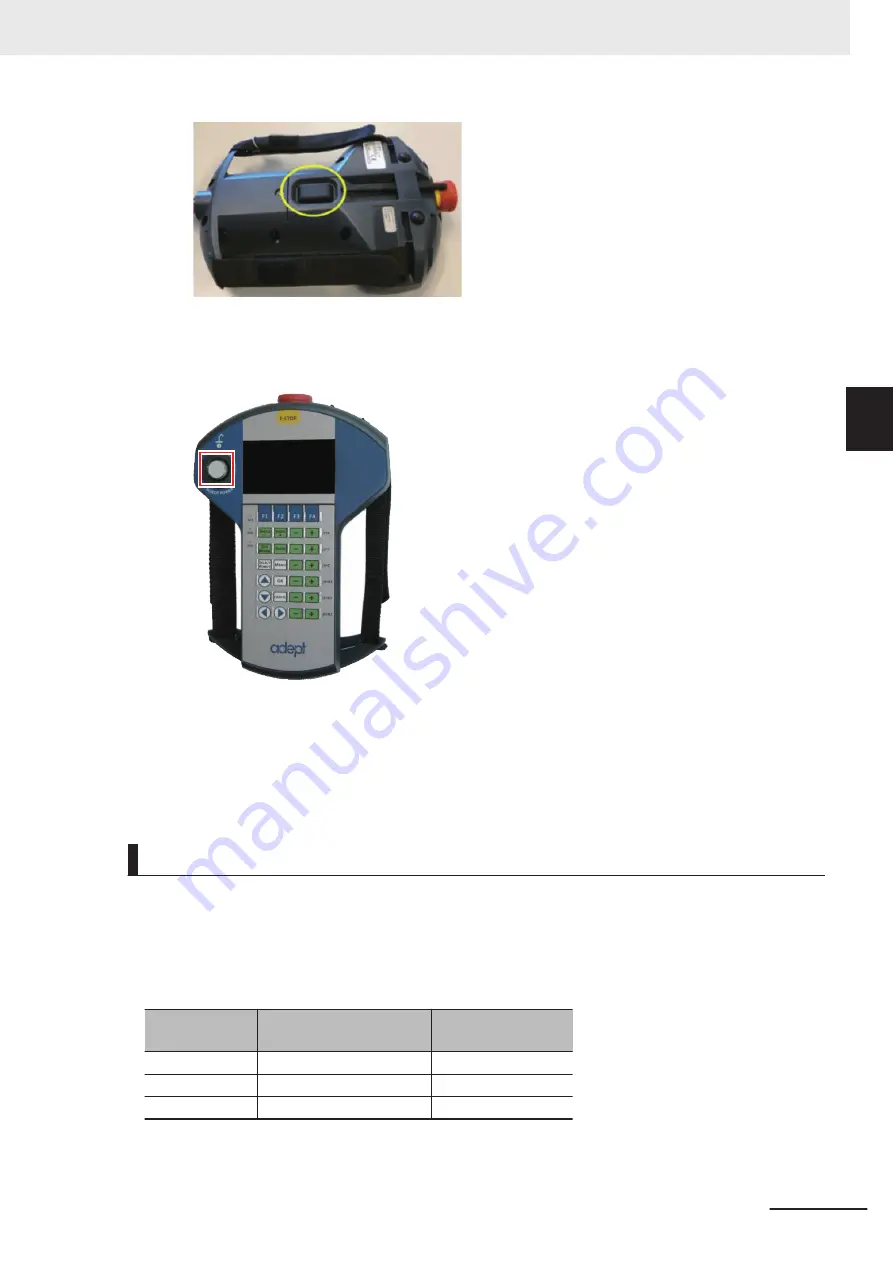
Press and release the ROBOT POWER button while the enable switch keeps to Position 2
(half-way).
After a few seconds, the robot high power is turned ON and the ROBOT POWER button lights.
If you release the enable switch (Position 1) or press the enable switch again from Position 2 (half-
way) (Position 3), the robot high power is turned OFF. Perform the later operations while the enable
switch keeps to Position 2 (half-way) except when it is specified.
Adjusting Teaching Position in Simulation Operation
The teaching position that is set in setup procedure with the simulation operation is adjusted to match
the actual place position. The robot actually moves to the teaching position set in the simulation opera-
tion, and correct the position if there are differences between teaching position and expected position.
Use the following procedure to adjust position according to the travel route of the robot. You must ad-
just the wait position and approach position more than once.
Position name
(Variable name)
Description
Order of adjustment
gl.wait
Robot wait position
1, 4
gl.pick
Workpiece pick-up position 2
gl.place
Workpiece place position
3
3 Implementation Example of Static Pick-and-place Equipment
3-81
NJ-series Robot Integrated System Startup Guide (O049)
3-4 Setup Procedure for Actual System
3
3-4-3
T
eaching
Summary of Contents for RL4 Series
Page 4: ...AC1 152000 Introduction 2 NJ series Robot Integrated System Startup Guide O049 ...
Page 23: ...Outline View Detailed View Versions 21 NJ series Robot Integrated System Startup Guide O049 ...
Page 30: ...Revision History 28 NJ series Robot Integrated System Startup Guide O049 ...
Page 42: ...1 Overview 1 12 NJ series Robot Integrated System Startup Guide O049 ...
Page 50: ...2 Before You Begin 2 8 NJ series Robot Integrated System Startup Guide O049 ...
Page 162: ...Appendices A 18 NJ series Robot Integrated System Startup Guide O049 ...
Page 164: ...Appendices A 20 NJ series Robot Integrated System Startup Guide O049 ...
Page 167: ......


