Ink Supply Changes
12/9/04
2-3
1.
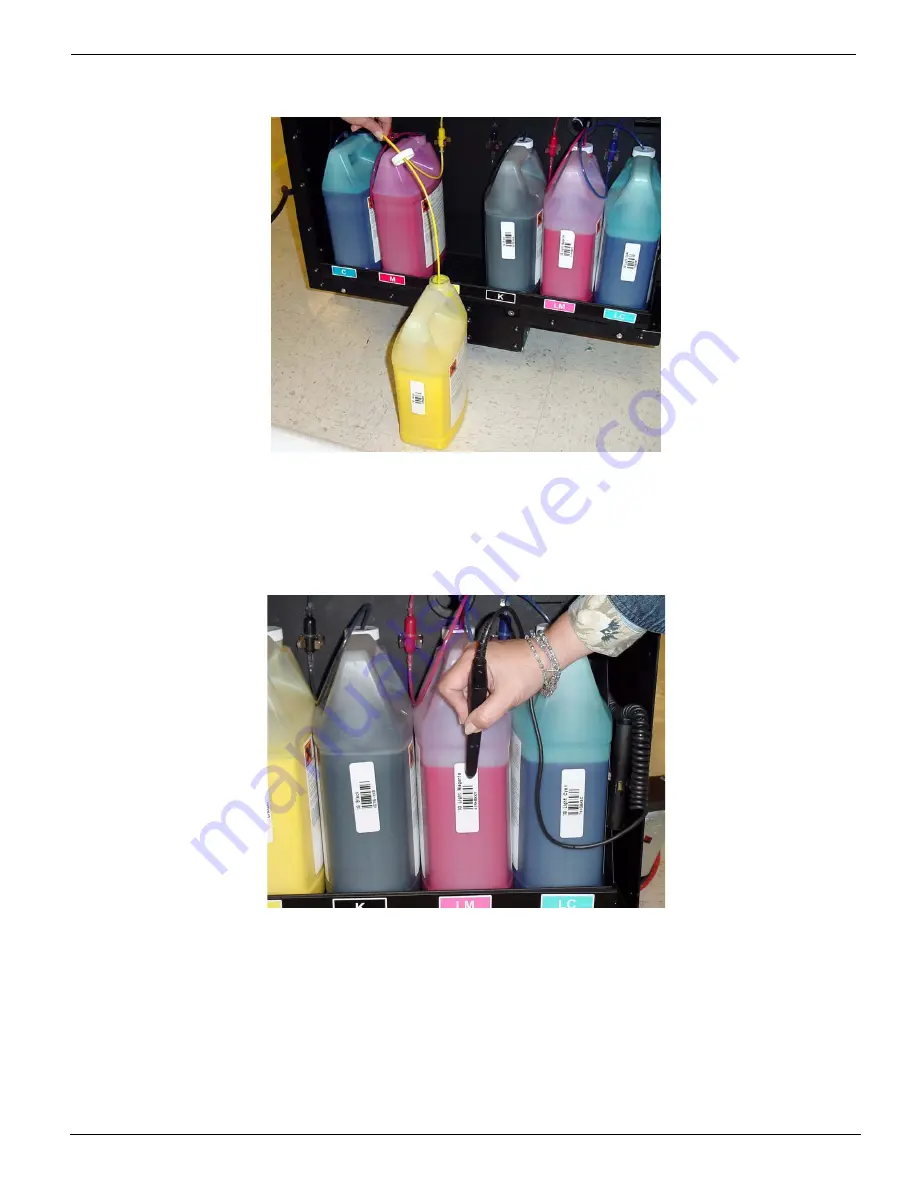
Locate the container on the ink supply tray that requires replacement and remove the
cap and ink pick-up tube from the bottle (see Figure 2-3)
.
Remove the empty bottle.
Figure 2-3 Supply Ink
2.
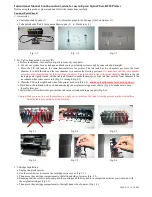
The barcode on each bottle must be scanned each time a new bottle of ink is added
to the printer (see Figure 2-4
).
For additional information about scanning the
barcode and ink bottle installation (see "Ink Bottle Installation" on page 4-28).
Figure 2-4 Scanning the Ink Barcode
3.
Remove the ink bottle cap and protective cover on the new ink supply bottle. Place
it on the ink supply tray and insert the ink pick-up tube and cap. It should be placed
loosely back on top of the bottle but not screwed down. If the cap seals too tightly,
the printer may not pump the ink to the reservoirs.
Summary of Contents for Arizona 600
Page 2: ...Oc Display Graphics Systems 2004 All Rights Reserved...
Page 6: ...Oc Ordering Printer Supplies vi...
Page 34: ...Oc Media System 3 6 Figure 3 6 Secure the Mandrel Media Assembly...
Page 58: ...Oc Media System 3 30...
Page 110: ...Oc Printer Maintenance 5 20...
Page 118: ...Oc Error Messages and Troubleshooting 6 8...
Page 120: ...Oc Menus A 2 Figure A 1 Copies Reprints Menu...
Page 121: ...12 9 04 A 3 Figure A 2 Print Parameters Menu...
Page 122: ...Oc Menus A 4 Figure A 3 Test Prints Menu...
Page 123: ...12 9 04 A 5 Figure A 4 Maintenance Menu Part 1...
Page 124: ...Oc Menus A 6 Figure A 5 Maintenance Menu Part 2...
Page 126: ...Oc Menus A 8 Figure A 7 About Printer Menu...
Page 127: ...12 9 04 A 9 Figure A 8 Units Menu...
Page 128: ...Oc Menus A 10 Figure A 9 Set Clock Menu...
Page 129: ...12 9 04 A 11 Figure A 10 Ink Menu...
Page 130: ...Oc Menus A 12 Figure A 11 Configure I O Menu...
Page 137: ...12 9 04 B 7 Photo 2 Photo 3...
Page 138: ...Oc Printer Maintenance B 8 Photo 4...
Page 148: ...Oc Index Index 4...


