Océ | Printer Maintenance
5-16
5.7
Carriage Cable
5.7.1
Adjusting the Carriage Cable
The carriage cable on your new printer will require weekly adjustment during the first two
months after installation. After this initial break-in period, adjustment is recommended
once a month.
In the event the carriage cable is ever replaced in your printer, the new cable will stretch for
several weeks after replacement. The carriage cable may need to be tightened several times
a day for about a week, once a day for a couple of weeks, then weekly for another month to
be certain the cable is fully stretched and tight. After the break-in time, this adjustment will
not be required very often as the cable is fully stretched. After the initial break-in period,
adjustment is recommended once a month.
The carriage cable should be checked for adjustment or cleaning if carriage speed/encoder
errors occur.
To adjust the carriage cable, perform the following tasks:
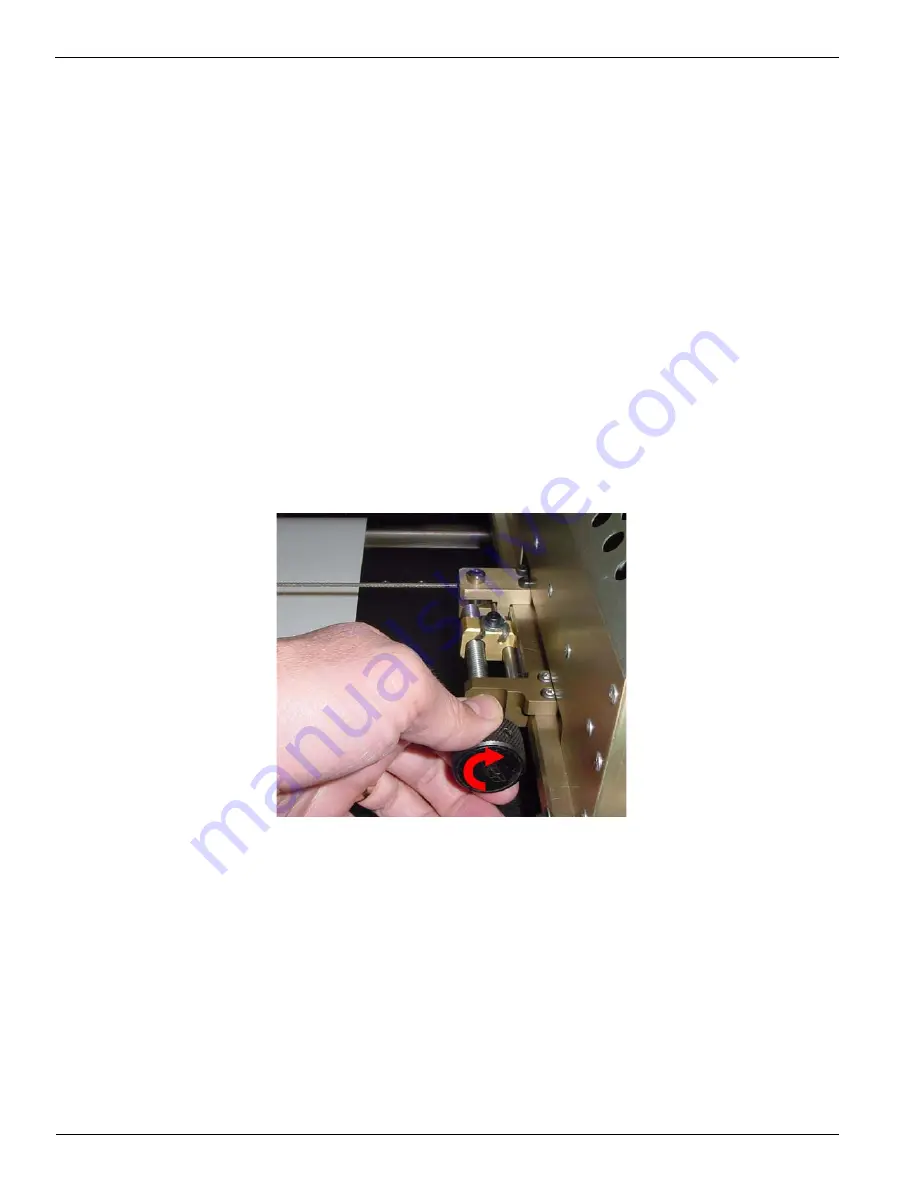
1.
Turn the handle clockwise (right) smoothly until the handle clicks (see Figure 5-16).
Figure 5-16 Adjusting the Carriage Cable Tension
2.
Turn the handle an additional full turn until it clicks again. This will verify the cable
is tensioned fully.
Summary of Contents for Arizona 600
Page 2: ...Oc Display Graphics Systems 2004 All Rights Reserved...
Page 6: ...Oc Ordering Printer Supplies vi...
Page 34: ...Oc Media System 3 6 Figure 3 6 Secure the Mandrel Media Assembly...
Page 58: ...Oc Media System 3 30...
Page 110: ...Oc Printer Maintenance 5 20...
Page 118: ...Oc Error Messages and Troubleshooting 6 8...
Page 120: ...Oc Menus A 2 Figure A 1 Copies Reprints Menu...
Page 121: ...12 9 04 A 3 Figure A 2 Print Parameters Menu...
Page 122: ...Oc Menus A 4 Figure A 3 Test Prints Menu...
Page 123: ...12 9 04 A 5 Figure A 4 Maintenance Menu Part 1...
Page 124: ...Oc Menus A 6 Figure A 5 Maintenance Menu Part 2...
Page 126: ...Oc Menus A 8 Figure A 7 About Printer Menu...
Page 127: ...12 9 04 A 9 Figure A 8 Units Menu...
Page 128: ...Oc Menus A 10 Figure A 9 Set Clock Menu...
Page 129: ...12 9 04 A 11 Figure A 10 Ink Menu...
Page 130: ...Oc Menus A 12 Figure A 11 Configure I O Menu...
Page 137: ...12 9 04 B 7 Photo 2 Photo 3...
Page 138: ...Oc Printer Maintenance B 8 Photo 4...
Page 148: ...Oc Index Index 4...


