


33
2
Getting started
Writing on the screen
In any program that accepts writing, such as
Notes
, and in the
Notes
tab in
Calendar
,
Contacts
, and
Tasks
, you can use your
stylus to write directly on the screen. Write
as you would on paper. You can edit and
format what you have written and convert
the information into typed text at a later time.
Tap the pen button to switch to writing mode.
This action displays lines on the screen to
help you write. Some programs that accept
writing may not have the pen button. See the
manual for each particular program to
fi
nd
out how to switch to writing mode.
Please note
T9 is the entry mode, that is, when
you enter a word, the T9 tries to
automatically match the letters you
have selected with the most likely
completed word.
Tips for good recognition:
1.
Write clearly.
2.
Write on the lines and draw descanters
below the line. Write the cross of the “t”
and apostrophes below the top line so
that they are not confused with the word
above. Write periods and commas above
the bottom line.
3.
For better recognition, use a zoom level
of 150% or higher by tapping input
panel icon >
Options…
>
Options
tab
to change the zoom level.
4.
Write the letters of a word closely and
leave big gaps between words so that the
device can easily tell where words begin
and end.
5.
Hyphenated words, foreign words that
use special characters such as accents,
and some punctuation cannot be
converted. If you edit or add to a word
after attempting to recognize it, the new
writing will not be included if you attempt
to recognize it again.
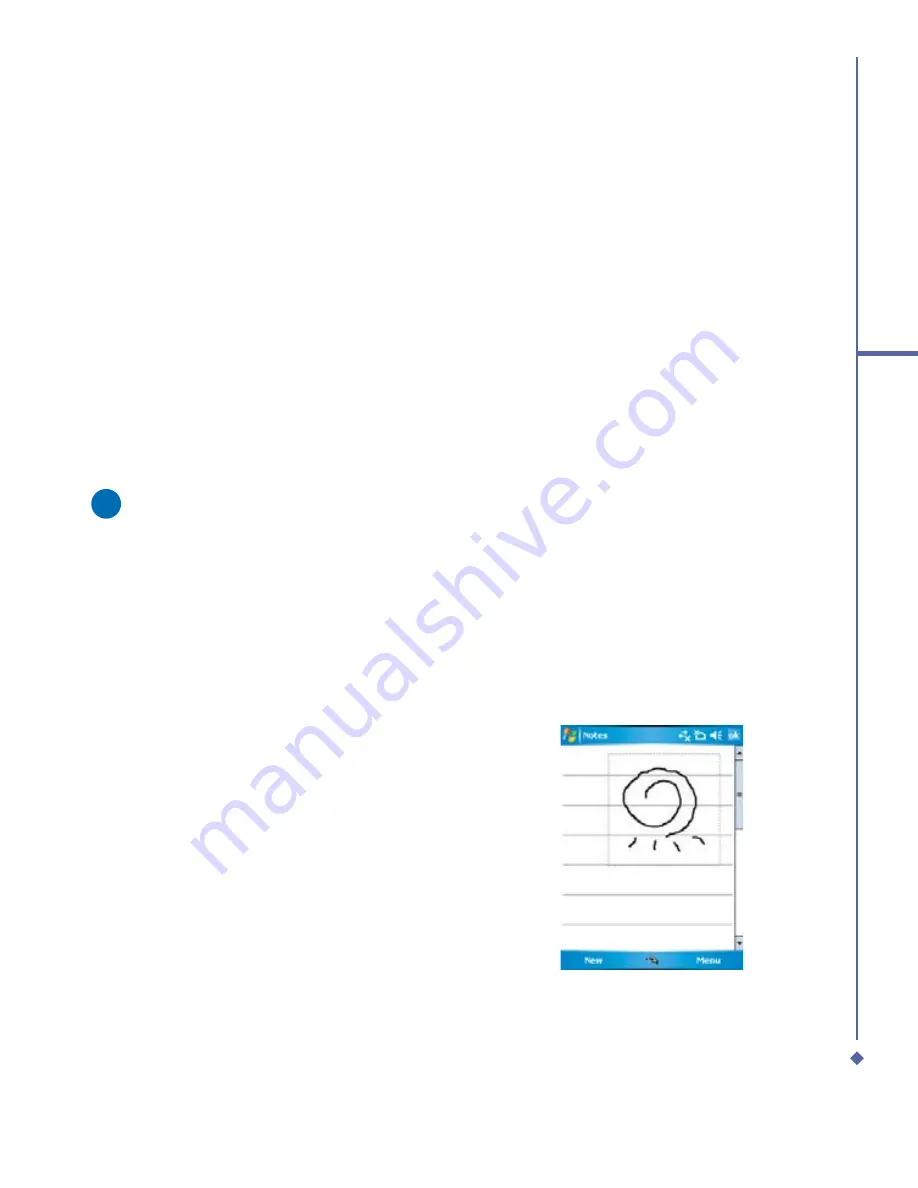
Drawing on the screen
You can draw on the screen in the same way
that you write on the screen. The difference
between writing and drawing on the screen
is how you select items and how they can be
edited. For example, selected drawings can
be re-sized, while writing cannot.
To create a drawing:
Cross three ruled lines on your
fi
rst stroke.
A drawing box appears. Subsequent strokes
in, or touching, the drawing box become part
of the drawing. Drawings that do not cross
three ruled lines will be treated as writing.
Summary of Contents for Xda Atom
Page 24: ...24 1 Before using your O 2 Xda Atom ...
Page 45: ...Chapter 4 Getting connected 4 1 Making a connection 4 2 Connecting to the Internet ...
Page 104: ...104 6 Messaging ...
Page 105: ...Chapter 7 Camera 7 1 Capture mode 7 2 Setup menu 7 3 Photo Album 7 4 View mode 7 5 Edit mode ...
Page 156: ...156 9 Windows Mobile Applications ...
Page 157: ...Chapter 10 Applications 10 1 O2 Connect 10 2 O2 SMS Plus 10 3 ClearVue PDF 10 4 JAVA Midlet ...
Page 165: ...Chapter 11 Settings 11 1 Personal settings 11 2 System settings 11 3 Connections settings ...
Page 184: ...184 12 Managing your Xda Atom ...
Page 185: ...Chapter 13 Don t panic 13 1 In plain English 13 2 Troubleshooting 13 3 Vital statistics ...


