Advanced fax
Note: To erase characters, press [Clear] to erase to the left.
To change just one character in the name, move the cursor to that
character and then press [Clear] to erase it. Then re-enter the name
correctly.
Press [Enter] to save the
ITU
-
T
sub-address and continue.
10
To enter the
ITU
-
T
password:
Select “Password” using the cursor key, and then press [Enter].
Then, use the numeric keypad to enter this box’s
ITU
-
T
-compatible password.
This password can be up to 20 characters in length and include any combina-
tion of numbers and the * and # characters (but no other non-numerical
characters).
Note: To erase characters, press [Clear] to erase to the left.
To change just one character in the name, move the cursor to that
character and then press [Clear] to erase it. Then re-enter the name
correctly.
Press [Enter] to save the
ITU
-
T
password and continue.
11
To enter the Hold time:
Select “Hold Time” using the cursor key, and then press [Enter].
Then, use the numeric keypad to enter a two-digit number indicating how
many days (00-31), you want your fax machine to keep received documents in
this F-Code box.
Note: Your fax machine can store incoming documents in F-Code boxes (up
to 30 documents) as long as 31 days, after which it automatically
erases the documents. But if your machine has plenty of memory, you
may want to override the 31-day limit in order to keep the documents
indefinitely. If so, enter 00. If you choose this, you will have to delete
documents manually. (You may want to contact your authorized
Muratec dealer regarding optional memory expansion.)
Press [Enter] to save the sub-address and continue.
12
Press [Exit].
The machine asks for your F-Code box’s four-
digit security
I
.
D
. code. This is the
I
.
D
. code for
the box’s security, which you use to (1) print a
document any remote F-Code-compatible fax
sends to this F-Code box or (2) you enter before
you can make any changes to this F-Code box.
13
Decide on a four-digit
I
.
D
. code (0001-9999) for this F-Code box.
Write it down, and put it in a safe place.
Important: Do not use 0000 as an
I
.
D
. code.
14
Use the numeric keypad to enter the four-digit
I
.
D
. code for this F-Code box.
Important: After completing this step, you must know this code to print
documents sent to this F-Code box. Be sure to write it down.
15
Press
ENTER
to save the F-Code box information.
To create or modify another F-Code box, go back to step 3.
To finish, press
RESET
.
If you chose Bulletin:
16
The bulletin box has the following settings:
• Box Name – Same as in step 7.
•
ITU
-
T
sub-address – Same as in step 7.
•
ITU
-
T
password – Same as in step 7.
• Rx Protect — Reception protection(“Rx
Protect” on the
LCD
) tells this box if it’s okay
to receive documents from remote locations.
Callers can then poll these documents.
• Auto Print — Automatic printing of
received documents (“Auto Print”) tells the
fax machine if it should print a document
automatically upon receiving it into this box.
• Overwrite Doc — Overwriting documents
(“Overwrite Doc.”) tells your machine if it should overwrite (erase) existing
documents when it receives a new one.
• Erase Tx Doc — Erasure of transmitted documents (“Erase Tx Doc.”) tells
your machine if it should erase a document from the box after a caller
retrieves (polls) the document.
•
I
.
D
. code for this F-Code box – This is the four-digit
I
.
D
. code for the
box’s security, which you use to (1) print a document any remote F-Code-
compatible fax sends to this F-Code box or (2) you enter before you can
make any changes to this F-Code box. (See step 24.)
17
To enter the Box name:
This is same procedure in step 8. Please refer to step 8.
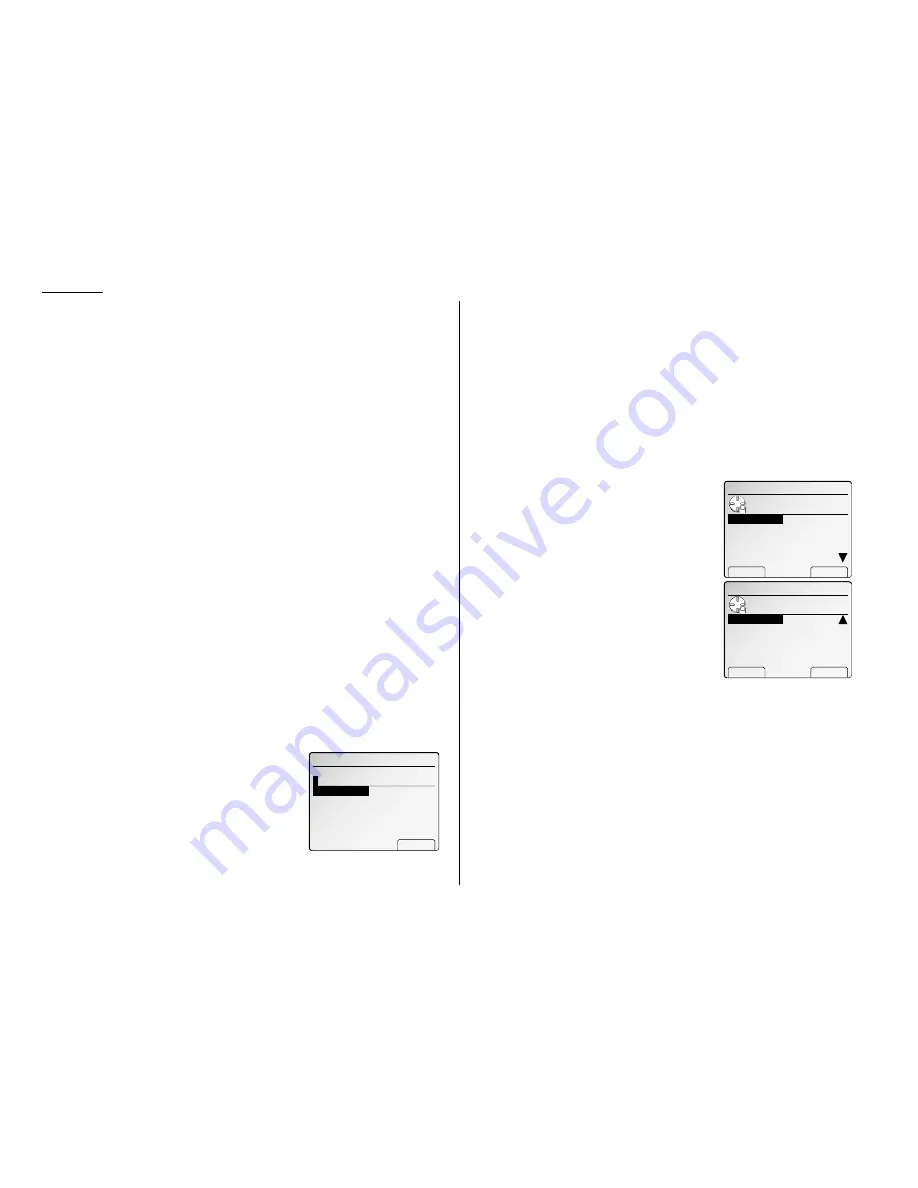
01:Bulletin Box SetBox
Use cursor to select
item.
Sub‑Address :
Password :
Rx Protect :OFF
Auto Print :OFF
Exit Enter
Box Name
:
01:Bulletin Box SetBox
Use cursor to select
item.
Erase Tx Doc:OFF
Exit Enter
OverwriteDoc
:OFF
01:Security Box SetBox
Sub‑Address :12345678
Password :
Hold Time :00 Day
Enter
Box Name
:AABBCC
Enter I.D.code
0
000
3.46
Summary of Contents for FAX SCANNER
Page 2: ......
Page 15: ......
Page 16: ...D84 90510 60...
Page 51: ...Copy settings This page intentionally blank 2 31 Copy Features...
Page 119: ...Fax Features Getting Started Advanced fax This page intentionally blank 3 67...
Page 129: ...Fax settings This page intentionally blank 3 77 Fax Features Getting Started...
Page 130: ...Soft Keys 4 1 Macros 4 3 Machine settings 4 6 Common settings...
Page 147: ...Common settings This page intentionally blank 4 17 Common Settings Getting Started...
Page 184: ...This page intentionally blank Appendix index AI 14...
Page 185: ...This page intentionally blank Appendix and index AI 15 Getting Started Appendix Index...
Page 186: ...This page intentionally blank Appendix index AI 16...


