F
ax F
eatures
Getting Started
Using memory transmission
Your fax machine has a great memory! Take advantage of it, and you could:
Save Time. By using your fax machine’s memory, you won’t have to wait for your
machine while it completes the transmission. Simply scan your document into your
fax machine’s memory, and you can walk away with your original in hand.
Save Money. If you’re transmitting to another memory-equipped fax machine, your
machine will send the document directly into the other machine’s memory and hang
up. (The receiving machine then prints out your message from its memory after the
call has ended.) This cuts your actual on-line time to a minimum.
Save Even More Money. Set up a delayed command (see page 3.25) to send your
document after hours, and you can save more money, because the line charges will
be cheaper.
The default transmission mode when the machine is turned on or when modes are
cleared is memory transmission. You can change this setting, see below.
Note: Whether you decide to send your documents from memory or manually, you
can override that choice one transmission at a time by pressing
MEMORY TRANSMIT
before you send your document. After completing the
communication, your fax will return to the default setting.
Note: If you want to change the default setting of transmission mode, see “Memory
transmission,” on page 3.70.
Note: Some documents use up memory faster than others. They include
documents with many pages and those with many dark areas. When the
machine’s memory is full, it can only transmit through the document feeder.
Note: When you send a fax using the
FBS
glass, the memory transmission will be
used automatically, even if the memory transmission is not set.
If the
MEMORY TRANSMIT
light glows, memory transmission is on.
If the
MEMORY TRANSMIT
light doesn’t glow, memory transmission is off.
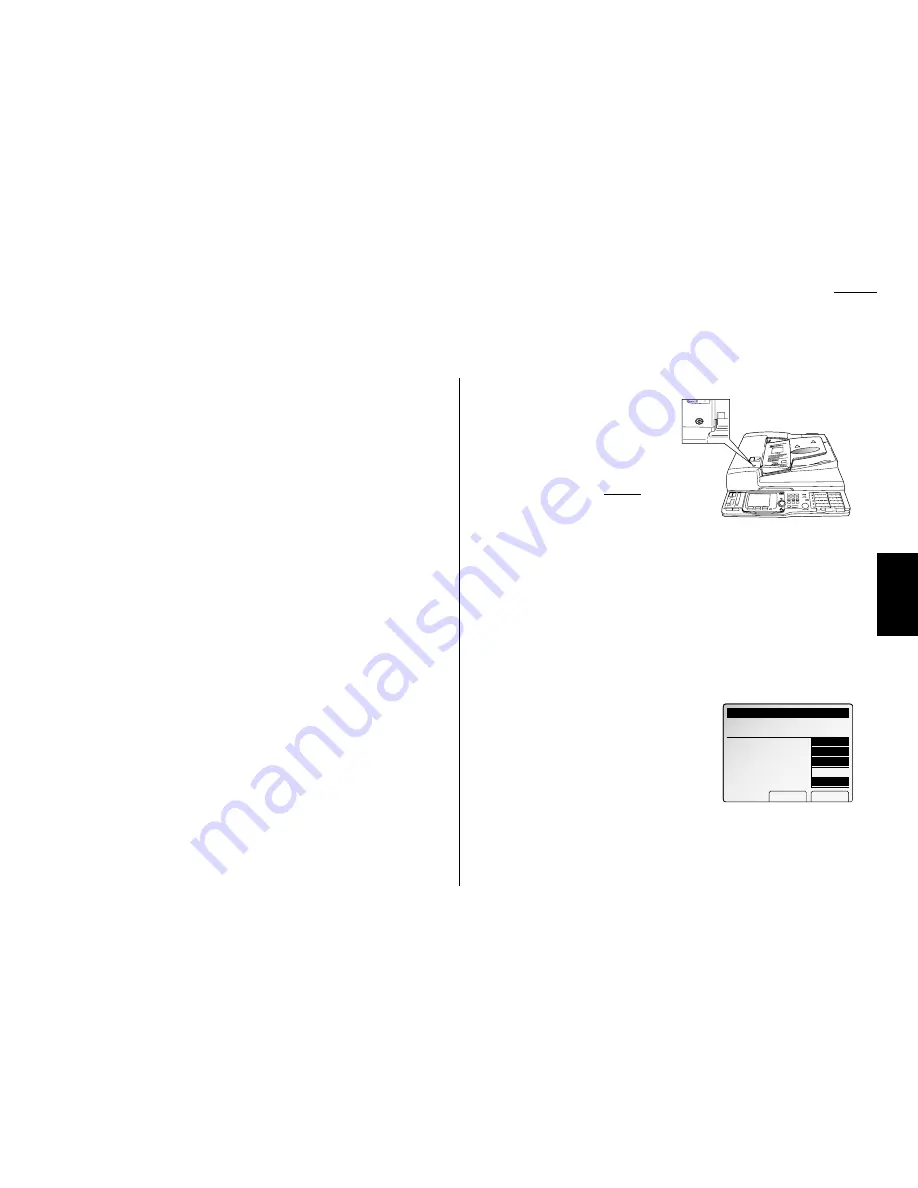
Sending a fax from the
ADF
1
Adjust the document guides to fit the
page(s) you’ll be faxing. Your fax
machine’s
ADF
will hold up to 50
sheets.
2
Align the edge of your documents and
stack them in the
ADF
face up.
3
Adjust resolution and contrast if nec-
essary.
Press
RESOLUTION
to change the resolution.
Press
CONTRAST
to change the contrast.
4
Adjust memory transmission if necessary.
Press
MEMORY TRANSMISSION
to toggle memory transmission on and off.
5
Enter the fax number.
Enter any access codes necessary, just as you would for a regular phone call.
(Example: Enter 9 to “dial out” from an office telephone system, or 1 for long-
distance.)
6
Press
START
.
By pressing
START
, you’ve just given your machine a command. In turn, your
machine gives this action a command number as it scans the fax document.
This command number appears on the
LCD
while the machine is scanning the document:
You’ll need to know this command number if
you later wish to cancel the transmission or to
print a stored document (see pages 3.29–3.30).
Jul 4 2000 13:30
Yes No
Fax Ready Mem. 99%
Scanning(Cancel:PressSTOP)
Com.No. :C001
P01
12345678
Letter
Normal
NextDoc.
No
Sending a fax
3.3
Basic fax
Summary of Contents for FAX SCANNER
Page 2: ......
Page 15: ......
Page 16: ...D84 90510 60...
Page 51: ...Copy settings This page intentionally blank 2 31 Copy Features...
Page 119: ...Fax Features Getting Started Advanced fax This page intentionally blank 3 67...
Page 129: ...Fax settings This page intentionally blank 3 77 Fax Features Getting Started...
Page 130: ...Soft Keys 4 1 Macros 4 3 Machine settings 4 6 Common settings...
Page 147: ...Common settings This page intentionally blank 4 17 Common Settings Getting Started...
Page 184: ...This page intentionally blank Appendix index AI 14...
Page 185: ...This page intentionally blank Appendix and index AI 15 Getting Started Appendix Index...
Page 186: ...This page intentionally blank Appendix index AI 16...


