Advanced fax
Fax & Copy
With the Fax & Copy feature turned on, your machine asks if you want to make a
copy of a document each time it transmits that document from memory.
Note: The Fax & Copy function cannot be used for non memory transmissions.
Note: Quick Memory transmission (see page 3.70) and the Fax & Copy function
cannot be used at the same time. If both are turned on, Quick Memory will
not work.
Note: The Fax & Copy feature will use the same resolution you set for the trans-
mission for the copy’s scanning resolution.
Using the Fax & Copy function
1
Place the document and select resolution and contrast you require.
Note: With this function, you cannot select Normal and Halftone resolution.
2
Enter
MENU
and select “Fax & Copy”.
3
Press [Enter].
4
Enter the fax number. Either press a one-touch
key, enter a speed-dial number, call group num-
ber or use the numeric keypad to enter the fax
number.
If you entered the fax number using a one-touch
key, skip to step 6.
Otherwise, go on to step 5.
5
Press
START
.
6
The
LCD
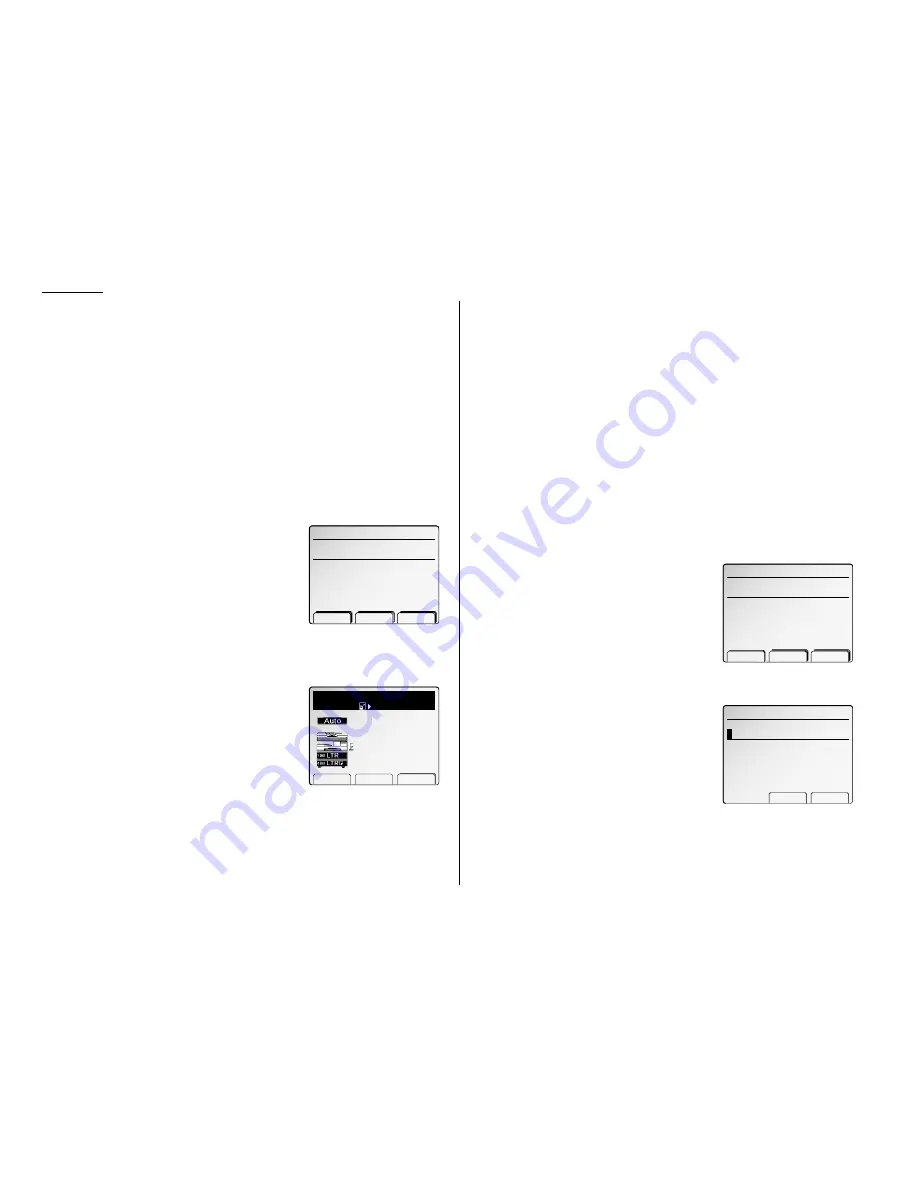
changes copy mode and asks the num-
ber of copies you want to make:
7
Use the numeric keypad to enter the number of
copies you want for each page in the document.
Choose from 01 to 99 copies.
Note: If you want to quit without transmit-
ting and copying the document, press
STOP
. The fax returns to
standby mode.
8
Press
START
to begin the transmission and copying process.
Polling
Polling allows someone to fax a document to you without having to make the call or
pay for it. There are several kinds of polling:
• Regular polling — Your fax retrieves a document from a remote fax machine.
• F-Code polling — Your fax retrieves a document stored as a file in the remote fax
machine. To do this, you must be communicating with another F-code-compatible
fax machine. For more information on F-Code polling, see “F-Code communication,”
pages 3.52–3.53.
• Continuous polling — Your fax continuously retrieves a document from any
remote fax machine at a designated time. For example, a hospital pharmacy can
use this to check on orders waiting in fax machines throughout the hospital.
For polling to work, the remote machine must also be set up to be polled. See the
remote machine’s operating instructions, if necessary.
Regular polling
To set up your machine for regular polling:
1
Make sure the document is inserted in the remote fax machine.
2
Press
MENU
and select “Polling” then press
[Enter]. The
LCD
shows (see right):
3
Enter the remote fax machine’s number by
either pressing a one-touch key, entering a
speed-dial number or using the numeric key-
pad.
4
To perform the regular polling now, skip to step
8.
To perform delayed regular polling, go on to step 5.
5
Press
MENU
and select “Delayed Tx” then
press [Enter]. The
LCD
shows (see right):
6
Use the numeric keypad to enter the date and
time (use the 24-hour format) when your
machine should perform the delayed regular
polling.
7
Press [Enter].
8
Press
START
.
Clear Enter
Delayed Tx
Enter Trnsmit Time
0
4/14:20
Enter fax number.
Group Clear Broadcas
Polling
̲
Fax & Copy
Paper Zoom Sort
1
Set
Ppr. Auto
100%
Enter fax number.
̲
Fax & Copy
Group Clear Broadcas
3.34
Summary of Contents for FAX SCANNER
Page 2: ......
Page 15: ......
Page 16: ...D84 90510 60...
Page 51: ...Copy settings This page intentionally blank 2 31 Copy Features...
Page 119: ...Fax Features Getting Started Advanced fax This page intentionally blank 3 67...
Page 129: ...Fax settings This page intentionally blank 3 77 Fax Features Getting Started...
Page 130: ...Soft Keys 4 1 Macros 4 3 Machine settings 4 6 Common settings...
Page 147: ...Common settings This page intentionally blank 4 17 Common Settings Getting Started...
Page 184: ...This page intentionally blank Appendix index AI 14...
Page 185: ...This page intentionally blank Appendix and index AI 15 Getting Started Appendix Index...
Page 186: ...This page intentionally blank Appendix index AI 16...


