Advanced fax
Inserting and deleting a one-touch number
You can insert a one-touch number without erasing any one-touch number already
stored. If you insert a one-touch number, other numbers will be shifted downward
automatically.
Also, you can delete a one-touch number and shift other numbers upward automati-
cally.
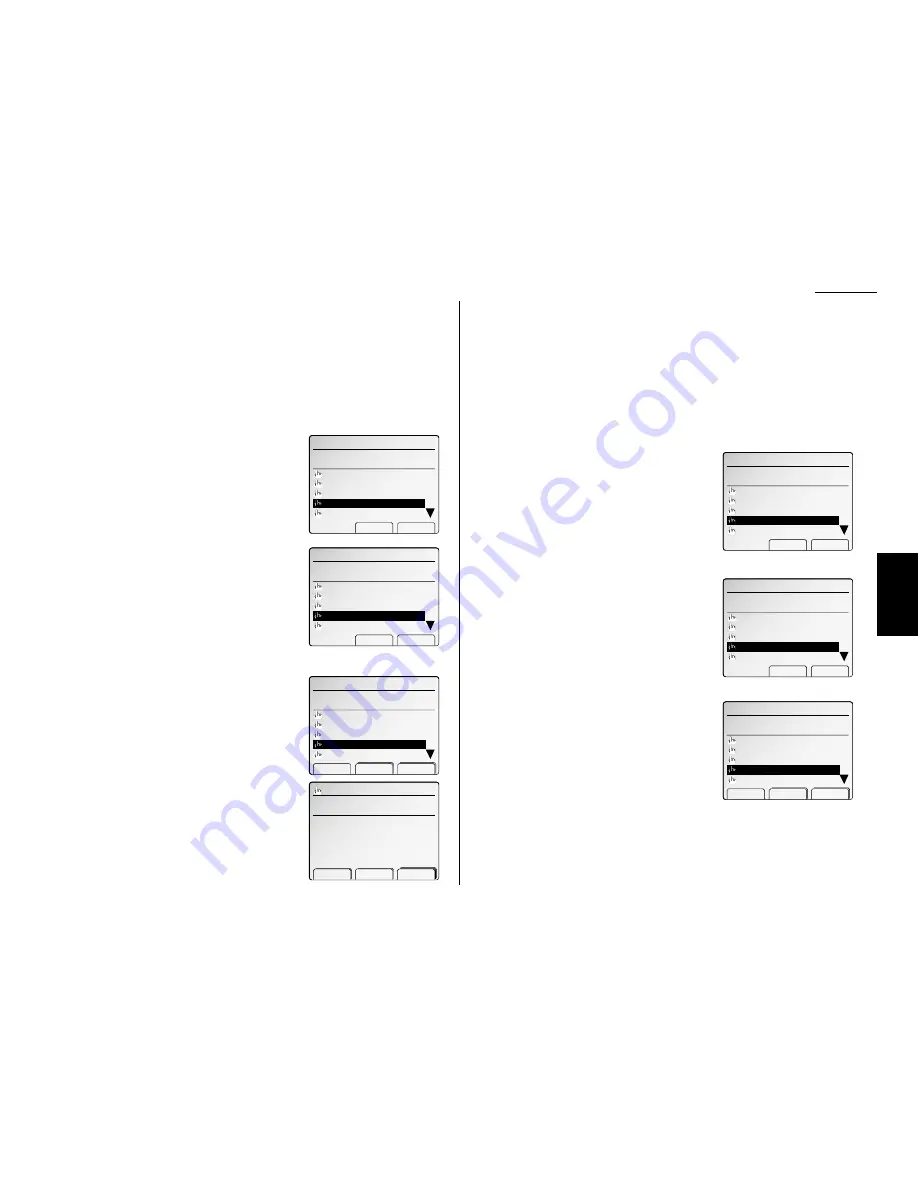
To insert a one-touch number:
1
Press
MENU
,
A
, [Enter].
The
LCD
shows the one-touch number list.
2
Select the one-touch key in which you want to
enter new number.
Note: You can select the one-touch key by
pressing that key on the control panel.
3
Press
NEXT
, [Insert].
4
The machine will ask you if you want to insert
an empty one-touch number at that place.
Important: If you want to quit without
inserting an empty one-touch
number at the place you’ve
selected, press [No]. The
machine will return to step 2.
5
Press [Yes].
6
The one-touch key you selected will be empty
and other numbers will be shifted downward.
7
Press [Enter].
8
Enter the fax number as described in step 4 on
page 3.12.
9
When the number is as you want it, press
[Enter] to store it.
10
Enter Location
I
.
D
., Alternative number or Group number as described in
steps 7–15 on page 3.13.
Note: If you want to omit these settings, go to step 11.
11
Press [Exit].
Press
RESET
to finish.
To delete a one-touch number:
1
Press
MENU
,
A
, [Enter].
The
LCD
shows the one-touch number list.
2
Select the one-touch key you want to delete.
Note: You can select the one-touch key by
pressing that key on the control panel.
Note: You can press [Detail] to see the num-
ber which has been programmed in that
one-touch key.
3
Press
NEXT
, [Delete].
4
The machine will ask you if you want to delete
that one-touch number.
Important: If you want to quit without delet-
ing the one-touch number you’ve
selected, press [No]. The machine
will return to step 2.
5
Press [Yes].
6
The one-touch key you selected will be deleted
and other numbers will be shifted upward.
7
Press
RESET
to finish.
A.One‑Touch Dial
Select one‑touch. (01‑78)
02:Los Angeles Office
03:Chicago Office
04:Paris Office
05:Tokyo Office
Detail Erase Enter
01:New York Office
A.One‑Touch Dial
OK to delete?
02:Los Angeles Office
03:Chicago Office
04:London Office
05:Paris Office
Yes No
01:New York Office
A.One‑Touch Dial
Select one‑touch. (01‑78)
02:Los Angeles Office
03:Chicago Office
04:London Office
05:Paris Office
Insert Delete
01:New York Office
Enter fax number.
̲
Alt.No. :
GroupNo.:
Location:
‑ Clear Enter
01:
A.One‑Touch Dial
Select one‑touch. (01‑78)
02:Los Angeles Office
03:Chicago Office
04:
05:London Office
Detail Erase Enter
01:New York Office
A.One‑Touch Dial
OK to insert?
02:Los Angeles Office
03:Chicago Office
04:London Office
05:Paris Office
Yes No
01:New York Office
A.One‑Touch Dial
Select one‑touch. (01‑78)
02:Los Angeles Office
03:Chicago Office
04:London Office
05:Paris Office
Insert Delete
01:New York Office
3.15
F
ax F
eatures
Getting Started
Summary of Contents for FAX SCANNER
Page 2: ......
Page 15: ......
Page 16: ...D84 90510 60...
Page 51: ...Copy settings This page intentionally blank 2 31 Copy Features...
Page 119: ...Fax Features Getting Started Advanced fax This page intentionally blank 3 67...
Page 129: ...Fax settings This page intentionally blank 3 77 Fax Features Getting Started...
Page 130: ...Soft Keys 4 1 Macros 4 3 Machine settings 4 6 Common settings...
Page 147: ...Common settings This page intentionally blank 4 17 Common Settings Getting Started...
Page 184: ...This page intentionally blank Appendix index AI 14...
Page 185: ...This page intentionally blank Appendix and index AI 15 Getting Started Appendix Index...
Page 186: ...This page intentionally blank Appendix index AI 16...


