The Sash Frame
3-19
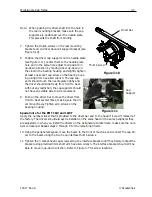
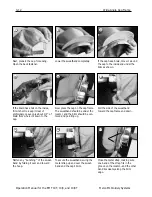
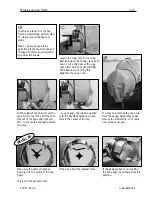
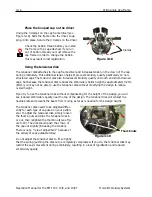
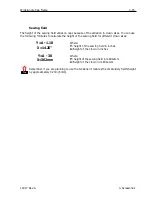
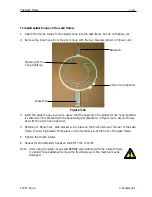
To install spider hoops on the sash frame:
1. Attach the thumb screws for the spider hoop into the sash frame, but do not tighten yet.
2. Remove the inner hoop from the 21cm hoop with the two brackets (shown in Figure 3-21).
3. Insert the spider hoop you plan to use so that the opening in the spider for the hoop tightener
is centered on the bracket with the back-facing slot (Bracket A in Figure 3-21). Secure the spi-
der with the 21cm hoop tightener.
4. Referring to Figure 3-21, slide bracket A into place on the thumb screw at the rear of the sash
frame, then swing bracket B into place on the thumb screw at the front of the sash frame.
5. Tighten the thumb screws.
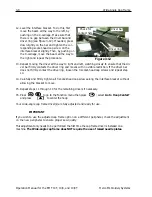
6. Repeat for all embroidery heads on the EMT 10/4 or 10/4T.
Note: After using the spider hoops and BEFORE embroidering with the full sash frame
(no spider hoops attached) remove the thumb screws or the machine may be
damaged.
11817 Rev. A
3. Accessories
Figure 3-21
Opening for the
hoop tightener
Bracket A
Bracket B
21cm hoop tightener
Summary of Contents for EMT 10/4
Page 52: ...2 28 Quick Start Operation Manual for the EMT 10T 10 4 and 10 4T Melco Embroidery Systems ...
Page 108: ...6 10 Error Messages Operation Manual for the EMT 10T 10 4 and 10 4T Melco Embroidery Systems ...
Page 126: ...INDEX Operation Manual for the EMT 10T 10 4 and 10 4T ...
Page 127: ...Quick Ref erence Guide for the EMT 10T 10 4 and 10 4T 11817 Revision A ...


