


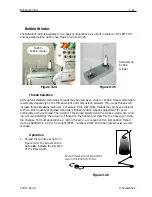
3-6
Wide-Angle Cap Frame
Operation Manual for the EMT 10T, 10/4, and 10/4T
Melco Embroidery Systems
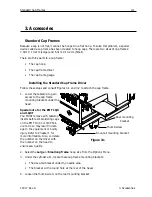
Wide-angle cap frame
The Wide-angle cap frame option allows you to embroider on nearly 270° of a cap’s crown and
includes:
•
The cap hoop(s)
•
The cap frame driver(s)
•
The cap frame gauge
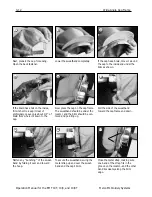
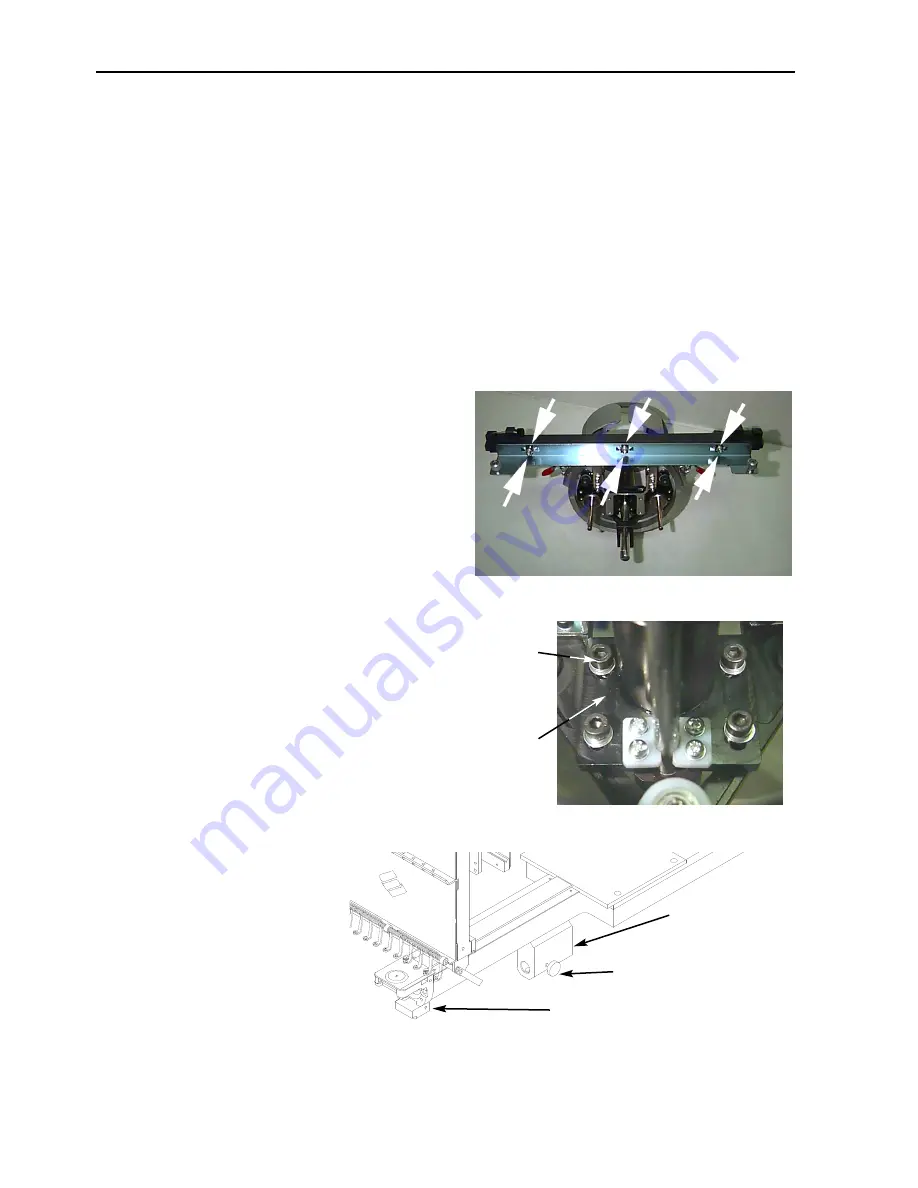
First time installation and adjustment
The first time you install the wide-angle cap frame
driver on an EMT peripheral, you must perform the
following adjustment; failure to do so will result in
an excessive wear to the cap frame driver and
reduced embroidery quality.
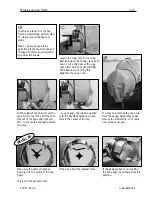
1. Remove or lower tabletop inserts. On the EMT
10/4 or 10/4T, you only need to remove or lower
the 2 large tabletop sections.
2. Make sure that the cap supports are extended; if
they are not, extend them (refer to the Technical
manual for more information).
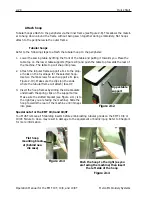
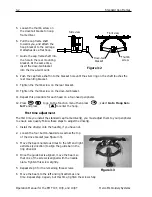
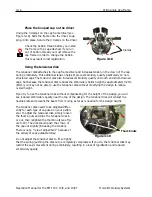
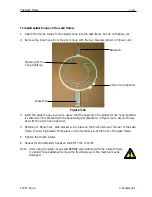
3. Make sure that the 3 socket-head cap screws
along the interface bracket (Figure 3-7) and 4
socket-head cap screws which hold the bearing
housing (Figure 3-8) are slightly loose.
4. Move the beam all the way back (towards the
rear of the peripheral) using the peripheral key-
pad.
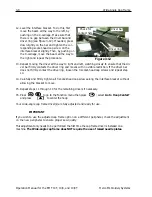
5. Install the driver; guide the cap driver shaft into
the hole in the rear mounting
bracket. At the same time,
insert the driver dove-tail sup-
port bracket into the female
dove-tail mounting bracket.
Refer to Figure 3-9.
6. Push the cap driver shaft into
the hole in the rear mounting
bracket until it reaches the pos-
itive stop.
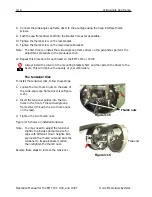
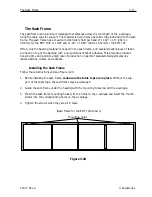
Figure 3-9
Dove-tail mounting bracket
Rear mounting
bracket
Thumb screw
Figure 3-7
Figure 3-8
Bearing
housing
Screws
Summary of Contents for EMT 10/4
Page 52: ...2 28 Quick Start Operation Manual for the EMT 10T 10 4 and 10 4T Melco Embroidery Systems ...
Page 108: ...6 10 Error Messages Operation Manual for the EMT 10T 10 4 and 10 4T Melco Embroidery Systems ...
Page 126: ...INDEX Operation Manual for the EMT 10T 10 4 and 10 4T ...
Page 127: ...Quick Ref erence Guide for the EMT 10T 10 4 and 10 4T 11817 Revision A ...


