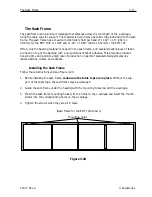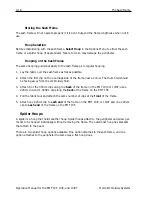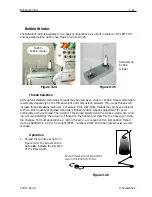
Lubrication
4-3
11817 Rev. A
4. Operator Maintenance
Lubrication
The EMT 10T, 10/4, and 10/4T require regular maintenance to perform their best. A message will
display at the end of each design when it is time for maintenance. Press
to
enter the Service/Maintenance menus (HEAD TIMING MENU will be displayed). Press
to scroll to the required menu to perform the maintenance. Any necessary tools are provided in
the operator kit. You can use a light-duty sewing oil (available from Accessory Resource Corpora-
tion) to lubricate your peripheral; a small bottle is provided in the operator kit.
Note: Before you perform any lubrication on the peripheral, you should remove all garments
from the machine. Also, for every lubrication menu
except the 8 hour menu
you should
remove the hoops; the eight hour menu moves the cap frame driver to distribute the oil,
so it must be attached to the peripheral. And because the maintenance program requires
rack movement in most menus, your current start position will be lost.
Press
to step through the menu. Each time you press
, the machine will move to its
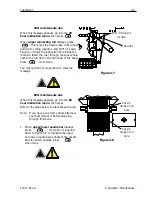
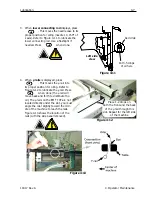
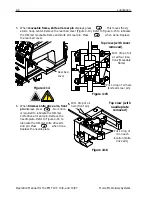
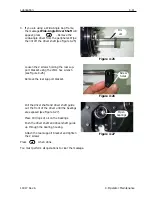
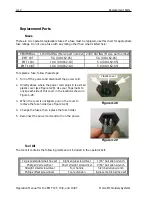
next position. Refer to these pages to oil each component throughout the process. When you
have completely stepped through each menu, the display will be cleared.
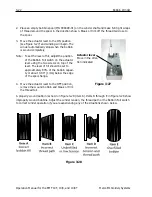
The message will display at the end of each design. You can press any key to temporarily clear the
message, but you must perform the required maintenance to clear the message (until the mainte-
nance is required again). Use the oil provided in the operator kit.
Due to software limitations, you may experience multiple lubrication messages for different lubri-
cation intervals. For example, you may perform the 40 hour maintenance, sew a design, and have
to perform the 80 hour maintenance. The reason for this is that the counter, which logs the time
for each message, is not reset until you perform the maintenance.
Refer to this section for lubrication information. Follow the steps outlined below for each mes-
sage.
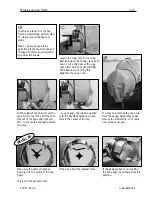
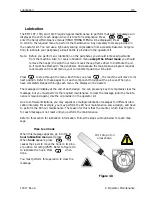
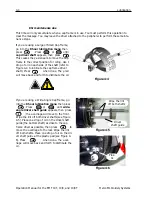
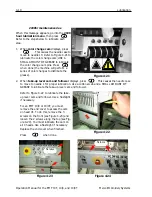
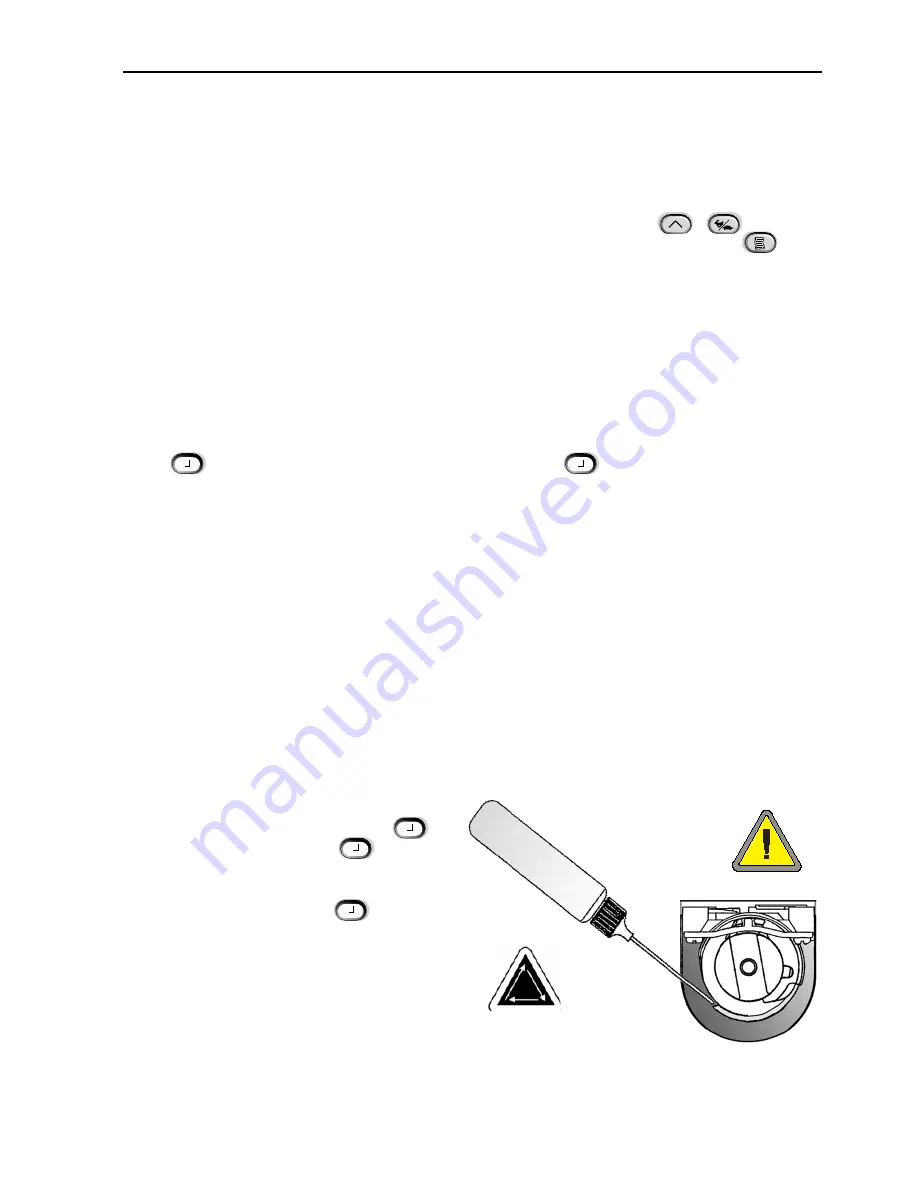
Time to oil hook
When this message appears, go into the
4
hour lubrication menu
and press
.
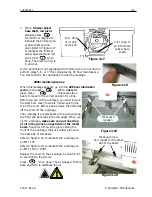
When
hook
appears, press
. This
causes the z axis to move the hook to its prop-
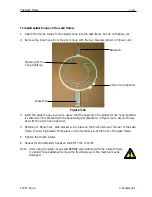
er position for oiling (250°). Refer to Figure 4-3
to lubricate the hook. Press
when
done.
You must perform this operation to clear the
message.
▲
▲
Figure 4-3
▲
▲
▲
Put 1 drop of oil
on as shown
Summary of Contents for EMT 10/4
Page 52: ...2 28 Quick Start Operation Manual for the EMT 10T 10 4 and 10 4T Melco Embroidery Systems ...
Page 108: ...6 10 Error Messages Operation Manual for the EMT 10T 10 4 and 10 4T Melco Embroidery Systems ...
Page 126: ...INDEX Operation Manual for the EMT 10T 10 4 and 10 4T ...
Page 127: ...Quick Ref erence Guide for the EMT 10T 10 4 and 10 4T 11817 Revision A ...

