2-18
The Menus
Operation Manual for the EMT 10T, 10/4, and 10/4T
Melco Embroidery Systems
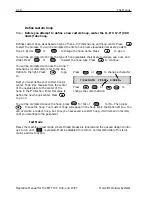
Define custom hoop
Note:
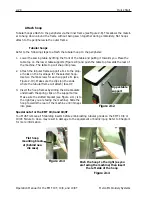
Before you attempt to define a new custom hoop, center the 11.8" X 17.3" (30 X
44cm) Tube hoop.
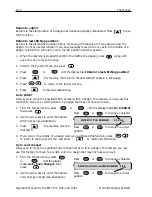
Defines custom hoop sizes based on type of hoop, X/Y dimensions, and hoop center. Press
to start the process. You will be prompted to enter a hoop name (available names are Custom
Hoop 1-8). Use
or
to change the hoop name. Press
to go on.
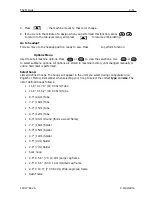
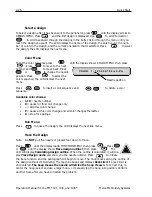
You will be prompted to choose the type of hoop (available choices are rectangle, cap, oval, and
circle). Press
or
to select the hoop type. Press
to continue.
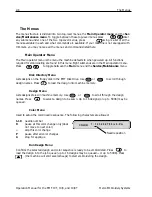
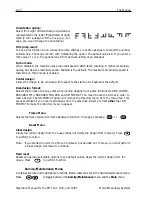
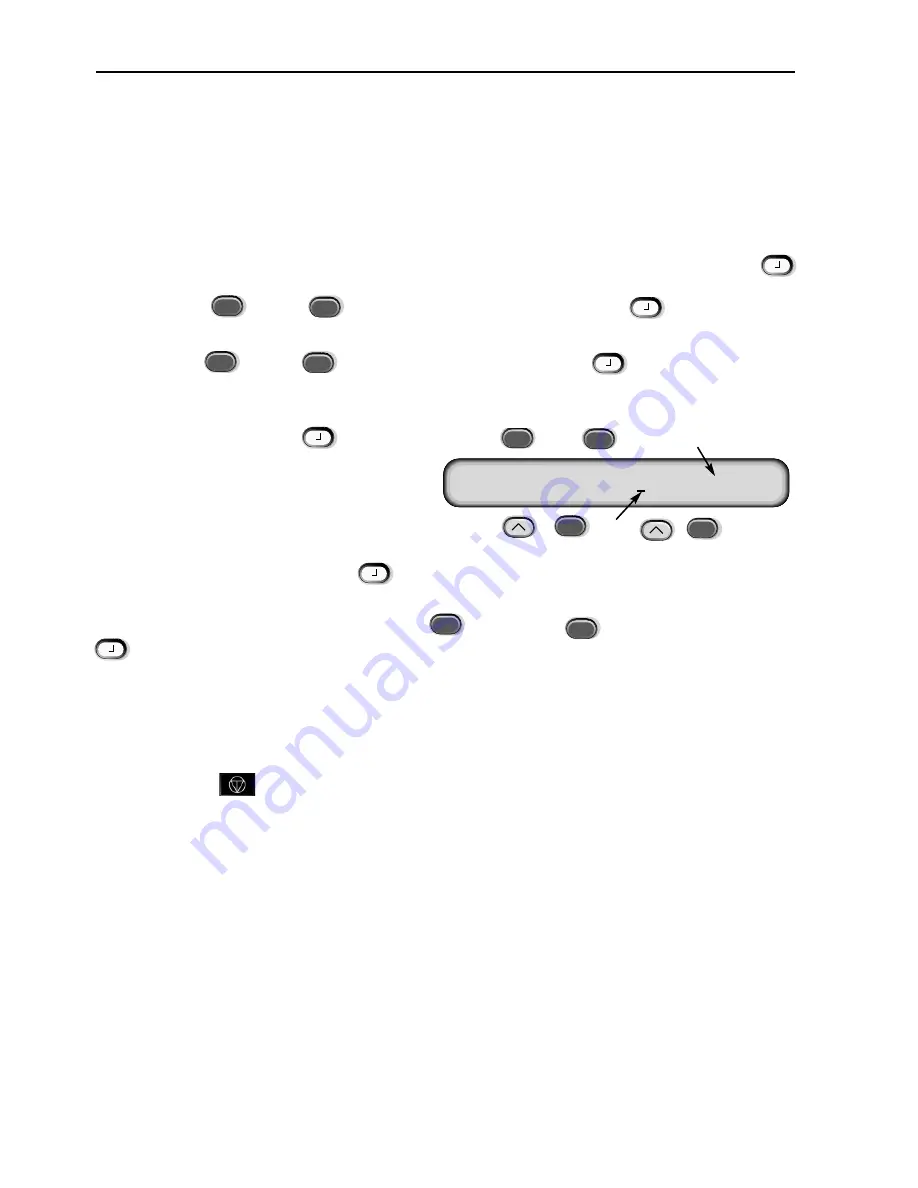
You will be prompted to choose the X and Y
dimensions (or diameter); refer to the illus-
tration to the right. Press
to go
on.
Next you must define your custom hoop’s
center. To do this, measure from the center
of the needle plate to the center of the
hoop in the
Y
direction. Enter this value to
define the new hoop’s center. Press
to go on.
You will be prompted to save the hoop; press
for Yes or
for No. Then press
to save the hoop. Your custom hoop will appear in the hoop list in the Options Menu. You
can overwrite a custom hoop, but once you have saved a custom hoop, it will remain in memory
until you reconfigure the peripheral.
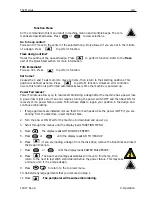
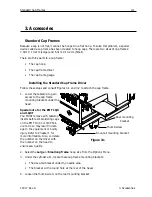
Test Mode
Places the machine in test mode, where thread breaks are ignored and the queued design contin-
ues to run until
is pressed. Must be disabled to return to normal embroidery. This is pri-
marily a service function.
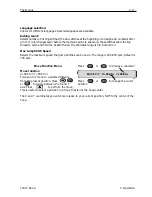
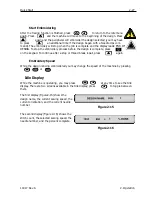
Y/X LENGTH Y:
00.00
IN
X:
00.00
IN
Press
or
to change a character
Press
or
to
change the cursor position
▲
▼
▲
▼
▲
▲
▲
▲
▼
▲
▼
▲
▲
▲
▲
▼
Summary of Contents for EMT 10/4
Page 52: ...2 28 Quick Start Operation Manual for the EMT 10T 10 4 and 10 4T Melco Embroidery Systems ...
Page 108: ...6 10 Error Messages Operation Manual for the EMT 10T 10 4 and 10 4T Melco Embroidery Systems ...
Page 126: ...INDEX Operation Manual for the EMT 10T 10 4 and 10 4T ...
Page 127: ...Quick Ref erence Guide for the EMT 10T 10 4 and 10 4T 11817 Revision A ...


