Starting the Maxxyz
21
S
TARTING
THE
M
AXXYZ
Once your console is set up and the cables are connected, start the Maxxyz by turning on the
power. The switch is located at the back on the left hand side as your facing the front of the
console. The processors will then boot and load the operating software. The first screen you see
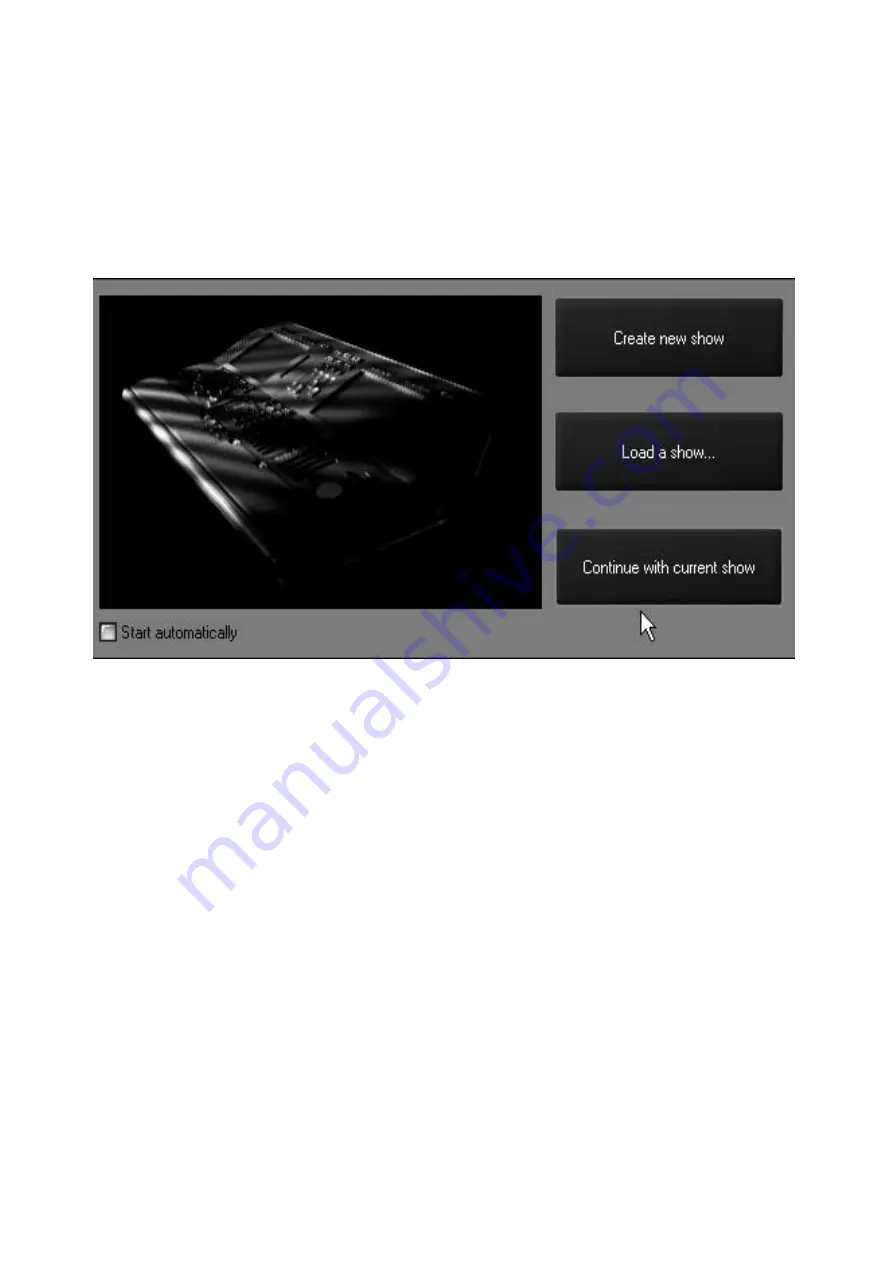
that requires your input is the “Welcome Screen” located on the Playback Touch Screen.
At this point, you are presented with three options. They are
In the lower left hand corner of the “Welcome Screen” you’ll notice a check box labeled “Start
automatically.” By default, this box is unchecked and you will be required to make one of the
selections above. However, if you check this box, the console will automatically select “Continue
with current show” after displaying the “Welcome Screen” for ~10 seconds. This setting is stored
in the console and will take effect the next time the console if started.
Note:
The Maxxyz console automatically and continually saves the current show as you
are working on it. Therefore, if you select “Load a show...” please be aware that
you will be recording over your existing show. Further, if you have not previously
saved your showfile (see “Save a Show” on page 148), that data will be
permanently lost.
For now, press “Create new show.”
Create new show
This option allows you to start a new show from the beginning
with no existing show information.
Load a show...
This option will take you to a traditional Windows interface
where you can select any show stored on the console.
Continue with current
show
The third option loads the last show that you were working on.
Please note that no cues will be active if you select this
option.
Summary of Contents for Maxxyz
Page 1: ...Maxxyz user manual For Use with Software Version 1 3 78 ...
Page 8: ...8 Maxxyz ...
Page 154: ...154 Maxxyz ...
Page 155: ...Appendix 3 Wiring Charts 155 ...
Page 156: ...Appendix 3 Wiring Charts 156 ...
Page 160: ......


