LumaSMART
®
User Manual
Using the Software
•
62
Note:
If there is a file on the USB drive with the name Config.xml (no date as part of the file name),
it will be copied over the existing configuration file and the LumaSMART will reboot so that the
replaced configuration files will become the active configuration file.
Stop Watchdog for 5 minutes
This is a function is for service purposes. You may be instructed to press this button by LumaSense service
personnel. If pressed, the watchdog will automatically reactivate after 5 minutes. A count down time is displayed
while the watchdog is disabled.
Relay Tests
This is a service function used to exercise the relay operations. This test should not be used when the LumaSMART
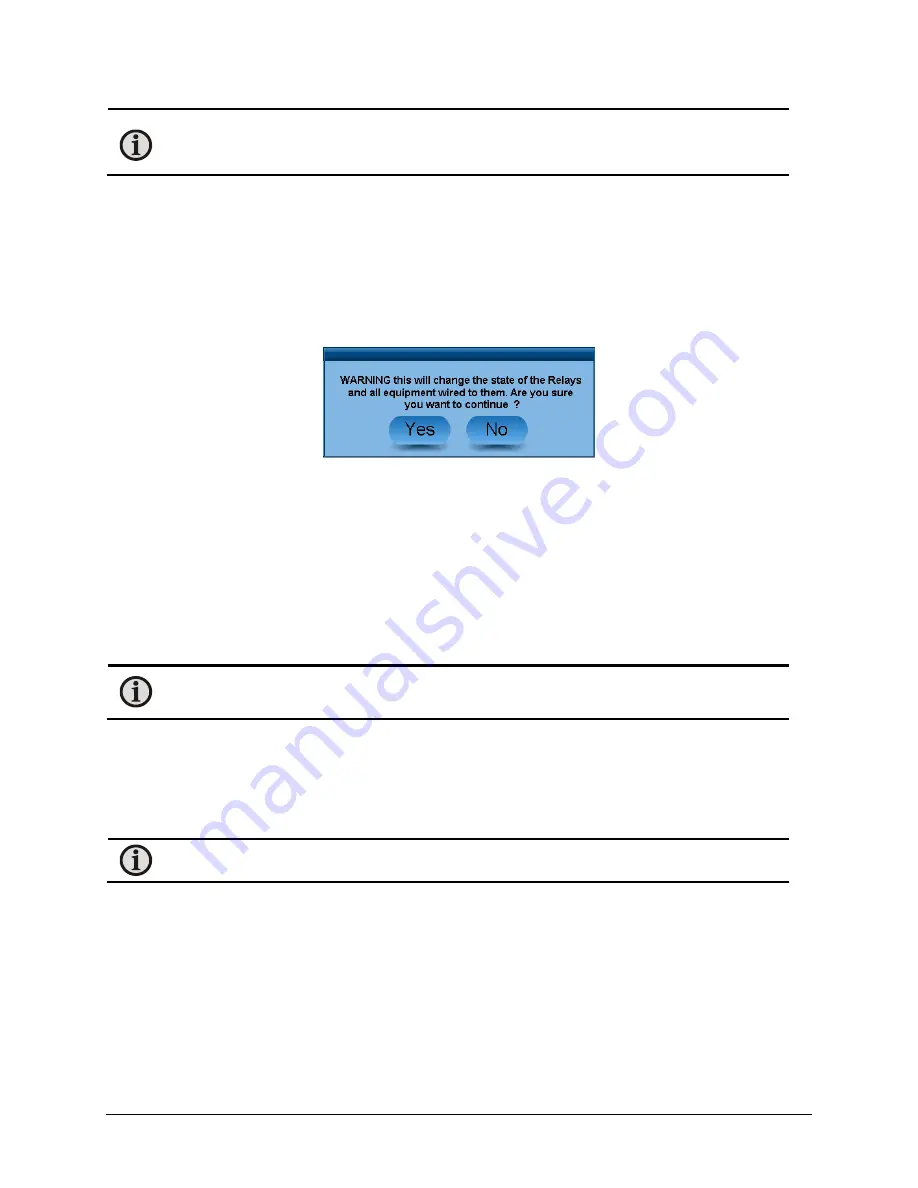
is controlling critical functions with its relays. When pressed, a warning will appear:
Pressing
No
will abort the test and if
Yes
is pressed, the following will occur:
1.
All relays will be Energized.
2.
One at a time, each relay will be turned off and the previous relay will be turned back on. (Traveling
Deenergized test)
3.
All relays will be Deenergized.
4.
One at a time, each relay will be turned on and the previous relay will be turned back off. (Traveling
Energized test)
5.
Once all of relays have been tested, they will return to the state prior to the test.
Note:
The System Status Relay is also tested.
Serial Number
When the Serial Number button is pressed, a keypad will be displayed to allow the operator to enter the serial
number of the LumaSMART controller. If the serial number has already been assigned at the factory, it cannot be
changed. This feature has been added to assist with software upgrades. All versions of LumaSMART have the serial
number displayed on the unit’s front panel label.
Note:
Versions prior to 4.0.0.0 did not have this number set into memory at the factory.
If you are upgrading, please enter your serial number using this feature. Be careful to enter the number exactly as
shown on the front panel label.
Relay & Control
The Relay Setup Overview allows you to configure each relay separately, as well as the System Status Relay. Use
the scroll bar on the right side of the screen to bring the desired relay into view.


