neoVI FIRE 2 User’s Guide
49
© 2016 Intrepid Control Systems, Inc.
Version 2.1 - October 10, 2016
General Settings
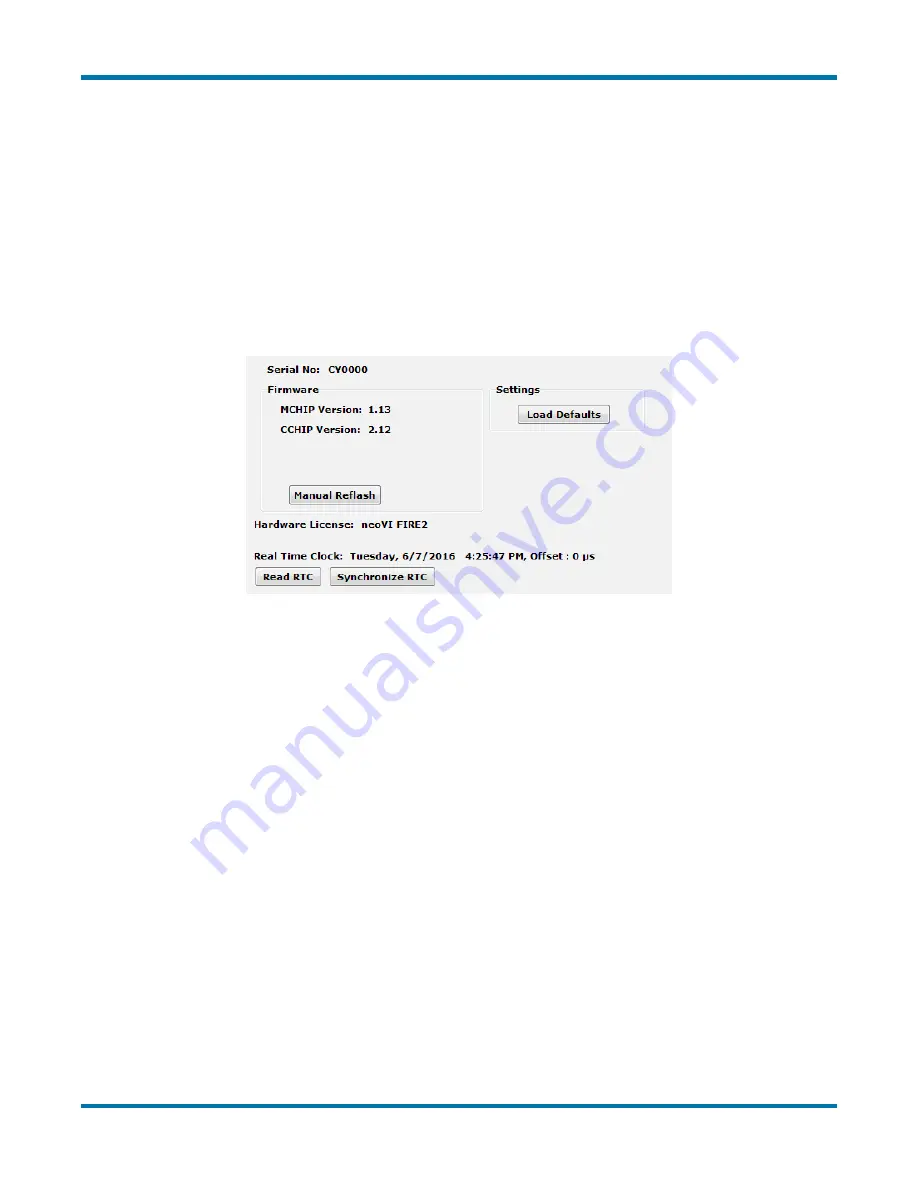
After connecting to the device you will see basic information about it in the right-hand pane of
the window (Figure 63):
•
The device’s serial number.
•
The firmware versions currently in the device, and an indication if new firmware is
available.
•
A message showing that the hardware license for the device was recognized.
•
A current readout of the FIRE 2’s real-time clock.
Figure 63: neoVI Explorer neoVI FIRE 2 General Settings
This information can be displayed again at any time by clicking the FIRE 2’s name in the
explorer navigation window, or the
General Settings
entry immediately below it.
The versions of the MCHIP and CCHIP firmware for the FIRE 2 will each be shown in black if
they match the firmware versions within neoVI Explorer. If they do not, the current version and
the newest available version will be shown in red to help you notice that an update is available,
as seen in Figure 62. Section 4.2
provides more information on firmware updates.
There are four buttons on this screen. Two of them,
Load Defaults
and
Manual Reflash
, were
described in Section 4.2. The
Read RTC
button will reload the device’s internal time clock,
while
Synchronize RTC
will set the device’s clock to the same value as that of the PC.
Product Details
This is an informational area that provides technical data on the FIRE 2’s hardware and
internal setup. You will generally only need this if requested by Intrepid in order to facilitate
support or troubleshooting. You can use the
Copy To Clipboard
button to copy all of the
information to the Windows Clipboard, so you can then paste it into an email or file.


