


neoVI FIRE 2 User’s Guide
43
© 2016 Intrepid Control Systems, Inc.
Version 2.1 - October 10, 2016
4
Device Configuration
Your neoVI FIRE 2 ships from the factory ready to use with its default settings. However, its
operation can also be customized to your exact needs by adjusting dozens of parameters that
control its internal hardware and firmware. In this chapter, we’ll show you how to manage and
fine-tune your neoVI FIRE 2, including enabling and disabling networks, adjusting baud rates,
turning on or off specific features, and much more.
4.1 Starting and Using neoVI Explorer
The
neoVI Explorer
utility allows you to connect to, manage and configure all of your Intrepid
Control Systems hardware, including the neoVI FIRE 2. It is supplied both as an integrated
feature of Vehicle Spy, and as a standalone program.
This section will describe general features and the basics of using neoVI Explorer, so you will
understand the utility well when we get into settings specific to the FIRE 2.
Starting neoVI Explorer from within Vehicle Spy
There are several ways to open neoVI Explorer from within VSpy. These are probably the two
easiest, since they are accessible at all times:
•
Menu Item:
Click the
Setup
menu and then select
Hardware
.
•
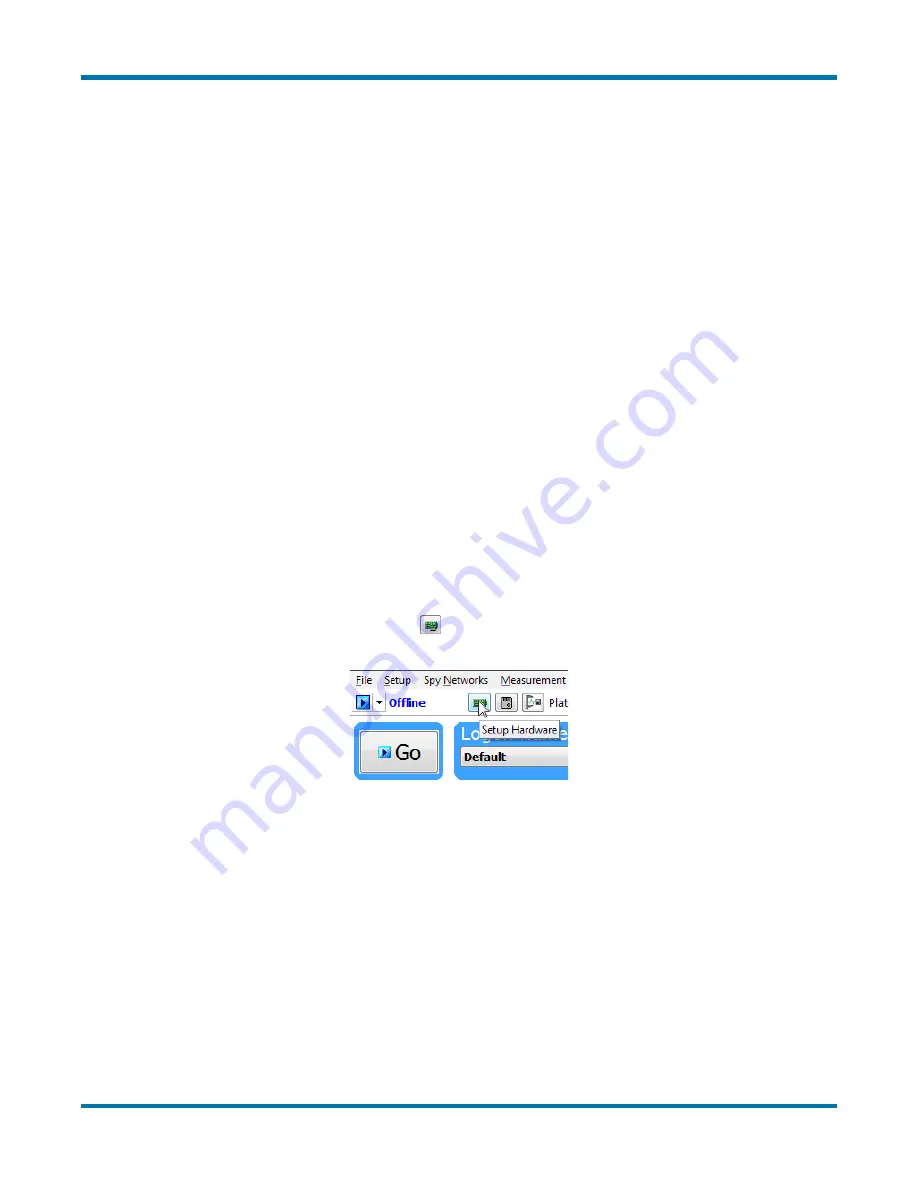
Hardware Setup Button:
Click the button located in the main Vehicle Spy toolbar
just under its menu (Figure 56).
Figure 56: Starting neoVI Explorer from within Vehicle Spy.
Note that you cannot start neoVI Explorer when Vehicle Spy is online (even if in simulation
mode). If you attempt to do so, VSpy will prompt you to either go offline and launch neoVI
Explorer, or remain online and return to Vehicle Spy.
Starting neoVI Explorer as a Standalone Program (with Vehicle Spy Installed)
If you want to work with your neoVI FIRE 2 without opening Vehicle Spy, you can launch
neoVI Explorer directly. Open the Start Menu, navigate to the
IntrepidCS
folder, then under the
Vehicle Spy 3
subfolder, select
neoVI Explorer
(Figure 57).


