neoVI FIRE 2 User’s Guide
26
© 2016 Intrepid Control Systems, Inc.
Version 2.1 - October 10, 2016
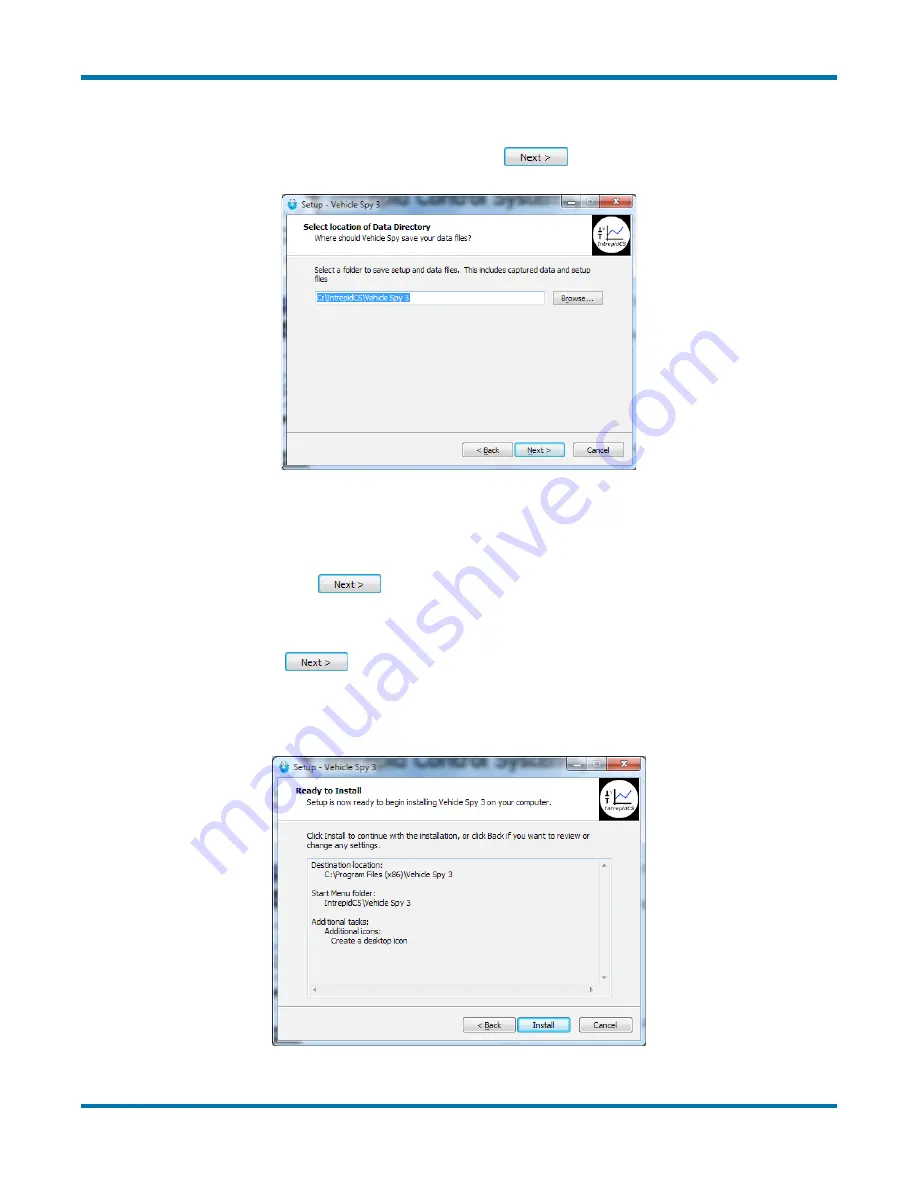
8. Select Data Directory Location:
Next, choose where you want Vehicle Spy
3 to store its data files. We recommend sticking with the provided default,
C:\IntrepidCS\Vehicle Spy 3
(Figure 25). Click
to continue.
Figure 25: Selecting the Data Directory Location.
9. Select Start Menu Folder:
Choose where you want your Windows shortcuts for Vehicle
Spy 3 to reside. Again, the defaults are generally fine here, though you can change
them if you wish. Click
to proceed.
10. Select Additional Tasks:
The one option here is to create a desktop icon for Vehicle
Spy 3, which is selected by default. Uncheck the box if you do not wish to have this icon
created, then click
.
You have now provided all of the information the wizard needs to install Vehicle Spy 3. Your
selected options will be displayed in a review box, as shown in Figure 26.
Figure 26: Installation Options Review.


