iBAT 2.0-CIM01C2
User Manual
9 Maintenance
Issue 07 (2019-01-02)
Copyright © Huawei Technologies Co., Ltd.
69
If multiple consecutive iBATs need to be replaced, select
Batch-replace iBAT
.
If the iBAT board is not damaged (the indicator is on or turns on after the networking switch has
been held down for 10s), skip this step. Hold down the networking switch on the iBAT for more than
5s to clear the original network, and then perform the following steps.
Step 2
Remove the iBAT cable terminals, and remove the iBAT from the battery.
Step 3
Secure the new iBAT on the fastener, and connect the iBAT cables.
Step 4
Hold down the networking switch on the iBOX for 2s. The RF_Z indicator on the iBOX
changes from blinking green at long intervals to blinking green at super short intervals, which
indicates that the iBOX is being networked.
Step 5
Hold down the iBAT networking switch for 2 seconds. When the RUN/ALM indicator turns
from steady red to blinking green at short intervals, and finally to blinking green at long
intervals, the iBAT connects to the iBOX network.
Step 6
Hold down the networking switch on the iBOX for 2 seconds. When the RF_Z indicator on
the iBOX turns from blinking green at super short intervals to blinking green at long intervals,
the networking is complete.
Step 7
After checking that the iBAT networking is complete, set the blinking function. If the iBAT
blinks successfully, the installation succeeds. If the iBAT fails in blinking, check the cable
connections and reinstall the iBAT.
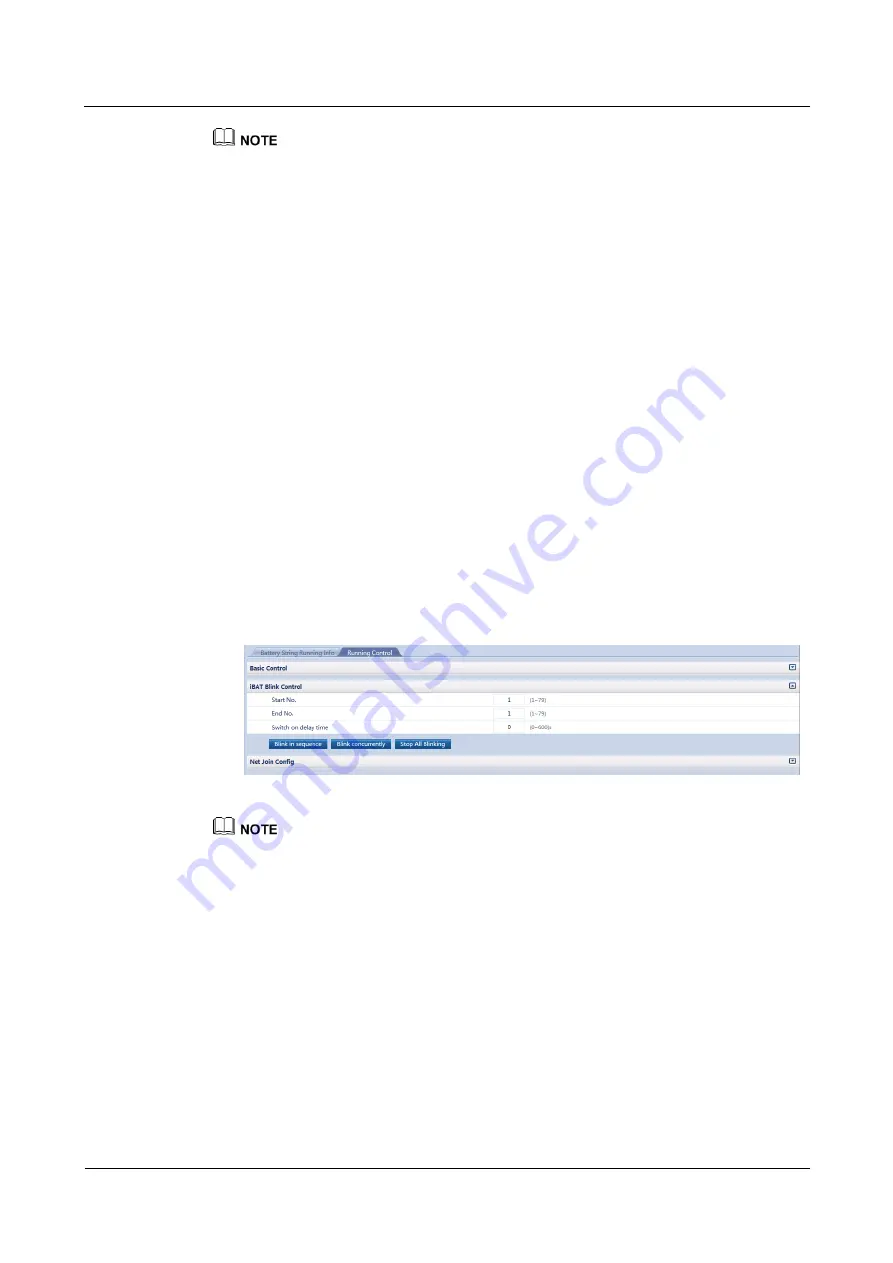
On the iBOX WebUI, choose
Monitoring
>
iBOX System
>
Running Control
>
iBAT
Blink Control
, select
Blink in sequence
, set the delay time and number.
Figure 9-2
Blink control
After the iBAT blinks successfully, you can stop the iBAT from blinking by setting
Stop All Blinking
.
On the UPS WebUI, choose
Monitoring
>
iBOX Control
, set
iBOX No.
and
iBAT No.
,
and click
Start
.
On the UPS LCD, choose
System Info
>
Maintenance
>
iBOX Control
, set
iBOX No.
and
iBAT No.
, and tap
Start
.
----End


