5
If additional Symbols are needed, repeat step 4 until you have added
all symbols.
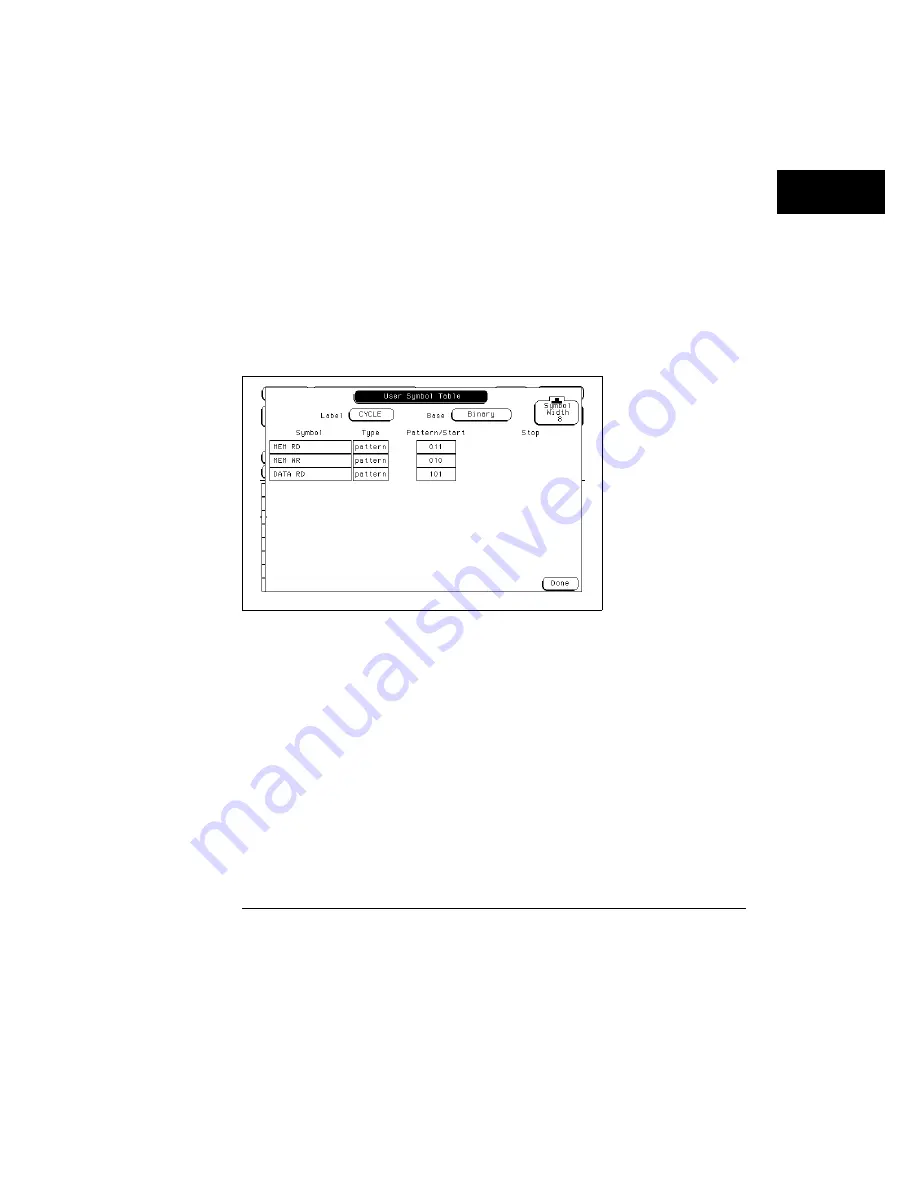
In this example three symbols are added: MEM RD, MEM WR, and DATA RD.
6
Toggle the Type field to "range" or "pattern".
When Type is range, a third field appears under the Stop column. To fully
specify a range, you need to enter a value for it, too.
7
Select the Pattern/Start field and use the keypad to enter an
appropriate value in the selected base. Use X for "don’t care."
8
When the pattern is specified, press Done. If you created additional
Symbols, repeat steps 6 and 7 until all symbols are specified.
9
To close the symbol table menu, select Done.
Symbol table menu showing three symbols
You can also download symbol tables created by your programming
environment using HP E2450A Symbol Utility. The Symbol Utility is shipped
with the HP 1660CS-series logic analyzers.
See Also
HP E2450A Symbol Utility User’s Guide
for more information on the
Symbol Utility.
Using the Logic Analyzer
To create a symbol
3–13
Summary of Contents for 1660CS
Page 5: ...Introduction iv ...
Page 16: ...1 Logic Analyzer Overview ...
Page 24: ...2 Connecting Peripherals ...
Page 33: ...2 10 ...
Page 34: ...3 Using the Logic Analyzer ...
Page 55: ...3 22 ...
Page 56: ...4 Using the Trigger Menu ...
Page 75: ...4 20 ...
Page 76: ...5 Triggering Examples ...
Page 109: ...5 34 ...
Page 110: ...6 File Management ...
Page 119: ...6 10 ...
Page 120: ...7 Reference ...
Page 221: ...7 102 ...
Page 222: ...8 System Performance Analysis SPA Software ...
Page 241: ...SPA Time Interval System Performance Analysis SPA Software SPA measurement processes 8 20 ...
Page 252: ...9 Concepts ...
Page 284: ...10 Troubleshooting ...
Page 298: ...11 Specifications ...
Page 311: ...11 14 ...
Page 312: ...12 Operator s Service ...
Page 324: ...Troubleshooting Flowchart 2 Troubleshooting To use the flowcharts 12 13 ...
Page 337: ...Glossary 4 ...


