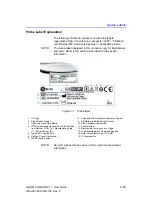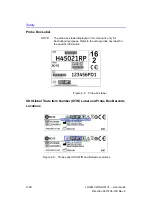
Probe Overview
LOGIQ V2/LOGIQ V1
–
User Guide
5-11
Direction 5610736-100
Rev. 9
Probe Cleaning Process
Cleaning probes
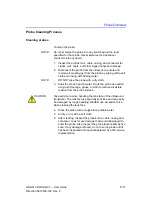
To clean the probe:
NOTE:
Do not immerse the probe into any liquid beyond the level
specified for that probe. Never immerse the transducer
connector into any liquid.
1. Inspect the probe's lens, cable, casing, and connector for
cracks, cuts, tears, and other signs of physical damage.
2. Disconnect the probe from the ultrasound console and
remove all coupling gel from the probe by wiping with a soft
cloth and rinsing with flowing water.
NOTE:
DO NOT wipe the probe with a dry cloth.
3. Soak the probe head in water. Scrub the probe as needed
using a soft sponge, gauze, or cloth to remove all visible
residue from the probe surface.
4. Rinse the probe with enough clean potable water.
5. Air dry or dry with a soft cloth.
6. After cleaning, inspect the probe's lens, cable, casing and
connector. Look for any damage that would allow liquid to
enter the probe. Also, inspect the probe functionality by live
scan. If any damage is found, do not use the probe until it
has been inspected and repaired/replaced by a GE service
representative.
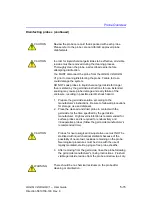
CAUTION
Take extra care when handling the lens face of the ultrasound
transducer. The lens face is especially sensitive and can easily
be damaged by rough handling. NEVER use excessive force
when cleaning the lens face.
Summary of Contents for LOGIQ V2
Page 8: ...i 6 LOGIQ V2 LOGIQ V1 User Guide Direction 5610736 100 Rev 9...
Page 92: ...Getting Started 1 80 LOGIQ V2 LOGIQ V1 User Guide Direction 5610736 100 Rev 9...
Page 242: ...After the Exam is Over 3 80 LOGIQ V2 LOGIQ V1 User Guide Direction 5610736 100 Rev 9...
Page 288: ...Safety 4 46 LOGIQ V2 LOGIQ V1 User Guide Direction 5610736 100 Rev 9...
Page 380: ...Index 4 LOGIQ V2 LOGIQ V1 User Guide Direction 5610736 100 Rev 9...
Page 381: ......

