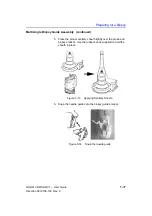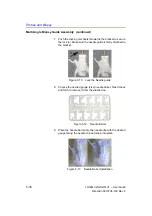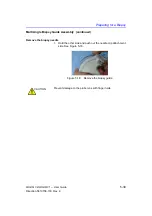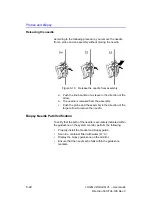
Preparing for a Biopsy
LOGIQ V2/LOGIQ V1
–
User Guide
5-35
Direction 5610736-100
Rev. 9
Multi Angle Biopsy Guide Assembly
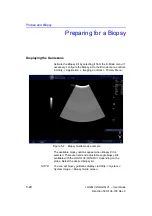
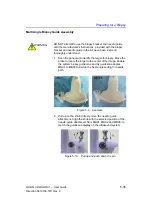
1. Scan the patient and identify the target for biopsy. Move the
probe to locate the target to the center of the image. Enable
the system biopsy guidezone and try guidezone angles
MBX1 to MBX3 to decide the best angle setting for needle
path.
Figure 5-9. Example
2. Pull up on the knob to freely move the needle guide
attachment. Align the knob with the selected position of the
needle guide attachment from MBX1, MBX2 and MBX3, to
match the guidezone display on the ultrasound system.
Figure 5-10. Pull up and push down the pin
WARNING
DO NOT attempt to use the biopsy bracket and needle guide
until the manufacturer's instructions, provided with the biopsy
bracket and needle guide in the kit, have been read and
thoroughly understood.
Summary of Contents for LOGIQ V2
Page 8: ...i 6 LOGIQ V2 LOGIQ V1 User Guide Direction 5610736 100 Rev 9...
Page 92: ...Getting Started 1 80 LOGIQ V2 LOGIQ V1 User Guide Direction 5610736 100 Rev 9...
Page 242: ...After the Exam is Over 3 80 LOGIQ V2 LOGIQ V1 User Guide Direction 5610736 100 Rev 9...
Page 288: ...Safety 4 46 LOGIQ V2 LOGIQ V1 User Guide Direction 5610736 100 Rev 9...
Page 380: ...Index 4 LOGIQ V2 LOGIQ V1 User Guide Direction 5610736 100 Rev 9...
Page 381: ......

