Onboard Help
LOGIQ V2/LOGIQ V1
–
User Guide
6-31
Direction 5610736-100
Rev. 9
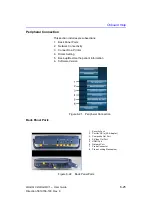
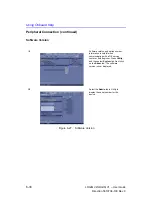
Peripheral Connection (continued)
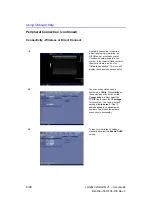
Connect to a Printer
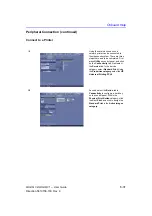
1/5
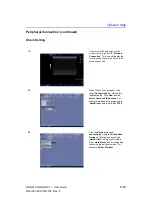
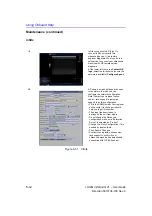
Using the network connection, a
network printer can be connected to
the ultrasound system. There are three
steps that need to be completed. First
press
Utility
on control panel, and click
on the
Connectivity
tab. Next select
the
Service
tab. In the service
category, select
Standard Print.
Using
the
Properties category
select the
HP
Universal Printing PCL6
.
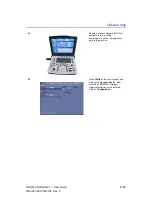
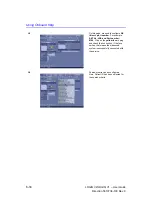
2/5
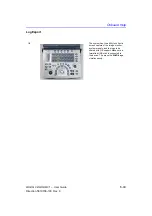
Second, select the
Button
tab in
Connectivity
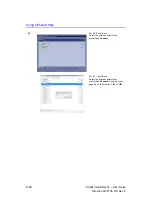
to configure a hard key
on the control panel. Within the
Physical Print Button
category, click
to select
, and click to assign the
Standard Print
in the
Active images
category.
Summary of Contents for LOGIQ V2
Page 8: ...i 6 LOGIQ V2 LOGIQ V1 User Guide Direction 5610736 100 Rev 9...
Page 92: ...Getting Started 1 80 LOGIQ V2 LOGIQ V1 User Guide Direction 5610736 100 Rev 9...
Page 242: ...After the Exam is Over 3 80 LOGIQ V2 LOGIQ V1 User Guide Direction 5610736 100 Rev 9...
Page 288: ...Safety 4 46 LOGIQ V2 LOGIQ V1 User Guide Direction 5610736 100 Rev 9...
Page 380: ...Index 4 LOGIQ V2 LOGIQ V1 User Guide Direction 5610736 100 Rev 9...
Page 381: ......

