Onboard Help
LOGIQ V2/LOGIQ V1
–
User Guide
6-33
Direction 5610736-100
Rev. 9
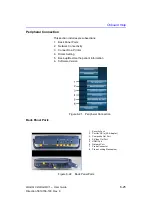
Peripheral Connection (continued)
Dicom Setting
1/6
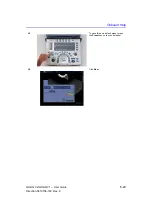
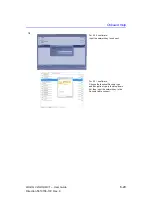
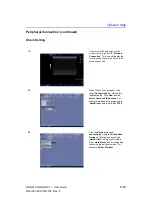
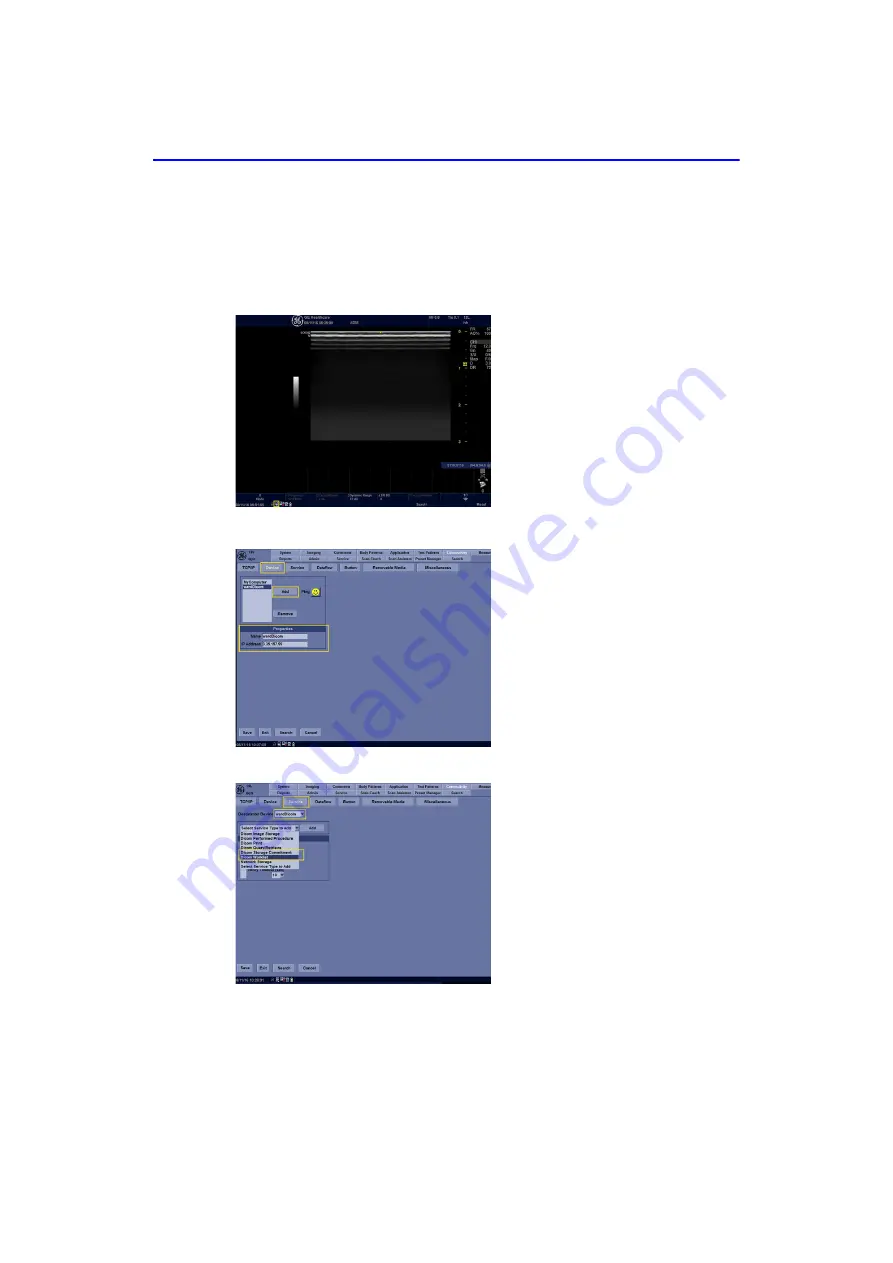
In the lower left hand corner of the
monitor there is an icon for “
Network
Connection
”. This icon will display the
current connection status. There is an
active connection.
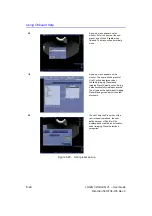
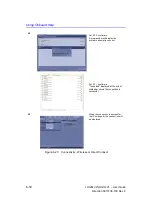
2/6
Press Utility on control panel, then
select
Connectivity
tab. Next select
the
Device
tab. Click
Add
to add a
server name and IP address
. For
example, we added the device name
“
wardDicom
” and input
3.35.157.99
.
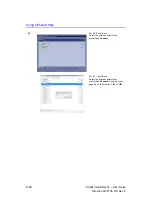
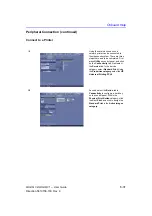
3/6
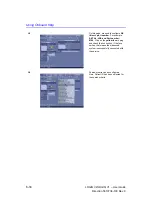
Click the
Service
tab under
connectivity
. Using the
Destination
Device
pull down menu select the
“
wardDicom
” that was just created.
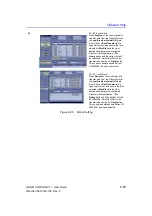
Now, “
wardDicom
” can be assigned a
task using the pull-down menu. For
example:
Dicom Worklist
.
Summary of Contents for LOGIQ V2
Page 8: ...i 6 LOGIQ V2 LOGIQ V1 User Guide Direction 5610736 100 Rev 9...
Page 92: ...Getting Started 1 80 LOGIQ V2 LOGIQ V1 User Guide Direction 5610736 100 Rev 9...
Page 242: ...After the Exam is Over 3 80 LOGIQ V2 LOGIQ V1 User Guide Direction 5610736 100 Rev 9...
Page 288: ...Safety 4 46 LOGIQ V2 LOGIQ V1 User Guide Direction 5610736 100 Rev 9...
Page 380: ...Index 4 LOGIQ V2 LOGIQ V1 User Guide Direction 5610736 100 Rev 9...
Page 381: ......

