Getting Started
1-66
LOGIQ V2/LOGIQ V1
–
User Guide
Direction 5610736-100
Rev. 9
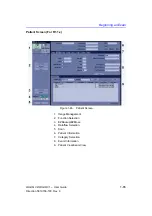
Patient Screen (For R1.1.x) (continued)
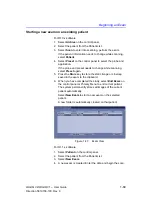
When starting a new patient’s exam, ensure you do the
following:
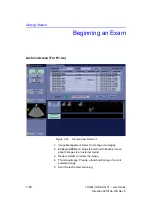
1. Select
Patient
on the control panel.
2. Select
New Patient
on the patient menu.
If there are images on the clipboard, a pop-up menu
appears. Specify whether you want to store images, delete
images, or go to active images.
3. Choose the exam category.
4. Verify the dataflow.
NOTE:
DO NOT use the removable media Dataflows on the New
patient menu.
NOTE:
The system will display a warning dialog when the patient is
registered to “No Archive”. if the “Warn register to No
Archive” preset is selected in the Utility -> Connectivity ->
Miscellaneous menu, a warning displays. Please select a
different dataflow for permanent storage of patient data.
5. Fill in patient information.
NOTE:
You can also select a patient from the patient database at
the bottom of the Patient menu if the patient has a patient
ID.
NOTE:
Columns drive the ordering of the patients displayed. The
colums that you select drives
the order of the the displayed
paient database.
NOTE:
Do not use the following characters when filling in patient
information:
“ ‘ \ / : ; . , * < > | + = [ ] &
6. Select
Register
. Enter Past OB Exam information, if
desired.
7. Select the probe to start scanning (or select Esc, Scan, or
Freeze).
8. Perform
the
exam.
Summary of Contents for LOGIQ V2
Page 8: ...i 6 LOGIQ V2 LOGIQ V1 User Guide Direction 5610736 100 Rev 9...
Page 92: ...Getting Started 1 80 LOGIQ V2 LOGIQ V1 User Guide Direction 5610736 100 Rev 9...
Page 242: ...After the Exam is Over 3 80 LOGIQ V2 LOGIQ V1 User Guide Direction 5610736 100 Rev 9...
Page 288: ...Safety 4 46 LOGIQ V2 LOGIQ V1 User Guide Direction 5610736 100 Rev 9...
Page 380: ...Index 4 LOGIQ V2 LOGIQ V1 User Guide Direction 5610736 100 Rev 9...
Page 381: ......

