9. ROUTES
9-4
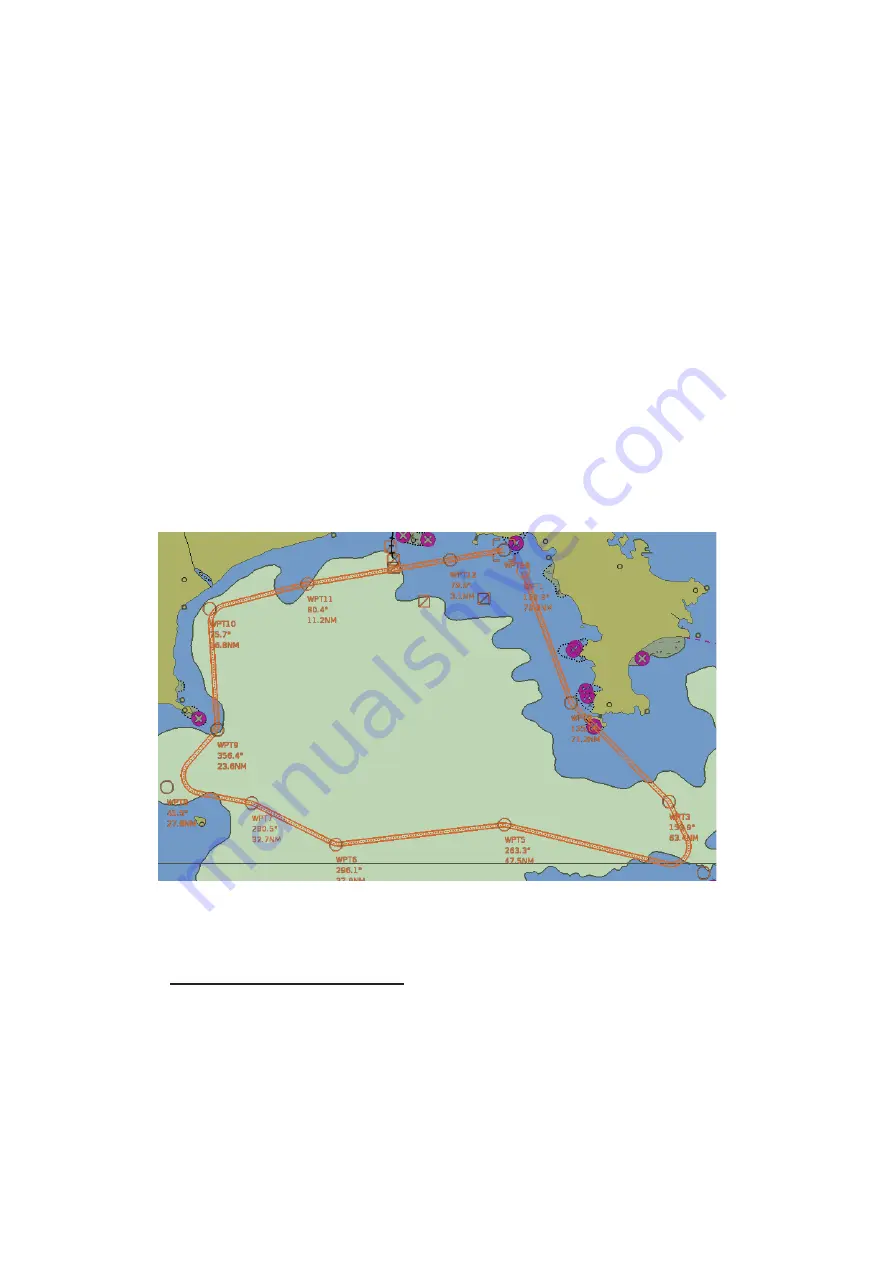
5. Repeat step 4 to enter other waypoints.
6. After you enter the final waypoint, right-click the display area to show the context-
sensitive menu then select [Finish].
7. Click the [Save] button. Enter a name (max. 63 characters) for the route, using the
software keyboard. Click the [OK] button to finish.
8. Use the [Alert Parameters] page to define the safety contour and other specified
conditions for checking the route. Click an item to place a check in the box, high-
lighting that type of chart alert area. Also, input value for [Draught/m]. A parameter
for [Draught/m] can also be assigned globally to all legs from the context-sensitive
menu. See section 9.4.4 for how to use the [Alert Parameters] page.
9. Use the [Check Route] button on the [Alert Parameters] page to detect areas
where the depth is less than the safety contour or where specified conditions exist.
The results appear on the [Check Results] page. This system can examine chart
database against planned route to make a list of alerts where a route crosses a
safety contour or specified areas used in chart alerts.
10. Use the [User Chart] page to link, de-link a user chart(s) with the route.See
11. Use the [Optimize] page to enter parameters for route optimization.See
12. Click [Save]. The [Save Route] dialog appears.
13. Input a name for the new route, then click [OK]. The route is now saved in the
Route Bank.
How to use the Undo feature
The Undo feature, available when creating a route and a user chart, can be accessed
from the [Undo] button on the InstantAccess bar™. In route creation the feature is
used with waypoint and text input as follows:
Waypoint input
: Delete last-entered waypoint.
Text input:
Erase last-entered character or character string.
Summary of Contents for FMD3100
Page 36: ...1 INTRODUCTION 1 20 This page is intentionally left blank ...
Page 70: ...2 OPERATIONAL OVERVIEW 2 34 This page is intentionally left blank ...
Page 128: ...5 VECTOR S57 CHARTS 5 12 This page is intentionally left blank ...
Page 140: ...7 C MAP BY JEPESSEN CHARTS 7 6 This page is intentionally left blank ...
Page 206: ...11 HOW TO MONITOR ROUTES 11 16 This page is intentionally left blank ...
Page 230: ...13 TRACKED TARGET TT FUNCTIONS 13 10 This page is intentionally left blank ...
Page 244: ...14 AIS TARGET FUNCTIONS 14 14 This page is intentionally left blank ...
Page 250: ...15 AIS SAFETY NAVTEX MESSAGES 15 6 This page is intentionally left blank ...
Page 294: ...19 RECORDING FUNCTIONS PLAYBACK FUNCTIONS 19 14 This page is intentionally left blank ...
Page 312: ...20 ALERTS 20 18 This page is intentionally left blank ...
Page 332: ...22 SETTINGS MENU 22 16 This page is intentionally left blank ...
Page 338: ...23 MAINTENANCE AND TROUBLESHOOTING 23 6 This page is intentionally left blank ...
Page 395: ......


