7-74
7.5 Test Mode Details
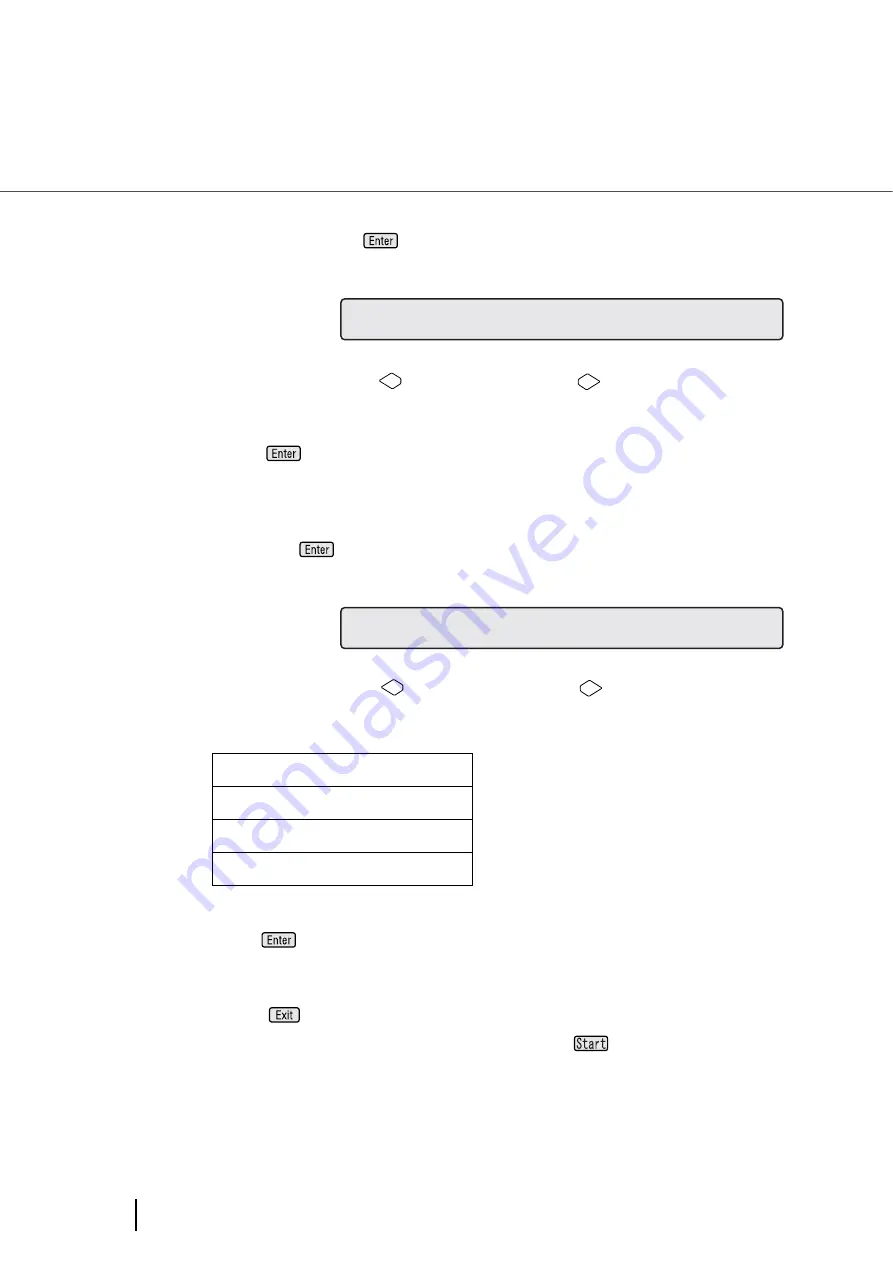
(3)At <Screen50-2>, select the third item from left, [BW] in the sample
screen, and press
(Enter button). Then the LCD display shows
<Screen50-2.3>.
<Screen50-2.3>
In this screen, press
(Left arrow button) or
(Right arrow button)
and select the scan mode: binary (BW) or color (COLOR).
Press
(Enter button) and confirm the setting.Then the display goes
back to <Screen50-2>.
(4)At <Screen50-2>, select the right most item, [200] in the sample screen,
and press
(Enter button). Then the LCD display shows <Screen50-
2.4>.
<Screen50-2.4>
At this screen, press
(Left arrow button) or
(Right arrow button)
and select scan resolution. Following parameters can be specified.
Press
(Enter button) and confirm the setting.Then the display goes
back to <Screen50-2>.
(5)Press
(Enter button). Then the display goes back to <Screen50-1>.
At <Screen50-1>, select [START], and press
(Start button).
If fi-486PRFR and/or fi-486PRREis installed, <Screen50-3> is displayed
for setting imprinter test conditions.
If an imprinter(s) is not installed, the scanner starts scanning operations.
200:
Scan at 200 dpi
240:
Scan at 240 dpi
300:
Scan at 300 dpi
400:
Scan at 400 dpi
O
R
L
e
d
a
i
n
o
g
M
d
R
e
O
C
2
0
E
O
S
L
U
O
T
I
N
R
0
Summary of Contents for 4860C - fi - Document Scanner
Page 1: ...Operator s Guide fi 4860C2 Image Scanner P3PC 1692 01ENZ0 ...
Page 2: ......
Page 22: ... xx ...
Page 26: ... xxiv ...
Page 140: ...4 6 4 3 Replacing the Pad ASSY Pad cleaning area Pad ASSY Guide plate ...
Page 158: ...4 24 4 7 Replacing the Back side Lamp ...
Page 190: ...5 32 5 4 Labels on the Scanner ...
Page 288: ...8 6 8 4 fi 486TRK Thinner paper Roller Kit ...
Page 294: ...9 6 9 3 Dimensions ...
Page 312: ... AP 18 ...


