7-18
7.3 Setup Mode Details
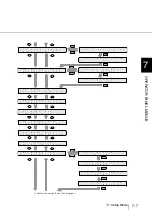
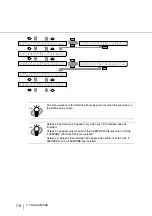
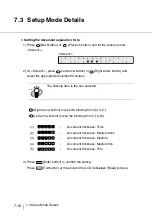
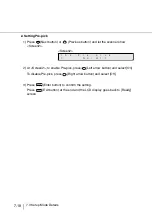
2. Setting Pre-pick
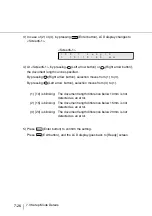
1) Press
(Next button) or
(Previous button) and let the scanner show
<Screen2>.
<Screen2>
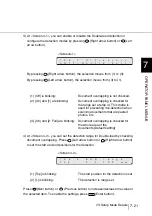
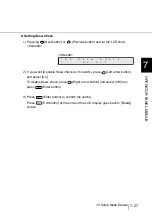
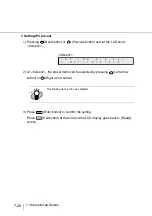
2) At <Screen2>, to enable Pre-pick, press
(Left arrow button) and select [On].
To disable Pre-pick, press
(Right arrow button) and select [Off].
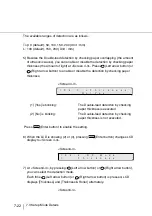
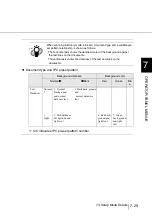
3) Press
(Enter button) to confirm the setting.
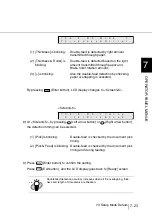
Press
(Exit button) at the end and the LCD display goes back to [Ready]
screen.
0
2
-
c
e
!
k
p
i
=
P
r
f
f
O
/
n
O
Summary of Contents for 4860C - fi - Document Scanner
Page 1: ...Operator s Guide fi 4860C2 Image Scanner P3PC 1692 01ENZ0 ...
Page 2: ......
Page 22: ... xx ...
Page 26: ... xxiv ...
Page 140: ...4 6 4 3 Replacing the Pad ASSY Pad cleaning area Pad ASSY Guide plate ...
Page 158: ...4 24 4 7 Replacing the Back side Lamp ...
Page 190: ...5 32 5 4 Labels on the Scanner ...
Page 288: ...8 6 8 4 fi 486TRK Thinner paper Roller Kit ...
Page 294: ...9 6 9 3 Dimensions ...
Page 312: ... AP 18 ...

