


E x c ha ng i ng a nd U p da t in g D at a us i n g H o tS y nc O pe r at i on s
Selecting HotSync setup options
Wrist PDA User Guide 113
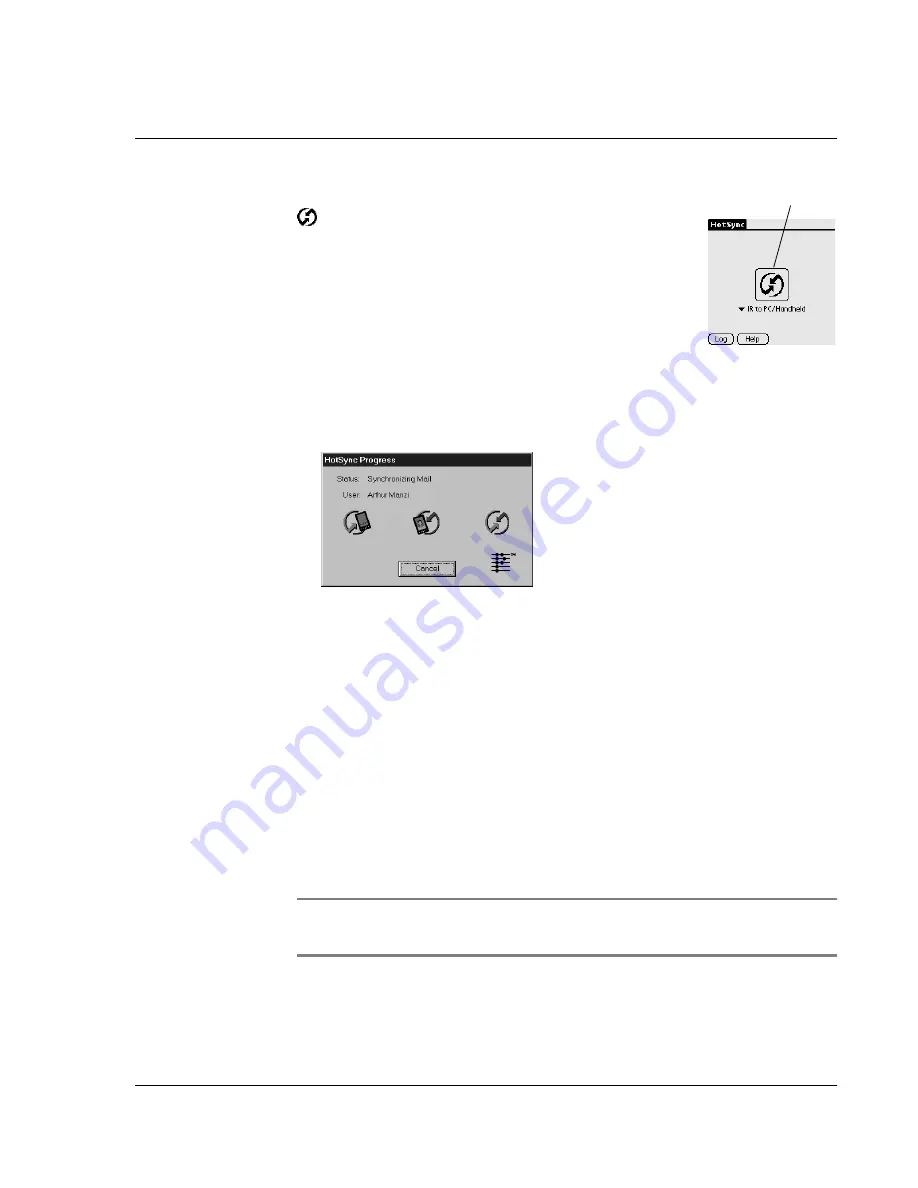
5.
Once the HotSync application opens, tap the
HotSync icon as shown. This starts the
HotSync operation.
6.
If you are performing the HotSync operation
for the first time, you must enter a user name
in the New User dialog box and click OK. The
HotSync Progress dialog box appears and
synchronization begins.
Every watch should have a unique name. To prevent loss of a user’s
records, never try to synchronize more than one watch to the same
user name.
7.
Wait for a message on your watch indicating that the process is
complete.
When the HotSync process is complete, you can disconnect your
watch from the HotSync Pod.
Selecting HotSync setup options
You can choose when you want HotSync Manager to run.
To set the HotSync options:
1.
Click the HotSync Manager icon in the Windows system tray.
2.
Make sure Local USB and Local Serial are selected.
NOTE:
The Wrist PDA COM Port Manager automatically
detects and enables the correct COM port setting. See page 118.
3.
Choose Setup.
Tap here
Summary of Contents for Watch
Page 1: ...USER GUIDE ...
Page 8: ...8 Wrist PDA User Guide ...
Page 10: ...About This Guide 10 Wrist PDA User Guide ...
Page 94: ...Performing Common Tasks Getting information about an application 94 Wrist PDA User Guide ...
Page 106: ...Customizing Your Watch Assigning security options 106 Wrist PDA User Guide ...
Page 122: ...Exchanging and Updating Data using HotSync Operations Importing data 122 Wrist PDA User Guide ...
Page 130: ...Installing Palm Desktop Software Installing the Wrist PDA Software 130 Wrist PDA User Guide ...


