189
Camera
<
P
hot
o m
ode
>
Shooting continuously
<Continuous mode>
You can shoot a series of up to 20 continuous
still images. The continuous mode is catego-
rized into two types: Auto and Manual.
c
Auto continuous mode allows you to specify the
number of shots and the interval. Once you
release the shutter, the FOMA terminal automat-
ically shoots at the specified interval. The auto
focus function is available only for the first shot.
The second and subsequent shots are shot with
the focus point placed for the first shot.
c
Manual continuous mode allows you to shoot up to
the specified number, one shot each time you
release the shutter. You can change the auto focus
settings for each shot (“Photo mode”
→
p.185).
c
The following image sizes are available: CIF
(352 × 288), Screen (240 × 345), Stand-by (240
× 320), QCIF (176 × 144), SubQCIF (128 × 96)
c
You can enjoy the continuous image shots as an
animation added to the original animation.
c
Continuous shooting is unavailable when a
FOMA terminal is folded. Folding the FOMA ter-
minal terminates the continuous shooting.
1
Photo mode screen
(p.185)
X
o
(
)
or
1
X
“
” or
“
”
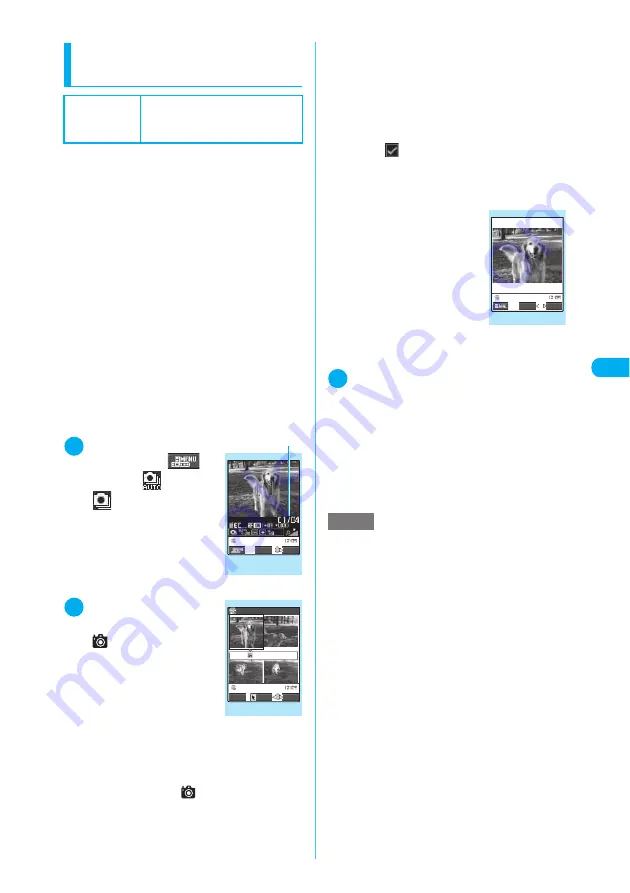
The “Continuous shooting”
screen appears.
■
To turn on/off the auto
focus
X
f
2
Point the camera at
an object
X
d
or
s
(
)
Locking the focus turns the
focus frame into green. After
the shooting, the “Continuous
shooting checking screen”
appears showing four of the
shots at the same time.
■
To shoot with AF lock
“Shooting still images with AF lock”
→
p.186
■
To shoot with Focus fixed
X
Press
f
to set the auto focus to
“OFF”
X
d
or
s
(
)
■
To stop the continuous shooting
Auto continuous mode:
X
y
X
“NO”
Manual continuous mode:
X
t
(or
y
X
“NO”)
The shooting is finished and the continuous
shooting checking screen appears.
■
To select the image to save
X
Use
b
to select an image
The
icon (check mark) appears for the
selected image.
Repeat the step to select images.
To cancel the selected image, select the image
again.
■
To check the images in
detail
X
Use
b
to select an
image
X
o
(Detail)
Use
v
to change the
image to check.
To return to the list, press
t
.
To save the image dis-
played in detail, press
d
.
The images are saved to the
folder specified in “Select to
save” (p.186).
3
p
(FUNC)
X
Select the saving
method (Store selection, Store all
or Store all&anime)
“Function menu (continuous shooting checking
screen)”
→
p.190
The images are saved to the folder specified in
“Select to save” (p.186).
If “Store selection” is selected, the “Continuous
shooting checking screen” appears with the saved
images removed after the image saving.
Default setting
Select size: CIF(352
×
288)
Shot interval: 0.5 seconds
(A-Continuous mode)
Shot number: 4
Continuous shooting
(Ex. manual)
FUNC
Record
Shot number/Max. shot count
Function menu
¨
p.186
Continuous shooting checking
Detail
Select
FUNC
image 1/ 4
Picture
Function menu
¨
p.190
NOTE
e
If you receive a call during continuous shooting, the
shooting terminates. After you finish talking, the Con-
tinuous shooting checking screen shows the images
you shot until the interruption.
e
Do not remove the miniSD memory card while saving
an image to the miniSD memory card. Doing so may
cause the FOMA terminal and miniSD memory card
to malfunction.
e
If the battery is low, you may be unable to save the
shots.
e
Turning off a FOMA terminal or removing the battery
pack during the file saving process may save incom-
plete files.
e
In Manual continuous mode, the incoming call lamp
lights in red each time you shoot. The lamp lights in
red in Auto continuous mode. It flashes in green while
data is being saved to the miniSD memory card.
e
When you automatically shoot a strong light or mov-
ing object, the interval may become longer than the
specified one.
e
Keep a FOMA terminal steady until the checking
screen appears or while a message indicating that
the shot is being processed appears.
Detail checking
Save
FUNC
Function menu
¨
p.190


