9.
Press the
r
button.
10. Press the
button to edit the photos as necessary.
11. Slide out the output tray.
12. Enter the number of copies, and then press the
x
button.
13. Confirm that printing is complete, and then select
Close
.
If you notice print quality problems such as banding, unexpected colors, or blurry images, select
Troubleshooting
to see the solutions.
Related Information
&
“Loading Paper in the Paper Cassette 1” on page 62
&
“Loading Paper in the Paper Cassette 2” on page 66
&
“List of Paper Types” on page 60
&
“Inserting a Memory Card” on page 76
&
“Guide to the Select Photo Screen (Single View)” on page 82
&
“Menu Options for Selecting Photos” on page 87
&
“Guide to the Select Photo Screen (Single View)” on page 82
&
“Menu Options for Paper and Print Settings” on page 88
&
“Guide to the Preview Screen” on page 83
&
“Guide to the Edit Photo Screen” on page 83
&
“Menu Options for Editing Photos” on page 89
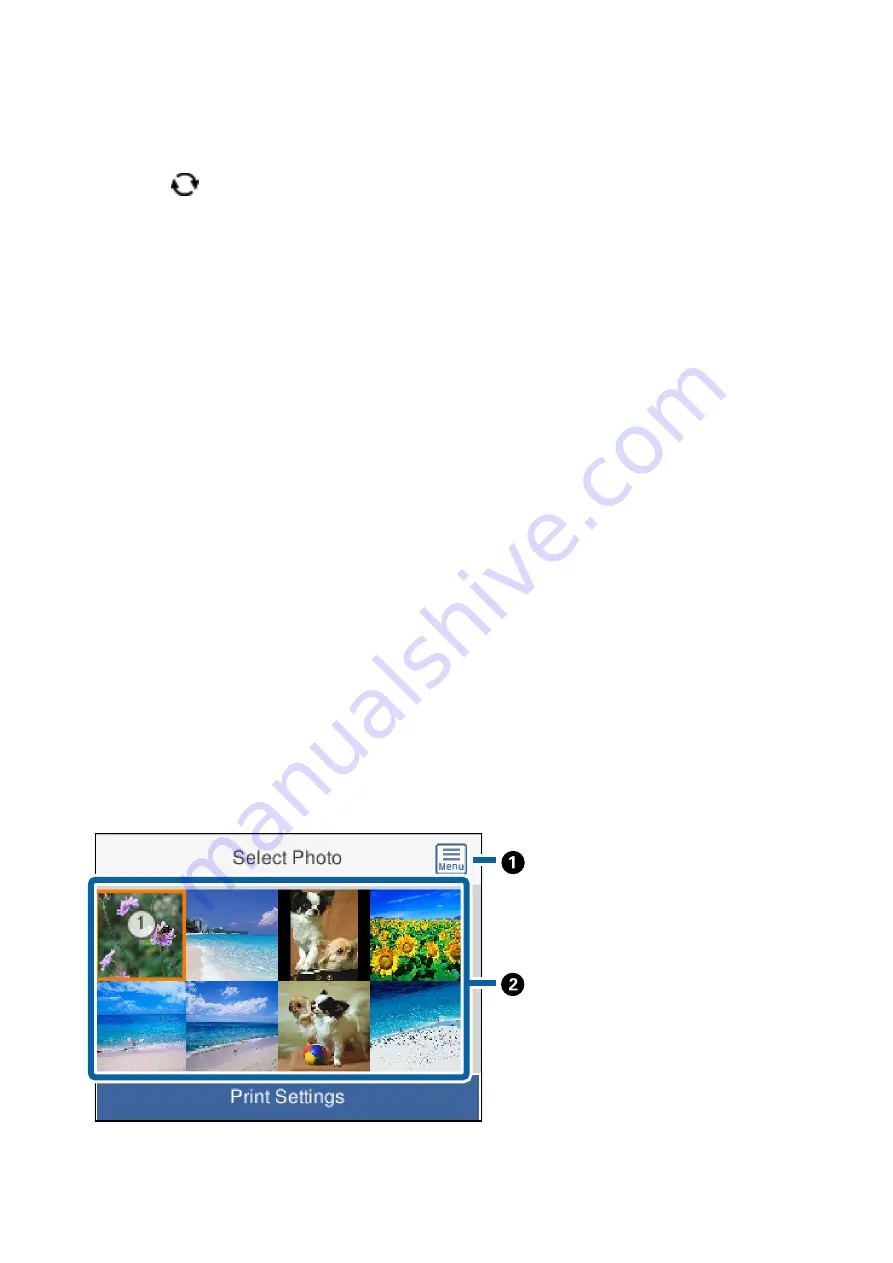
Guide to the Select Photo Screen (Tile View)
You can select photos from the thumbnail screen. This is useful when selecting a few photos from a large number
of photos.
User's Guide
Printing
81


