Copying
Copying Basics
This section explains the steps for copying from the
Copy
menu on the control panel.
1.
Load paper in the printer.
2.
Place the originals.
3.
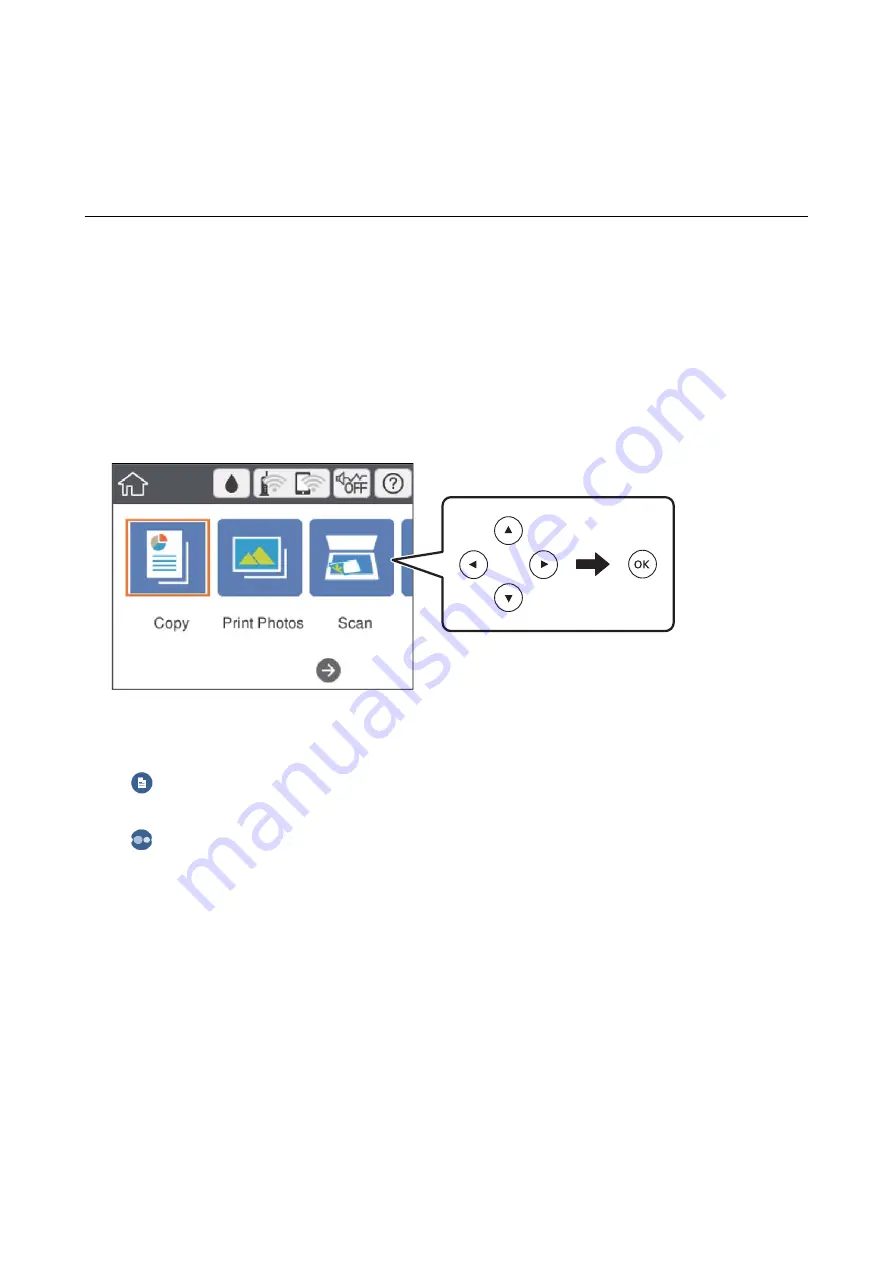
Select
Copy
on the home screen.
To select an item, move the focus to the item using the
u
d
l
r
buttons, and then press the OK button.
4.
Make the settings on the
Copy
tab.
❏
B&W/Color: Select color copy or monochrome copy.
❏
(2-Sided Copying): When making 2-sided copies, select the item, select
1→2-Sided
, and then make
settings for
Original Orientation
and
Binding Margin
. Select
Done
to confirm.
❏
(Density): Select the item to make settings for copy density. Press the + button to increase the density,
and press the - button to decrease the density. Select
Done
to confirm.
5.
Select the
Advanced Settings
tab, and then change the settings as necessary.
6.
Select the
Copy
tab, and then set the number of copies.
7.
Press the
x
button.
Note:
The color, size, and border of the copied image are slightly different from the original.
Related Information
&
“Loading Paper in the Paper Cassette 1” on page 62
&
“Loading Paper in the Paper Cassette 2” on page 66
&
“Placing Originals on the Scanner Glass” on page 72
User's Guide
Copying
127


