


Using the Control Panel
255
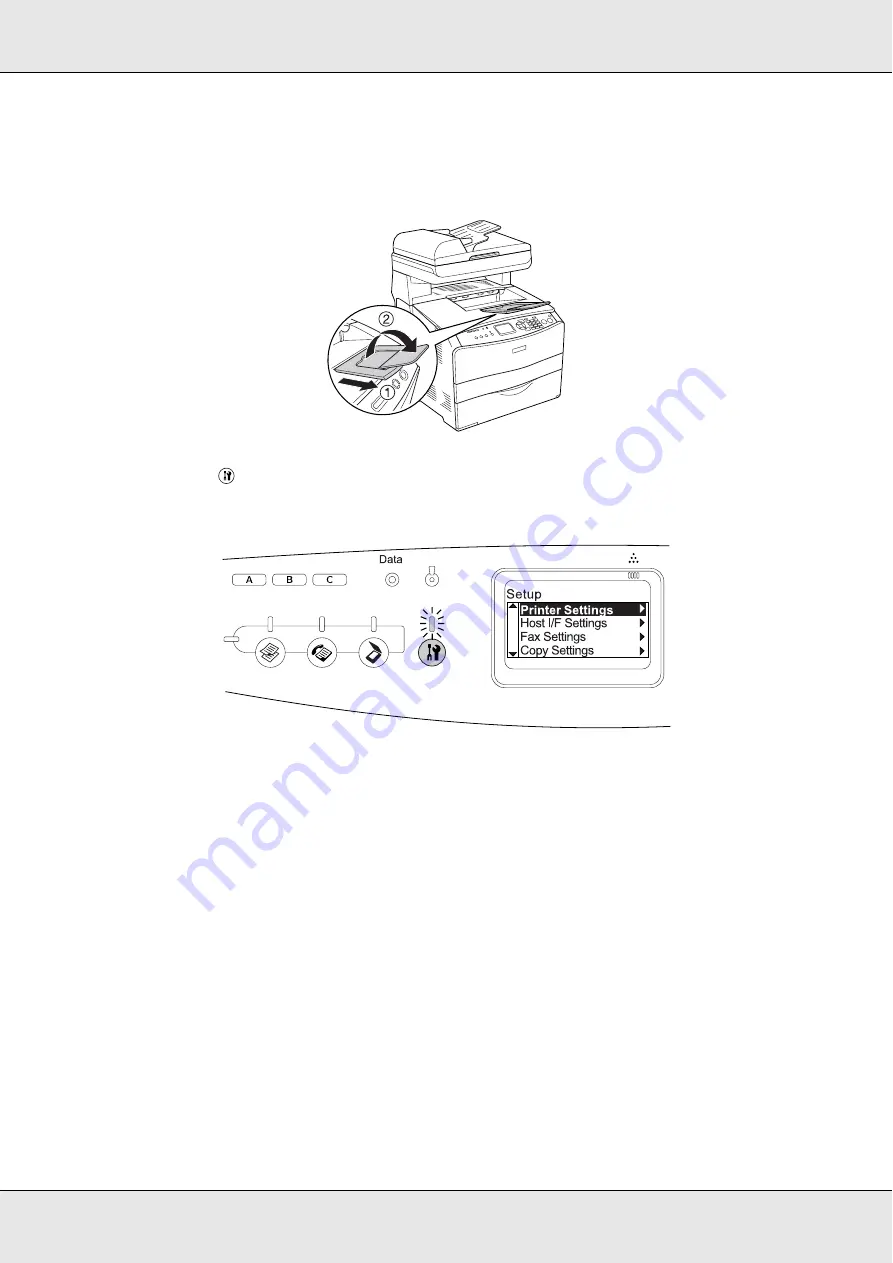
1. Make sure the product is turned on.
2. Raise and open the stopper on the extension tray.
3. Press the
Setup button to enter the Setup mode. The Setup light is lit and Setup
menu appears in the LCD panel.
4. Make sure
Printer Settings
is selected, and then press the
r
Right button. The
Printer Settings menu appears.
5. Make sure
Information Menu
is selected, and then press the
r
Right button.
6. Make sure
Status Sheet
is selected, and then press the
r
Right button.
The
Data
light blinks and the product starts printing a status sheet.
Note:
❏
Confirm that the information about the installed options is correct. If the options are installed
correctly, they appear under Hardware Configurations. If the options are not listed, try
reinstalling them.
❏
If the status sheet does not list your installed options correctly, make sure that they are securely
connected to the product.
❏
If you are unable to get the product to print a correct status sheet, contact your dealer.
Summary of Contents for Aculaser CX21N Series
Page 1: ...EPSON AcuLaser CX21 Series User s Guide NPD2571 00 ...
Page 143: ...Scanning 143 Office Mode ...
Page 144: ...Scanning 144 Home Mode ...
Page 168: ...Scanning 168 Home Mode Click the Backlight Correction check box ...
Page 234: ...Faxing Fax Model Only 234 The recipient assigned for the one touch dial is deleted ...
Page 338: ...Other Problems 338 5 Push down the two green levers of the fuser unit 6 Close cover C ...
Page 394: ...Information about Fonts 394 Symbol 621 N ZapfDigbats 460 N ...


