


Scanning
166
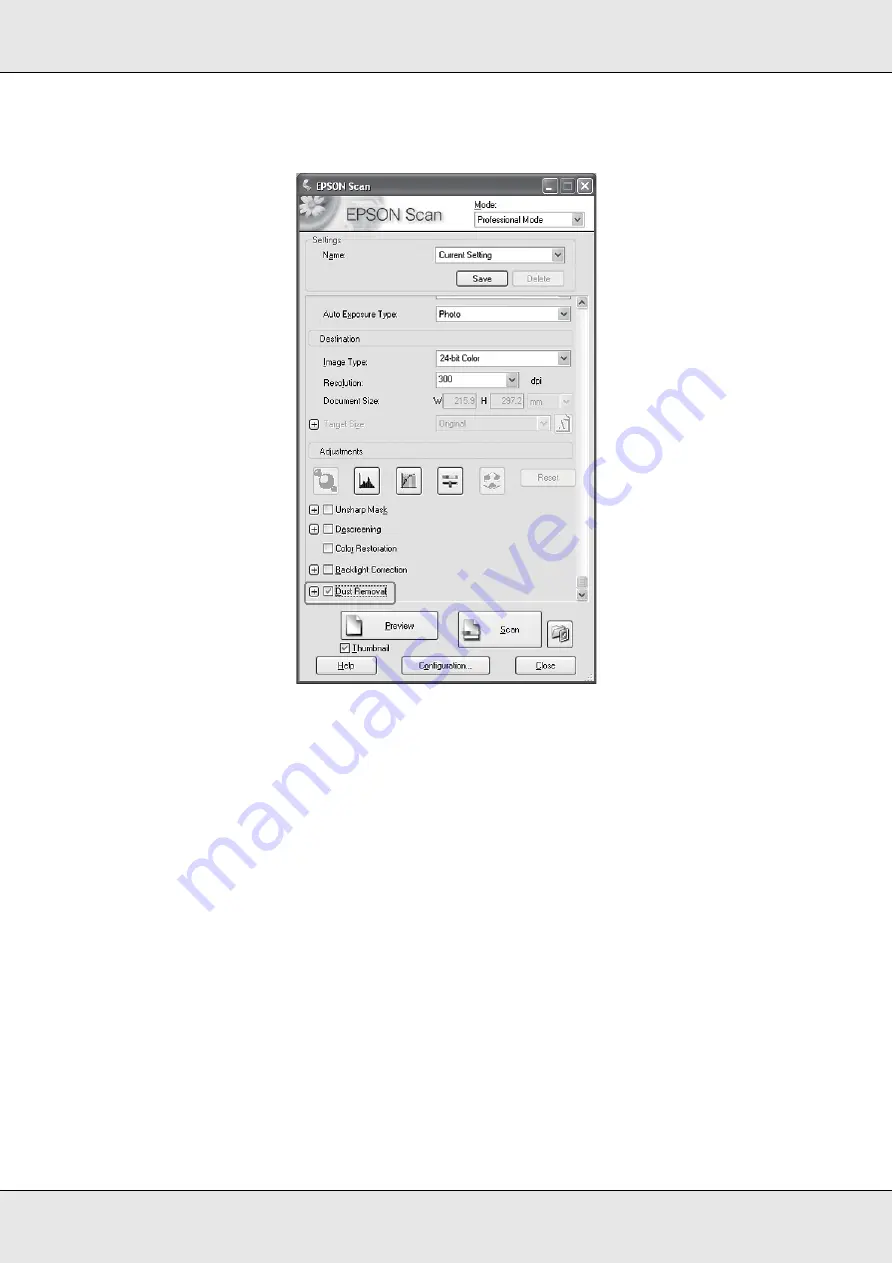
Professional Mode:
Note:
The result of the dust removal does not appear in the image in the Preview window. You must
scan the image first.
6. Make any other necessary image adjustments. See "Adjusting the Color and Other
7. Size your image as necessary. See "Selecting the Scan Size" on page 155.
8. Click the
Scan
button to scan and remove dust marks in your image(s).
What happens next depends on how you started Epson Scan. See "Finishing the Scan" on
page 158.
Fixing Backlight Photos
Using the
Backlight Correction
feature in Epson Scan, you can remove shadows from
photos that have too much background light. You can fix printed photos automatically as
you scan them.
Summary of Contents for Aculaser CX21N Series
Page 1: ...EPSON AcuLaser CX21 Series User s Guide NPD2571 00 ...
Page 143: ...Scanning 143 Office Mode ...
Page 144: ...Scanning 144 Home Mode ...
Page 168: ...Scanning 168 Home Mode Click the Backlight Correction check box ...
Page 234: ...Faxing Fax Model Only 234 The recipient assigned for the one touch dial is deleted ...
Page 338: ...Other Problems 338 5 Push down the two green levers of the fuser unit 6 Close cover C ...
Page 394: ...Information about Fonts 394 Symbol 621 N ZapfDigbats 460 N ...


