Scanning
157
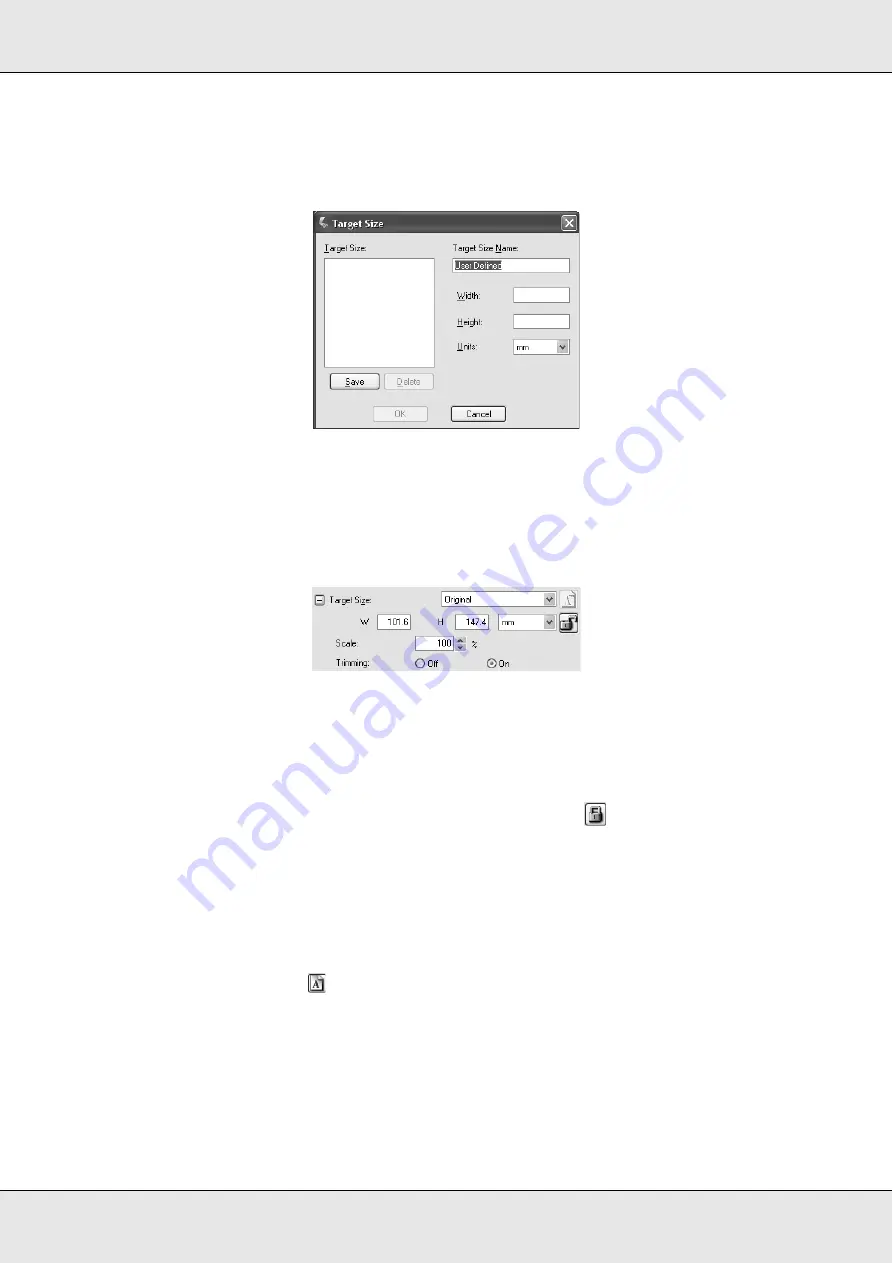
2. If you need to create a scan size that is not in the Target Size list, you can create a
custom size. Click the arrow in the list and select
Customize
. You see the Target Size
window.
Type a name for your custom size, enter the size, click the
Save
button, then click
OK
.
Your new size appears in the Target Size list.
3. In Professional Mode, you can fine-tune the size using additional tools. Click the
+
(Windows) or
r
(Mac OS X) next to
Target Size
to display these tools.
❏
To size your image by a certain percentage, adjust the
Scale
value.
❏
To change the way your image is cropped, turn
Trimming
on or off. (See Epson
Scan Help for details.)
❏
To unlock the proportions of your scan size, click the
lock icon. Then adjust the
marquee or enter new width/height measurements.
4. Once you have selected your scan size, you can click and drag the marquee to the area
in the image you want to scan. For details, see "Adjusting the Scan Area (Marquee)" on
page 151. The marquee proportions are retained as you adjust it.
If you need to rotate the marquee for a landscape or portrait image without changing its
aspect ratio, click the
orientation icon. (Not available if you are scanning at the
Original
Target Size.)
Note:
For more information about using the Target Size tools, click
Help
in the Epson Scan window.
5. Now you are ready to scan your image(s). Click the
Scan
button and see "Finishing the
Scan" on page 158 for instructions.
Summary of Contents for Aculaser CX21N Series
Page 1: ...EPSON AcuLaser CX21 Series User s Guide NPD2571 00 ...
Page 143: ...Scanning 143 Office Mode ...
Page 144: ...Scanning 144 Home Mode ...
Page 168: ...Scanning 168 Home Mode Click the Backlight Correction check box ...
Page 234: ...Faxing Fax Model Only 234 The recipient assigned for the one touch dial is deleted ...
Page 338: ...Other Problems 338 5 Push down the two green levers of the fuser unit 6 Close cover C ...
Page 394: ...Information about Fonts 394 Symbol 621 N ZapfDigbats 460 N ...


