


Using the Printer Software with Macintosh
102
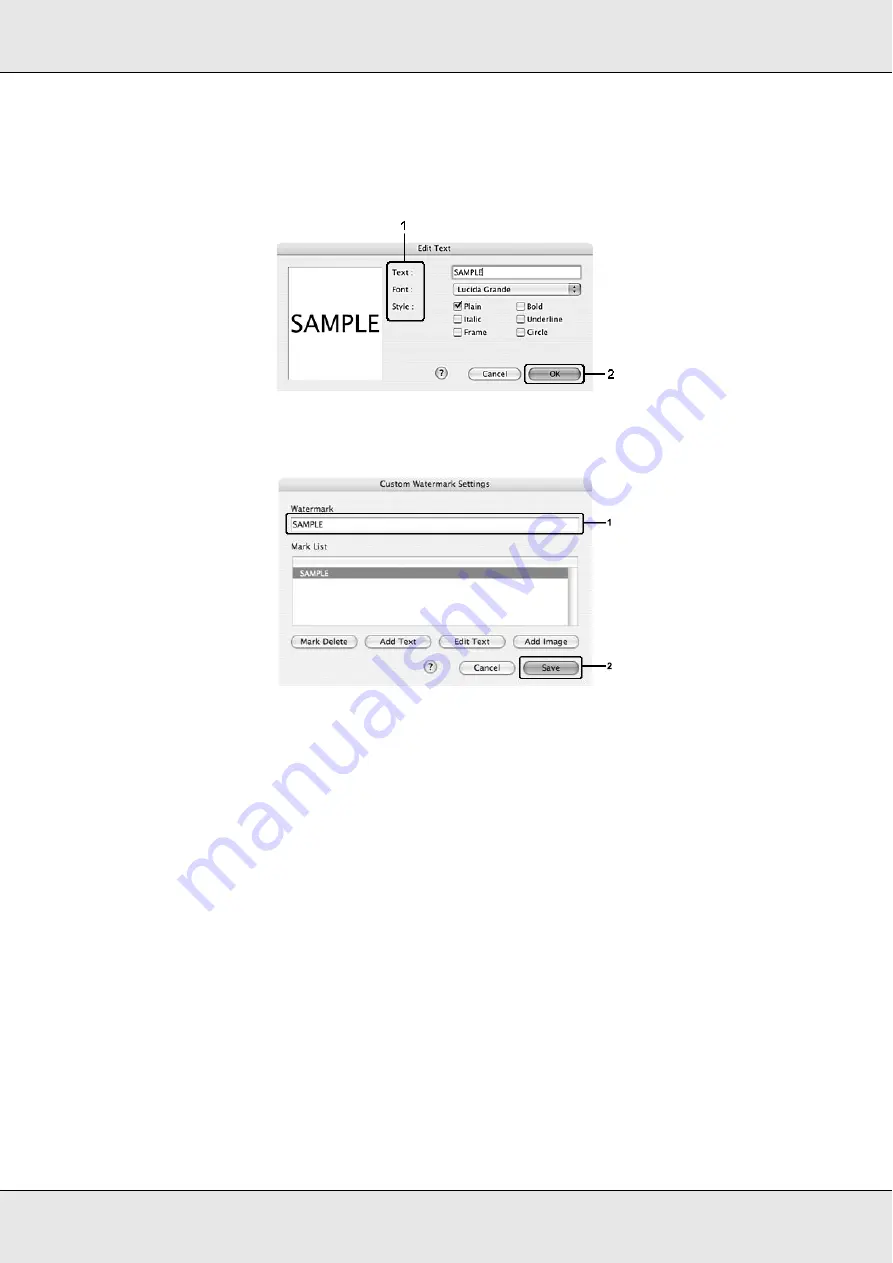
7. Click the Text box to open the Text Input dialog box. Type the watermark text, then click
OK
to close the dialog box. Select the Font and Style, then click
OK
on the Edit Text
dialog box.
8. Type the file name in the Watermark box, then click
Save
.
Note:
❏
To edit the saved text watermark, select it from the List box, then click
Edit Text
. After
editing, be sure to click
OK
to close the dialog box.
❏
To remove the saved text watermark, select it from the List box, then click
Mark Delete
.
After removing it, be sure to click
Save
to close the dialog box.
9. Select a custom watermark, that has been saved, from the Watermark drop-down list
on the Watermark Setting dialog box, and then click
OK
.
To make a bitmap watermark
Before making a custom watermark, you should prepare a image file (PDF, PNG, or JPG).
For Mac OS X users
1. Open the Print dialog box.
2. Select
Printer Settings
from the drop-down list, and select the
Basic Settings
tab.
Summary of Contents for Aculaser CX21N Series
Page 1: ...EPSON AcuLaser CX21 Series User s Guide NPD2571 00 ...
Page 143: ...Scanning 143 Office Mode ...
Page 144: ...Scanning 144 Home Mode ...
Page 168: ...Scanning 168 Home Mode Click the Backlight Correction check box ...
Page 234: ...Faxing Fax Model Only 234 The recipient assigned for the one touch dial is deleted ...
Page 338: ...Other Problems 338 5 Push down the two green levers of the fuser unit 6 Close cover C ...
Page 394: ...Information about Fonts 394 Symbol 621 N ZapfDigbats 460 N ...


