7
7-16
Using Maintenance Features
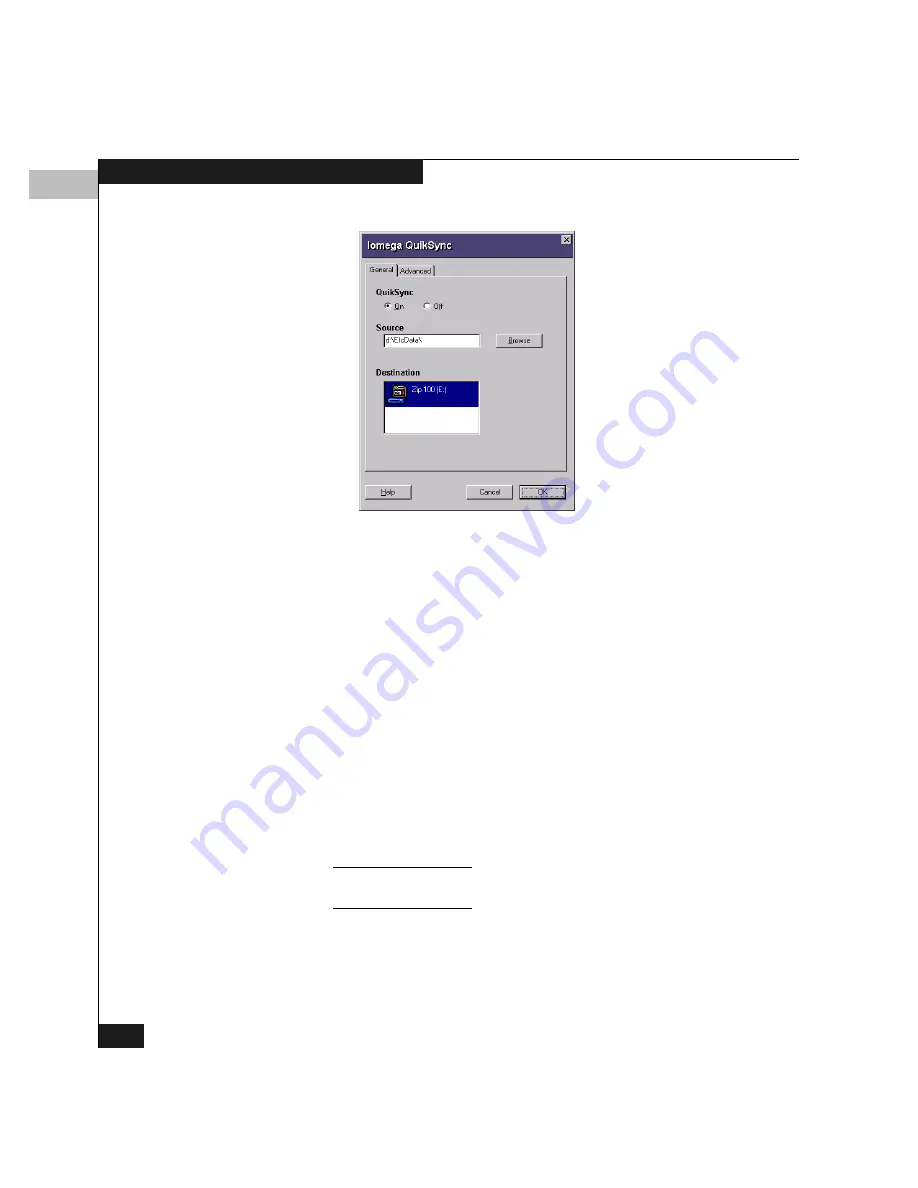
Figure 7-5
Iomega QuikSync Dialog Box
2.
To enable QuikSync, select On and click OK.
QuikSync Settings
Do not change the default settings for automatic backup of the
EfcData
directory. If you feel that QuikSync is not functioning
properly, check the settings using the following steps:
1.
Open the QuikSync dialog box using one of these steps:
• From the Windows taskbar, click Start, Programs, Iomega
QuikSync
, QuikSync.
• Double-click the QuikSync icon in the Windows status area,
located on the right side of the taskbar.
• Right-click the QuikSync icon and click Settings on the
pop-up menu.
2.
Verify that the dialog box is configured exactly as it appears in
Figure 7-5.
The
d:\EfcData\
directory is a mirror of
c:\EfcData\
. Do not change
this location in the Source field.
3.
Click the Advanced tab to display the dialog box in Figure 7-6.
Summary of Contents for Connectrix DS-32M2
Page 4: ...Connectrix DS 32M2 User Guide iv ...
Page 14: ...xiv Connectrix DS 32M2 User Guide Figures ...
Page 16: ...Connectrix DS 32M2 User Guide Tables xvi ...
Page 24: ...xxiv Connectrix DS 32M2 User Guide Warnings and Cautions ...
Page 42: ...1 1 18 Connectrix DS 32M2 User Guide Switch Operating Features ...
Page 72: ...3 3 24 Connectrix DS 32M2 User Guide Product Manager Overview ...
Page 226: ...B B 8 Connectrix DS 32M2 User Guide Configuring Network Addresses ...
Page 248: ...C C 22 Connectrix DS 32M2 User Guide Configuring the Switch from a Web Server ...
Page 332: ...F F 8 Connectrix DS 32M2 User Guide Customer Support ...
Page 351: ...Connectrix DS 32M2 User Guide g 19 Glossary ...
Page 352: ...g 20 Connectrix DS 32M2 User Guide Glossary ...


